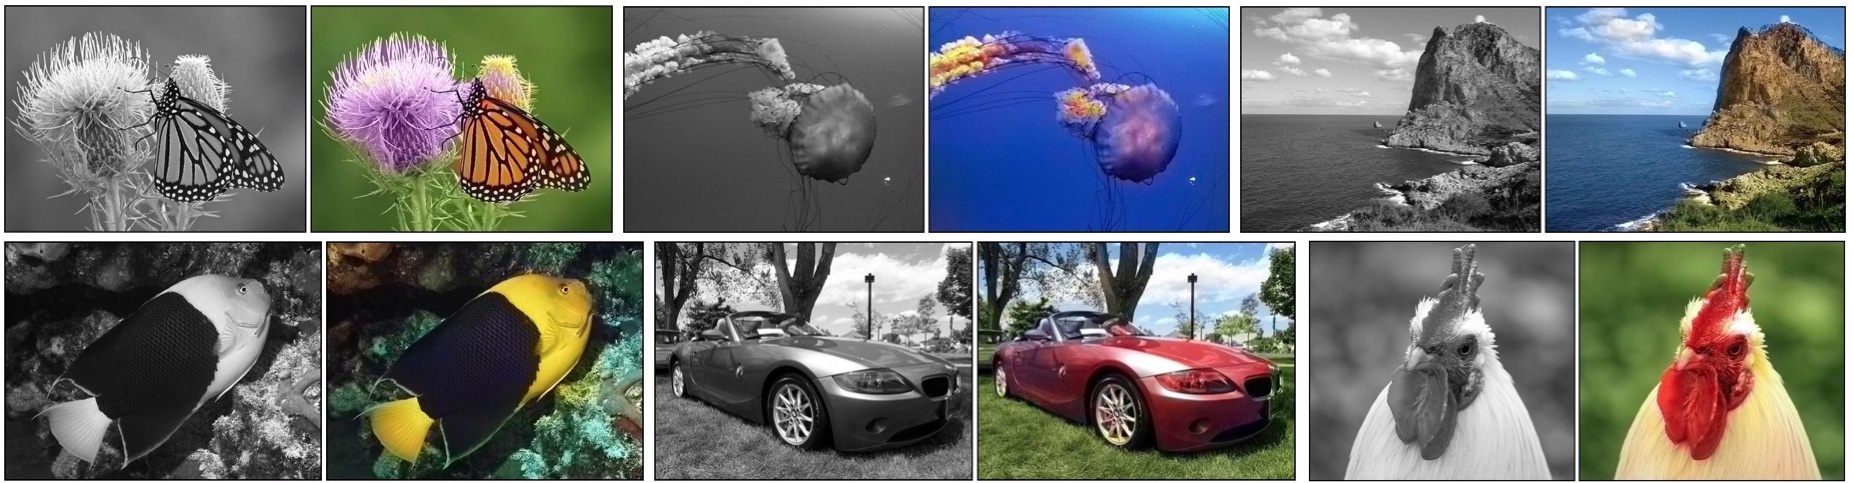
Image Colorization in Caffe [Project Page]
Richard Zhang, Phillip Isola, Alexei A. Efros. In ECCV, 2016.
First, make sure that you've installed the latest version of Moxel CLI:
sudo pip install -U moxel
and you have logged in your account:
moxel login
This repo is deployment-ready: it has the necessary ingredients serve_model.py and moxel.yml. To deploy, just run
moxel push [your-repo]:latest
The following tutorial shows how to create these ingredients.
Wrapping your model is easy. All you need is to load your model into global variables, and write a predict function in serve.py that serves each input request.
import moxel

m = Model()

def predict(img_in):
    img_out = m.predict(img_in.to_numpy())
    return {
        'img_out': moxel.space.Image.from_numpy(img_out)
    }
Make sure that serve.py is tracked with git, because moxel will push your git repo.
git add serve.py
To test your model locally, you can use
moxel serve
This will create a HTTP server at 5900, and listen to requests. To send a request, check out test.py
python test.py
Even better, if you have docker installed, you can serve the function in a container, just like production environment.
moxel serve --docker
Write the moxel.yml config that describes your model, for example,
name: colorization
tag: latest
image: py2-caffe
assets:
- ./models/colorization_deploy_v2.prototxt
- ./models/colorization_release_v2.caffemodel
- ./resources/pts_in_hull.npy
resources:
  memory: 512Mi
  cpu: "1"
input_space:
  img_in: image
output_space:
  img_out: image
setup:
- pip install -r requirements.txt
main:
  type: python
  entrypoint: serve.py::predict
Then just do
moxel push
Your local repo along with assets will be pushed to moxel remote repository. From there, moxel will use the YAML config to deloy this model. A few minutes later, your model is LIVE!


