一个简单的hexo主题
历史主题请查看releases。如有需要可自行下载,按照对应的readme说明使用。
# 导航栏设置
menu:
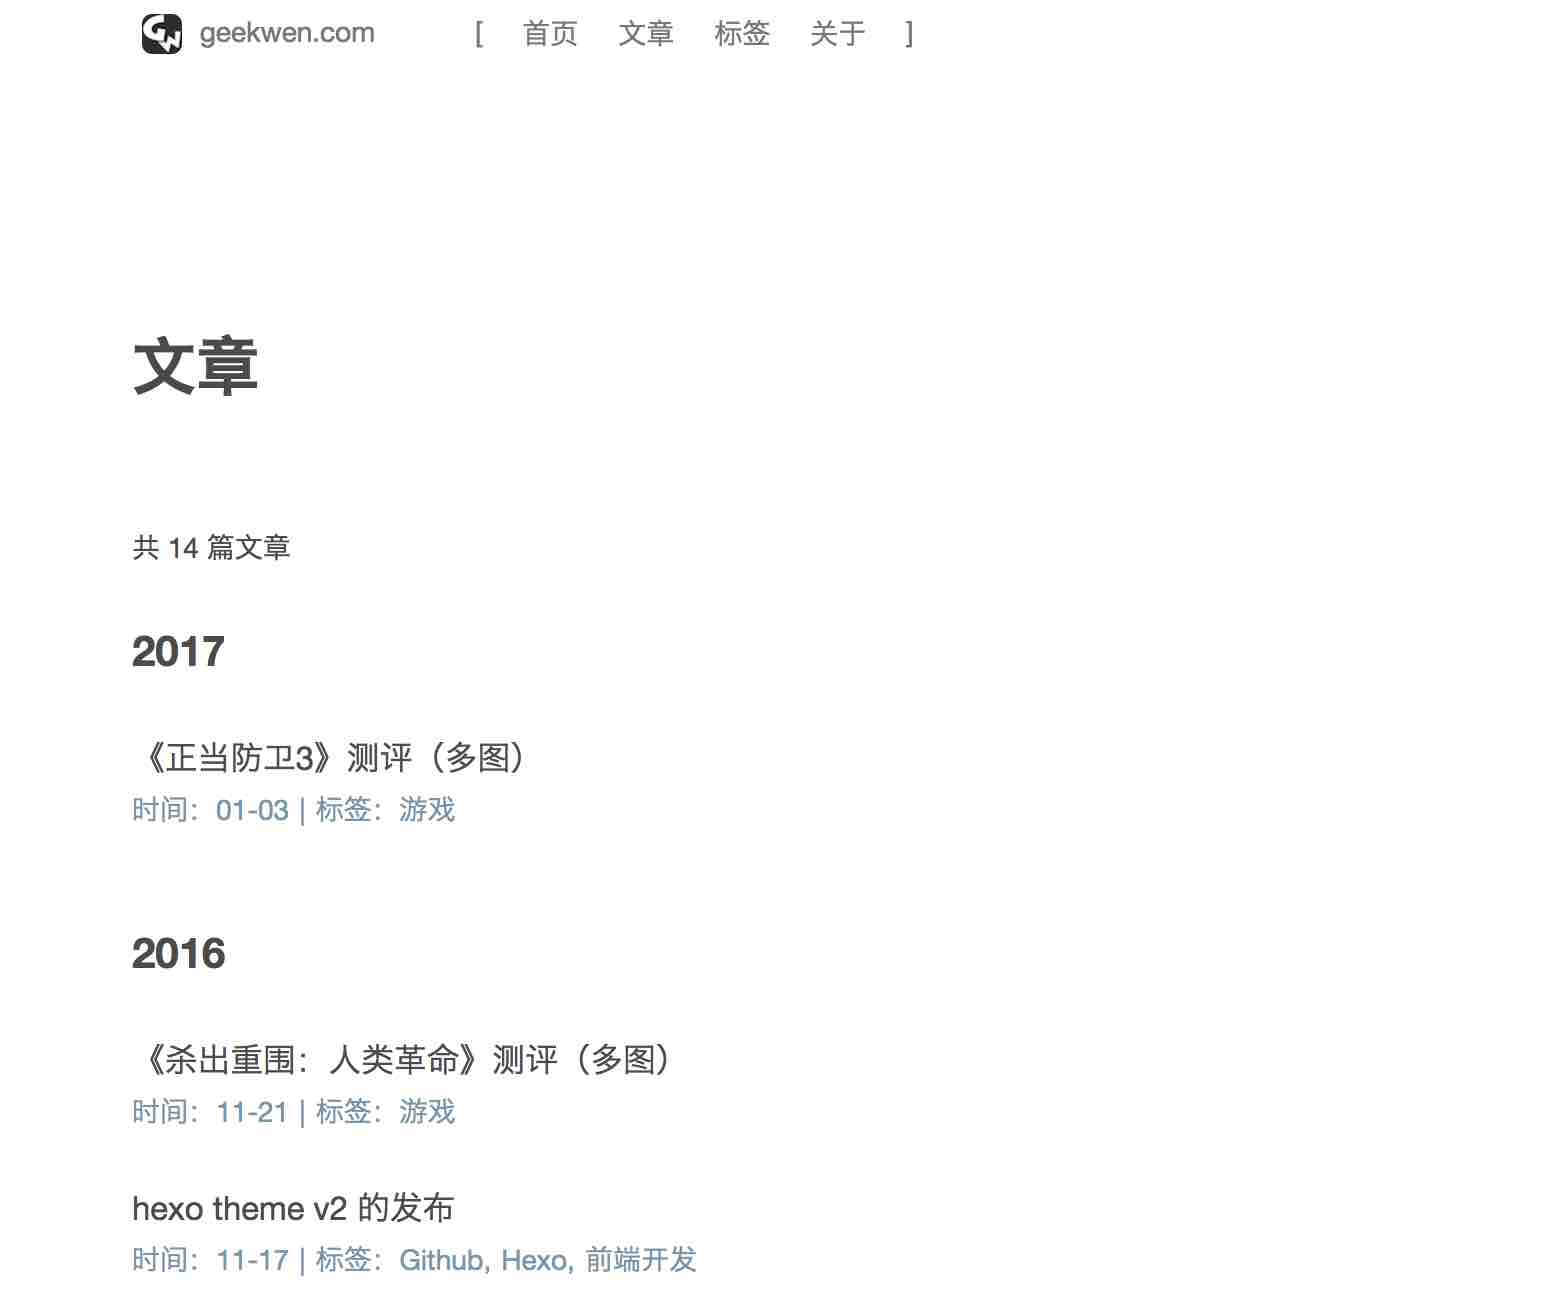
首页: /
文章: /archives
标签: /tags
关于: /about
# 博客建设时间:显示在页脚
blog_since: 2015
# 网站链接:显示在左上角
site_url: geekwen.com
# 网站logo链接:显示在左上角
logo_url: /images/logo.png
# 首页正文内容:分别对应第一行和第二行
index_content:
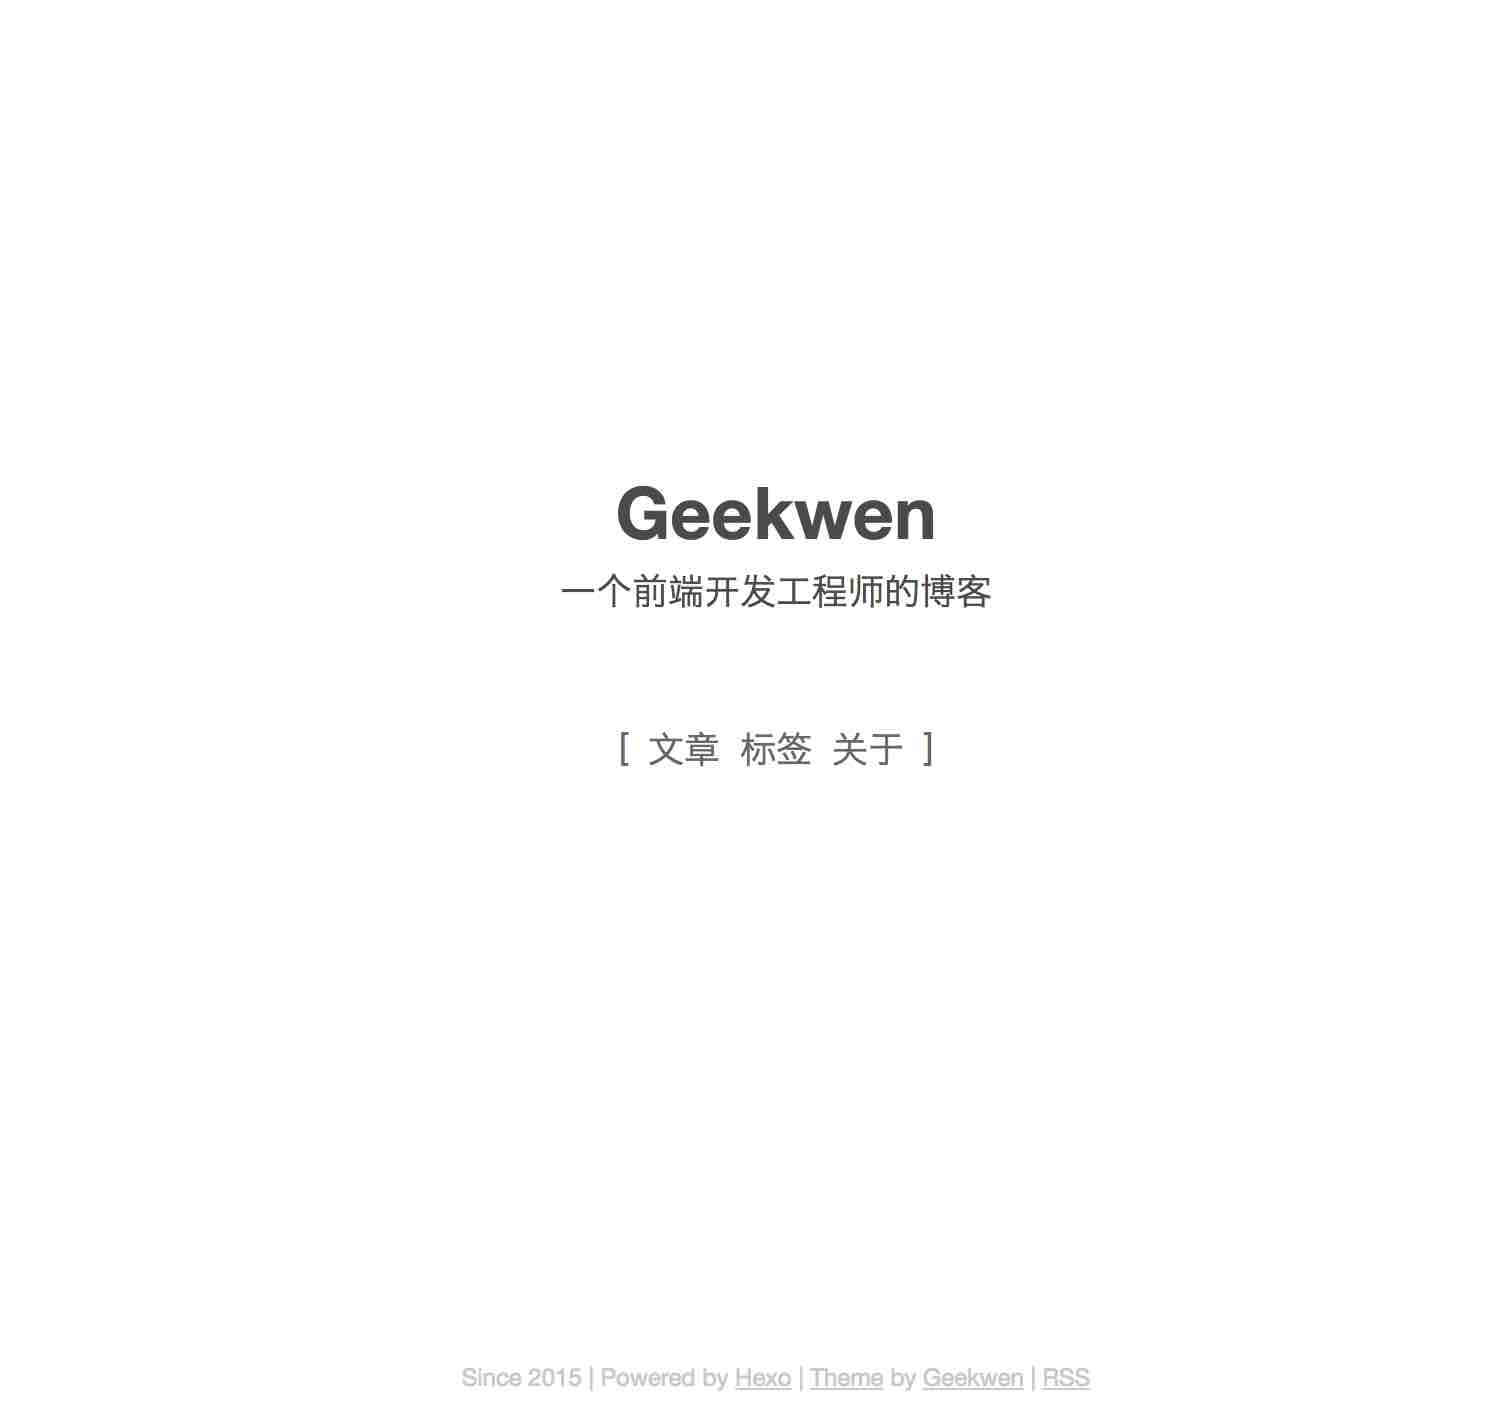
1: Geekwen
2: 一个前端开发工程师的博客
# 选择默认主题配色:white, yellow, dark
default_theme: white
# 在对应的标签页面显示副标题(不区分大小写,可以用 html 标签)
tag:
webpack: <a href="https://doc.webpack-china.org" target="_blank">webpack</a> 是一个现代 JavaScript 应用程序的模块打包器(module bundler)。
node.js: <a href="https://nodejs.org" target="_blank">Node.js</a> 是一个能够在服务器端运行JavaScript的开放源代码、跨平台JavaScript运行环境。
因为归档页面的设计是不需要分页的,也不需要年、月视图
需要在站点的 _config.yml 中添加:
archive_generator:
  yearly: 0
  monthly: 0
  per_page: 0
直接把图标放到 hexo/source/ 下即可(不是主题下面的souce)。文件名必须是 favicon.ico
1.首先新建 tags 页面
hexo new page tags
2.然后编辑新建的 index.md
title: 所有标签
type: "tag-cloud"
---
3.并在主题的 _config.yml 中添加导航链接
hexo new page about
并在主题的 _config.yml 中添加导航链接
默认副标题是站点副标题
给页面添加一个 page_subtitle。如:
title: 关于
date: 2015-10-14 15:33:51
page_subtitle: "这是关于我的页面"
---
- 给文章/页面添加主题图片
theme_image: /path/to/image.jpg
- 图片说明的 class
给 image 加上 has-info 的 class,那它后面紧接着的那一段话就是成为该图片的说明
{% img has-info /path/to/image.jpg %}

图片的描述内容
首先安装插件:
npm install hexo-generator-feed --save
然后在根目录下的_config.yml中添加如下代码:
# Extensions
## Plugins: http://hexo.io/plugins/
#RSS订阅
plugin:
  hexo-generator-feed

#Feed Atom
feed:
  type: atom
  path: atom.xml
  limit: 20
licence: WTFPL
希望能够保留页脚中hexo和开发者的注明(Powered by hexo, theme by Geekwen. ),并保留相关链接。
祝生活愉快,XD!


