目前市面上很多代挂工作室或者,本脚本主要服务需要的人
项目官网https://app.getgrass.io/register/?referralCode=xv4tsqSC9SftAXJ
为什么浏览器可以挖要用脚本?在浏览器环境必须打开浏览器才能挖,很多人想多号或者在linux等环境下运行,此时这个脚本就发挥用武之地
-
安装python
环境要求python 3.9以上,具体操作百度一下
-
导包
打开shell命令行 进入到文件根目录,执行:pip3 install -r requirements.txt
找到start_no_proxy.py将main方法参数换成你的既可,然后执行python3 start_no_proxy.py 就行
user_id = '5b62d235-273c-4707-85df-9bcca26a5306' #你自己的user_id
注意:如果你使用代理的话,此脚本需要依赖redis环境
第一步:安装redis
为何要使用redis?

正常脚本每次运行会模拟生成一个浏览器agent和设备id,你第运行10次就会生成10个,通过使用redis,保障每个代理的设备号和agent永远只有1个
即便你运行1000次 你设备依然只有这1个。

安装方式
如果你是windows:
打开这个网站:https://github.com/MicrosoftArchive/redis/releases
建议下载.ZIP格式文件
下载完成后找到 redis-server.exe
使用脚本时候 点一下运行,出来个运行界面即可,不用脚本里 就关闭窗口
如果你安装msi服务,安装完成基本这个服务就一直处于打开状态

如果你是mac
直接brew安装即可
linux简单直接google对应安装教程

注意每次使用脚本必须要保证redis服务处于开启状态
如果运行报错提示6379错误就是redis没有打开

如果你本机以前已经有redis,或者你有redis服务
你直接找到config目录下的redis.py配置你的redis服务地址就行
第二步:配置用户ID和代理信息
格式如下:
5b62d230-xxxxx-5307,socks5://user1:[email protected]:21322
5b62d230-xxxxx-5307,socks5://user1:[email protected]:21320
5b62d231-xxxxx-5307,socks5://193.168.221.1:21322
5b62d232-xxxxx-5308,socks5://193.168.221.2:21322
找到wallet目录下的users.txt,将你的用户id和socket5代理复制进去即可,注意账号和代理直接用英文逗号分隔然后执行python3 start_proxy.py 就行
-
如何获取user_id
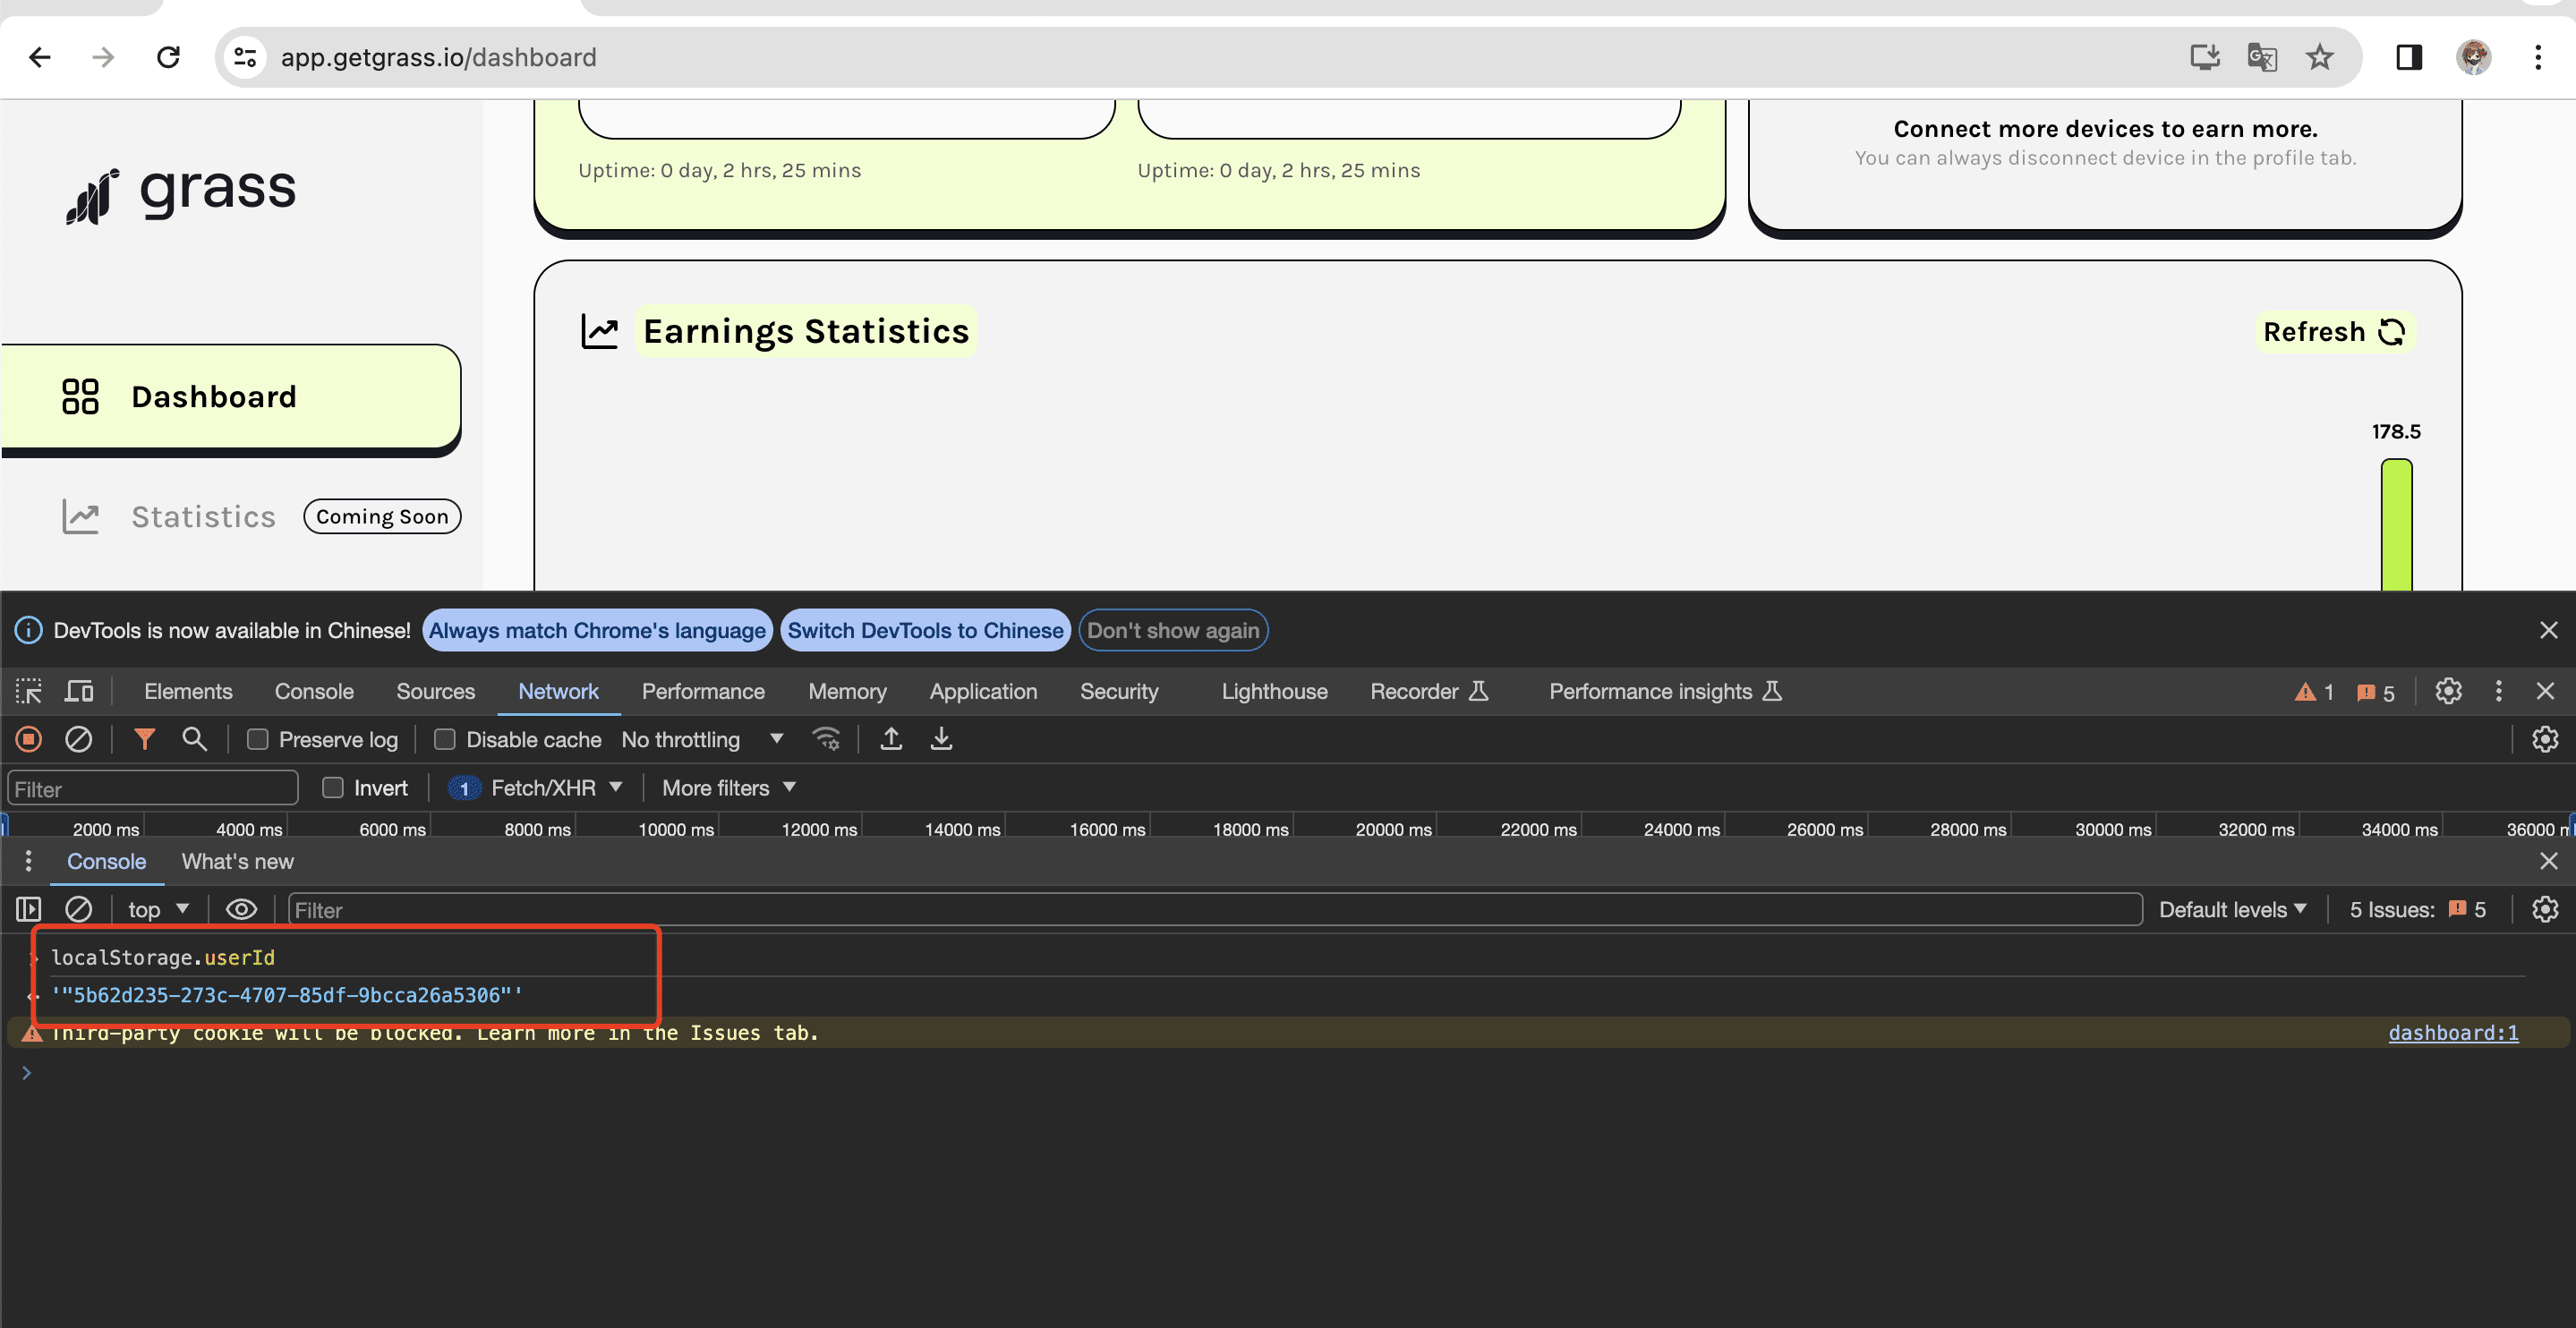
打开链接登录https://app.getgrass.io/dashboard, 然后浏览器按F12打开开发者工具 在控制台(console)输入下面代码
localStorage.userId打印的就是你目前的user_id
如果第一次用出现这样警告,就按提示输入allow pasting即可粘贴


