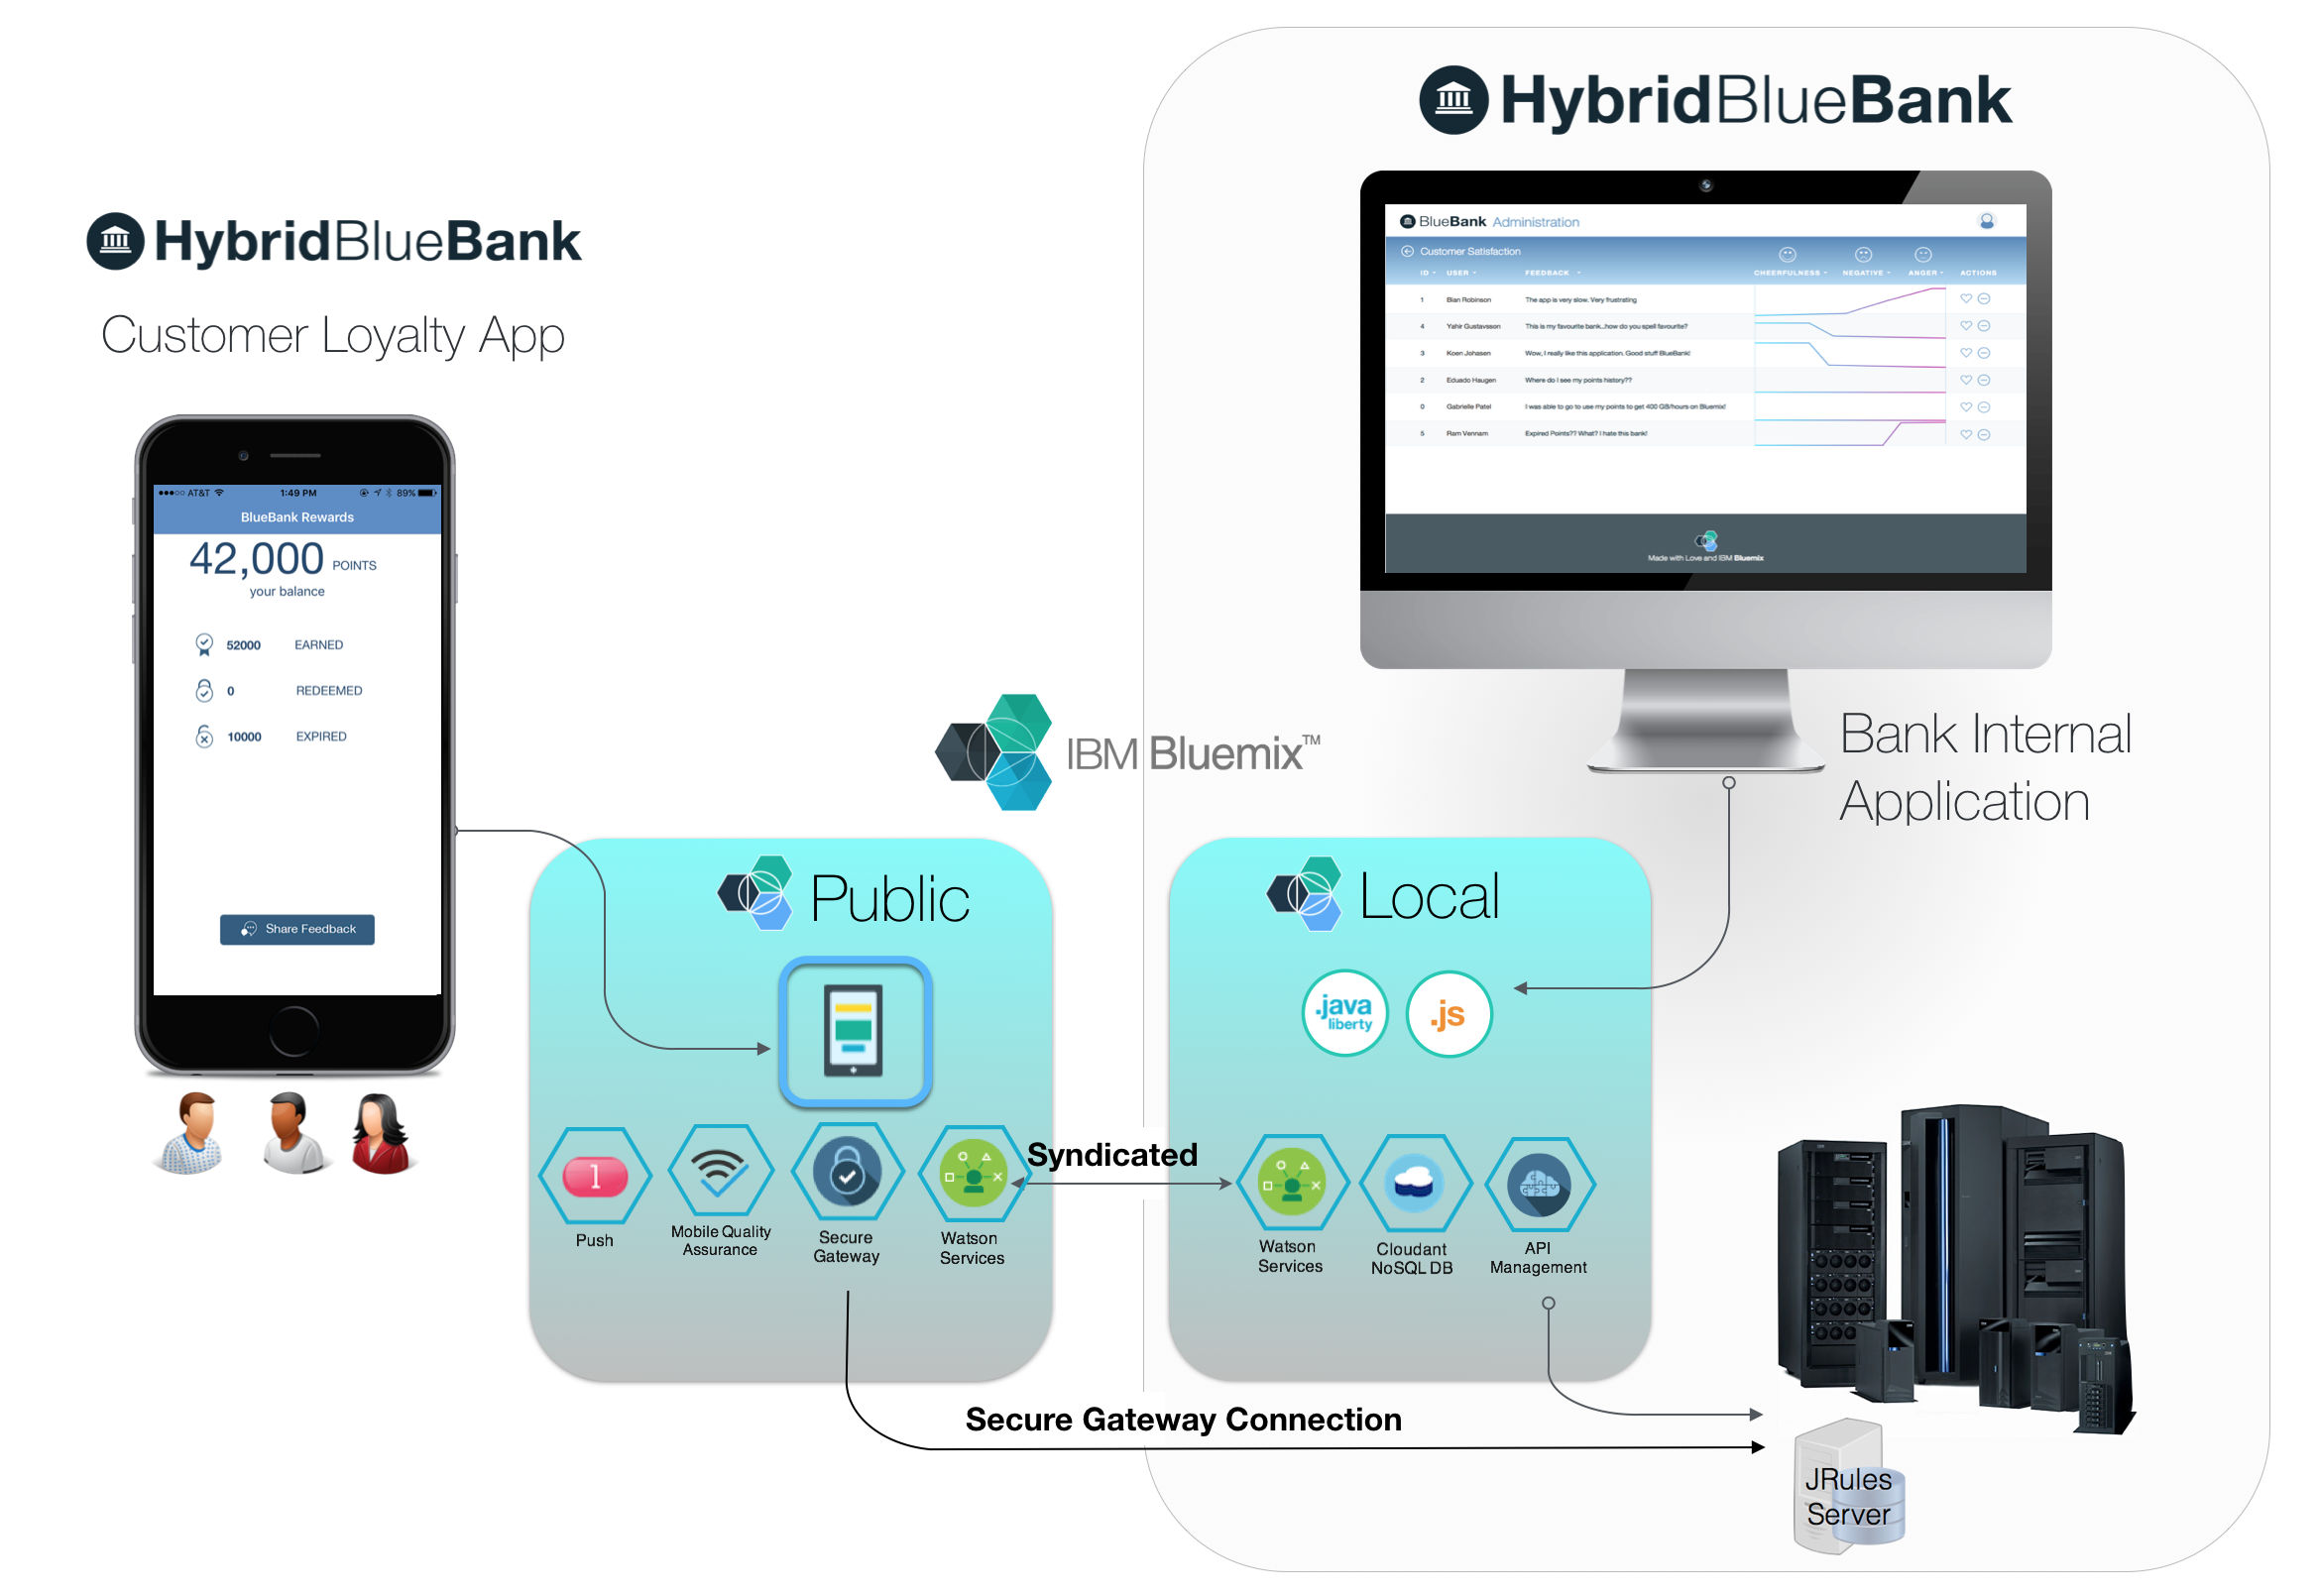
This project shows how a customer on a mobile device like an Android phone could interact with support staff in a banking service center. The customer is able to check the account status and to submit a feedback message to the customer support via a Customer Loyalty App (see architecture below). The bank's staff sees the incoming messages with enhanced context data in an internal Feedback Manager application. If the message was submitted in a language other than English, the message is translated and presented together with the original notice. The service personnel can respond to the customer and issue reward points. The response is directly pushed back to the customer's mobile device.
The Customer Loyalty App connects to backend services hosted on Bluemix Public. The internal Feedback Manager could reside on a Bluemix Dedicated or Bluemix Local. Both application use integration services like the Secure Gateway or API Management to securely access resources in the bank's data center.
Watch a walkthrough of an earlier version of this demo by following this link: https://www.youtube.com/watch?v=7OLkIGoBpi0
The Hybrid Banking Demo implements the core features of the scenario described above. It showcases some Watson APIs and demonstrates mobile integration capabilities. Right now the data is mock and is stored in a server-side file. In a real hybrid environemnt, the data would reside in an on-premises database system, the Feedback Manager application would run in Bluemix Local, and services like the Secure Gateway and API Management would be used to handle the secure integration of enterprise data. This is highlighted in the video above. The installation of this demo requires several steps which are described below, followed by instructions on how to use the Hybrid Banking Demo.
As described above the project consists of a mobile application for an Android device ("Android Application") and the Web application used by the support stuff ("Feedback Manager"). Hence, the installation of this demo requires setting up both applications, provisioning and configurating the required services in Bluemix, and finally connecting the two applications together with the proper credentials. In the following, we are going to start with seting up the Android Application.
In this portion of the demo installation we are going to set up the Android application, the app the banking customer will use to review loyalty points and submit feedback.
- If you have git installed you could simply clone this repository. Else download https://github.com/IBM-Bluemix/HybridBanking-Android/archive/master.zip and extract the zip file into directory in your file system.
- Launch Android Studio. If you haven't installed it yet, go here to learn more about Android Studio.
- In the Android Studio starter screen choose "Open an existing Android Studio project". This will open a dialog to select the location of the existing project.
- Navigate to the directory where you extracted the zip file and choose that directory. Android Studio will now load and organize the project.
- Give it a minute or two for the import of the project to finish. If you see Install build tools and sync project, click it.
Leave the project in Android Studio open. We are going to come back to it in a later step when we are adapting URLs and service credentials.
Next on our list is to create the Mobile Backend application on Bluemix. The backend handles sending push notifications to the Android application.
- Log into Bluemix and go to the Dashboard.
- At the top are tiles for Cloud Foundry Apps, Containers, Services, and more. In the tile for Cloud Foundry Apps click on CREATE APP to create a new application.
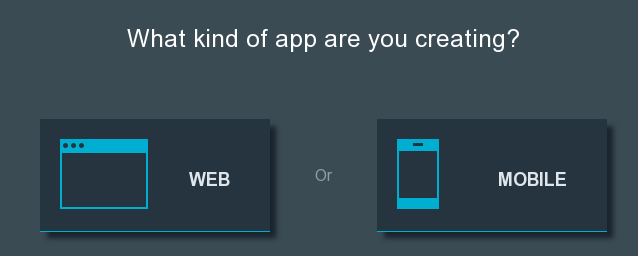
- In the upcoming dialog choose MOBILE.
- Now type in a name for the application and then click FINISH. The app and its services are now provisioned.
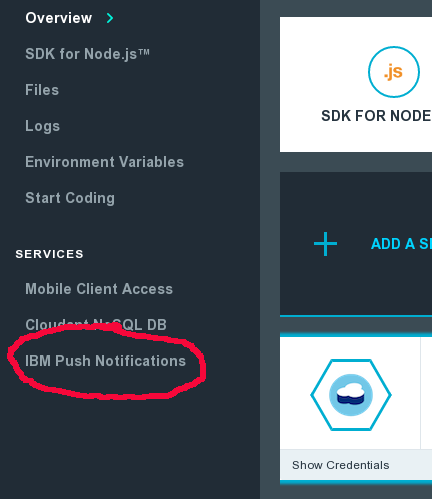
- Either by waiting few moments or anytime later by clicking on Dashboard and selecting your app, an overview of your app and services can be brought up. Click on IBM Push Notifications as shown.
- In the new screen just click Setup Push. This brings up a form with several fields. Here we have to configure the Google Cloud Messaging service.
- To obtain the needed credentials for the Google Cloud Messaging service, we need to open the following URL in another browser tab or window: https://console.developers.google.com/ It is the Google Developers Console
- In the console on the upper right click on a shown existing project (if available) and select Create a project
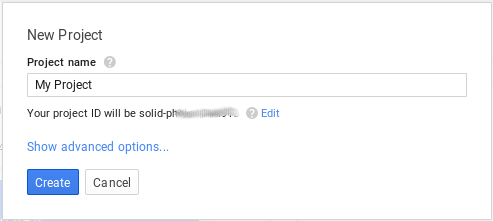
- In the dialog type in a name for the project and then click Create.
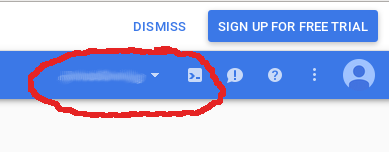
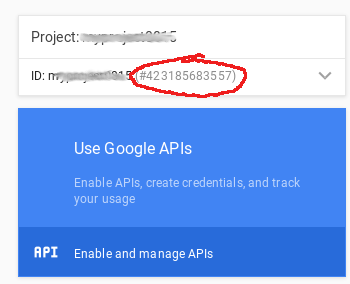
- Thereafter you should see the Developers Console again with some tiles shown. On the upper left is a tile with your project name and the assigned project number shown. Copy that Project Number and paste this under Sender ID into your Bluemix Push Dashboard form in the other tab.
- Go back to the Google Developers Console and click on the tile Use Google APIs. An overview of available APIs opens and you will find a set of Mobile APIs.
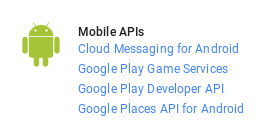
- Now select on Cloud Messaging for Android and in the new dialog click on Enable API. A new message should appear with the recommendation to create credentials. Go with it.
- In the new dialog click on Add Credentials and choose API Key.
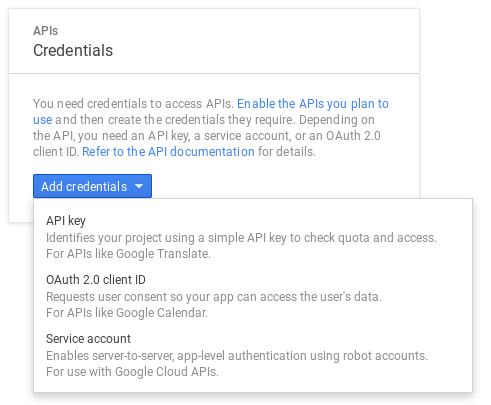
- We are almost done by picking Server Key. This brings up another form. Here the name for the new Server API Key needs to be specified. You can choose the name. Leave the optional field for the IP addresses empty and click Create.

- A notice with the new API key should come up. Copy this key and and paste this as API Key into your Bluemix Push Dashboard in the other browser tab. Once done click Save to finish the configuration.
- In the Android Studio click on Project in the top left corner and drill down, i.e., navigate the directory and file tree down to the following file and open it in the editor:
BlueBank/app/src/main/java/com/bluemix/bluebank/MainActivity.java - Locate the following lines of code in that file, they are around lines 45 to 50:
private String BluemixMobileBackendApplication_ROUTE = "http://backendURLxxxxxxx.mybluemix.net";
private String BluemixMobileBackendApplication_App_GUID= "ef5xxxx-xxxx-xxxx-xxxx-xxxxxxxx";
- Replace the value for ROUTE and App_GUID with your own values. Both can be obtained by clicking on Mobile Options in your Bluemix Mobile Backend application dashboard as shown.

Next, you will need to deploy a node.js application. The bank would use this app internally to manage all the feedback ("Feeback Manager"). In a hybrid scenario this application would run on Bluemix Local.
- The source code for the Feedback Manager is located here: (https://github.com/IBM-Bluemix/HybridBanking-FeedbackManager)
- If you have git installed you could simply clone the repository. If you don't have
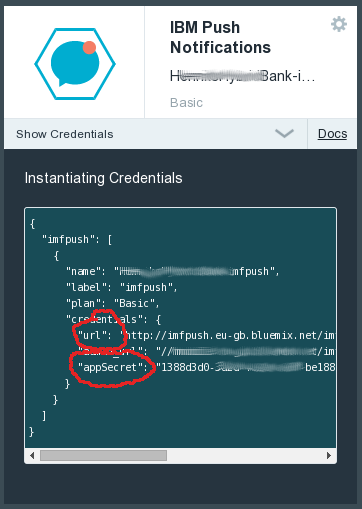
git, click on Download Zip and extract the downloaded zip archive to a directory on your computer. - Open server.js using your favorite editor and update these two lines below. You can find these values by clicking Show Credentials under IBM Push Notifications in your Bluemix Mobile Backend dashboard. This will allow the application to talk to the Bluemix mobile push service. Look in the "credentials" block:
var IBMPushNotifications_url = "http://imfpush.ng.bluemix.net/imfpush/v1/apps/....";
var IBMPushNotifications_appSecret  = "48xxxxxx-xxxx-xxxx-xxxx-xxxxxxxxxxxx";
 4. Push this application to Bluemix using the Cloud Foundry command line interface (
cf). First you need to change to the directory where you put the code in step D2. Then you login to Bluemix. The commands shows how to do this for the North America/Dallas endpoint. If you would like to use another data center, e.g. London, the enpoint URL would be "https://api.eu-gb.bluemix.net". The name pickAUniqueAppName shown below is the application name you will be using later on to access the Feedback Manager. It needs to be unique within the Bluemix region.
cd <location of your app>
cf login -a https://api.ng.bluemix.net
cf push <pickAUniqueAppName>
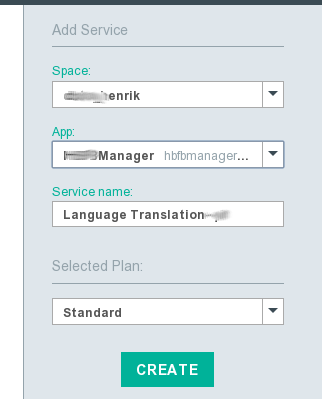
- Bind the Language Translation and Tone Analyzer services to this application. Right now the Language Translation service can be found in the Watson section of the Bluemix Catalog, the Tone Analyzer service in the Bluemix Labs Catalog (at the bottom of the regular catalog). Locate each of the services, click on them, in the "Add Service" dialog choose your Feedback Manager application and finish by clicking CREATE.
The Android application for this demo will submit the feedback directly to the node.js application we just created. In a real world scenario, the app would write to a database leveraging the Secure Gateway service and the Feedback Manager application would read from that database. You could use API Management to expose that database as a Bluemix custom service. To keep the demo simple, the Android application will communicate directly to the Feedback Manager application. To communicate, it needs to know the Feedback Manager's URL.
- Open the following file in Android Studio (see C1 and C2):
BlueBank/app/src/main/java/com/bluemix/bluebank/MainActivity.java
2. Around Line 55, update this variable with the route of the Feedback Manager application you created above in D4. The URL will look like "http://pickAUniqueAppName.region.mybluemix.net" with region either "eu-gb" or "ap-syd" if you created the app in London or Sydney.
private String FeedbackApplicationRoute = "http://<pickAUniqueAppName>.mybluemix.net/";
- Save the file.
- Click the Play button at the top to launch your app in the emulator!
- When you start the HybridBlueBank app in your Android emulator it is going to bring up a screen like shown.
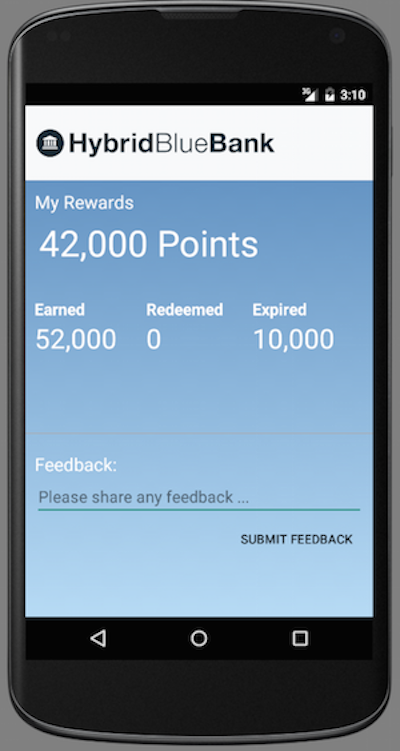
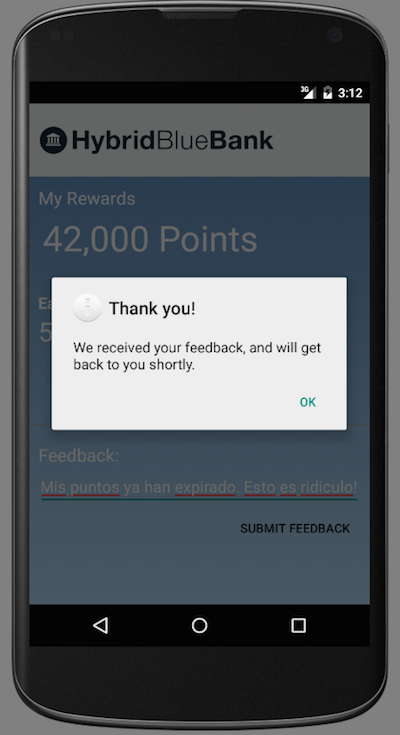
- Use the form to submit feedback in English, Spanish, or French. Good examples for a message are "Great application, great bank. I love it", "Je deteste ma banque", or "La aplication es muy lento. Muy frustrante". Once you clicked SUBMIT FEEDBACK the app will show an overlay window acknowledging receipt of the feedback.
 3. In your browser open the URL of your Feedback Manager application (see step D4/E2 for that URL). A list of customer feedbacks will be displayed. For each entry the submitted message along with a tone analysis is included. If the original feedback was not in English, the translated message is printed together with a notice showing the original language. Once you hover with your mouse over the translation notice, the original feedback is visible.
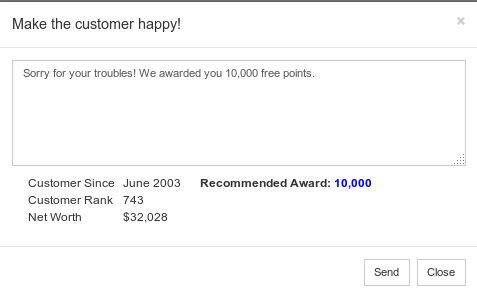
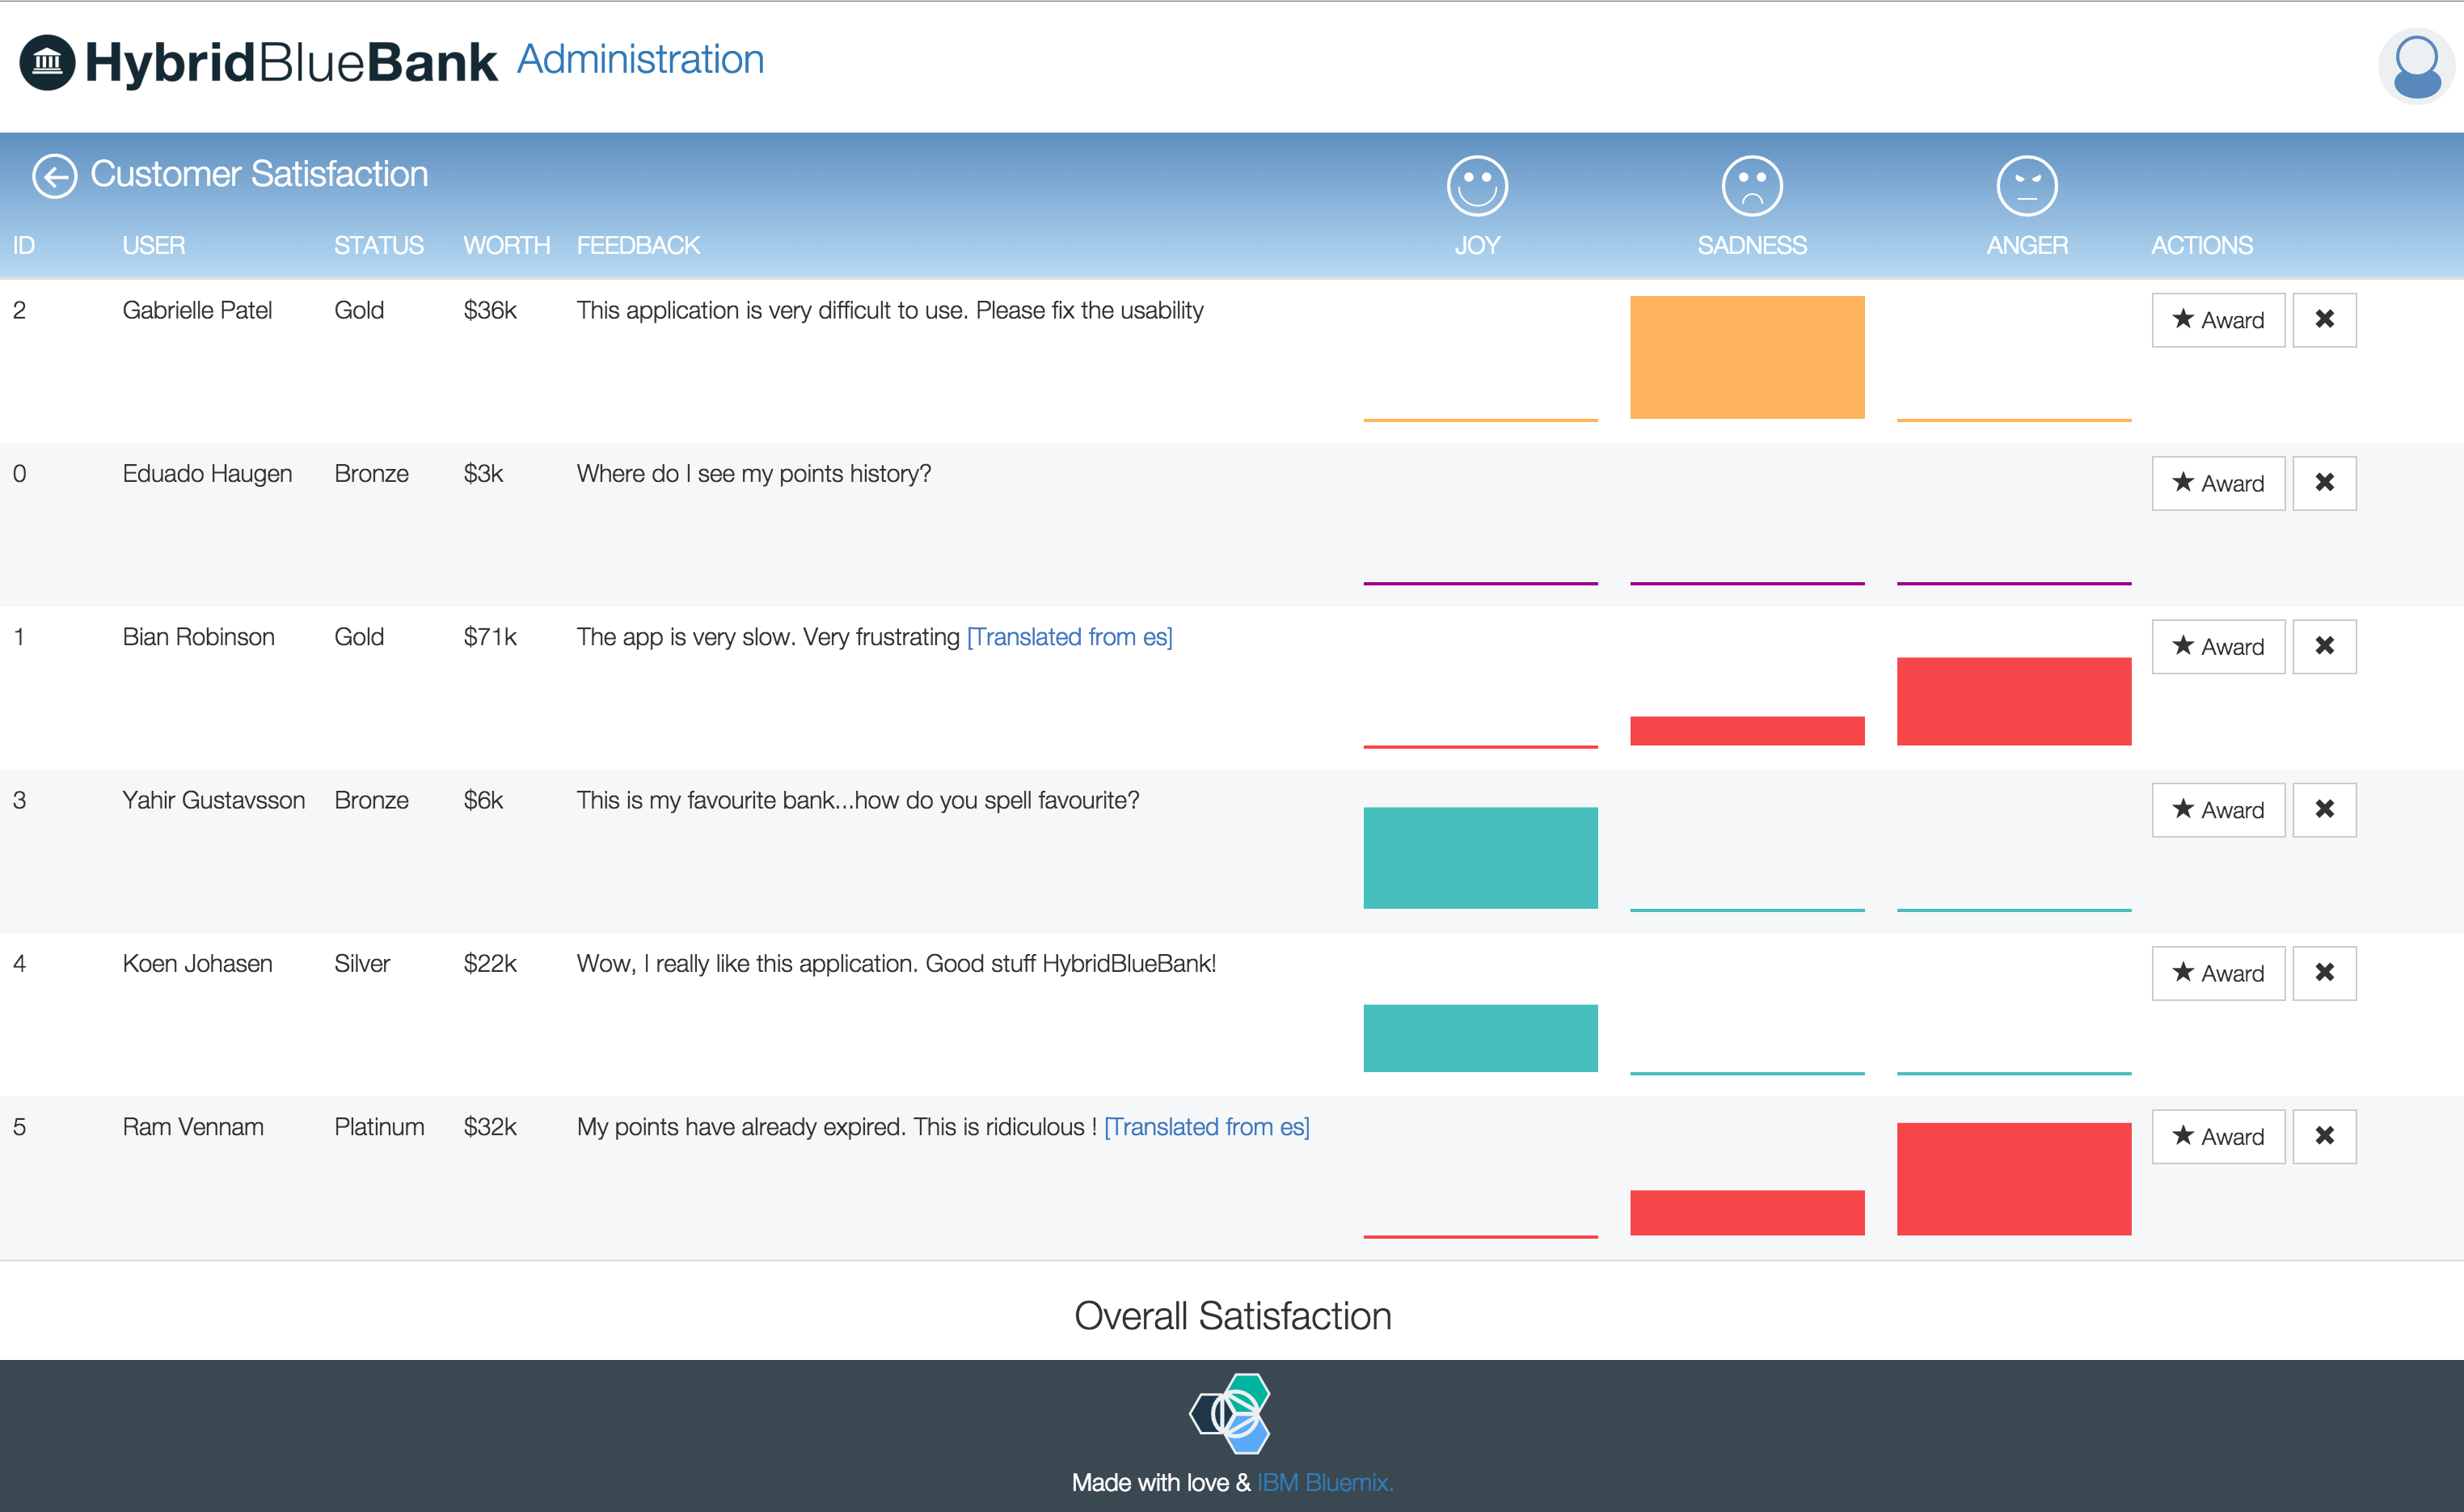 4. Now it is time to make the customer who left negative feedback happy. In the Feedback Manager click on Award, type in a message for the customer and click Send.
 5. The Android emulator should get a push notification. Watch the upper left corner for the notification icon to appear.
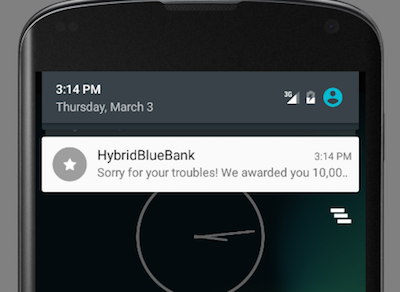
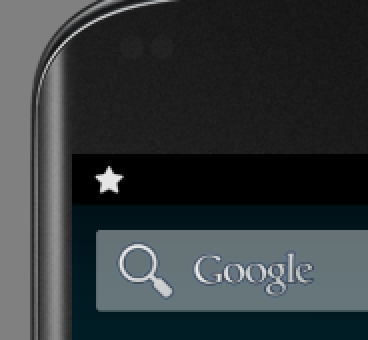 6. Once a new notification has been indicated, click on that icon and the message sent via the Feedback Manager should be shown.
to be done
We are more than happy to accept external contributions to this project, be it in the form of issues and pull requests. If you find a bug, please report it via the Issues section or even better, fork the project and submit a pull request with your fix! Pull requests will be evaulated on an individual basis based on value add to the sample application.
- Information on Bluemix Local
- Bluemix-related questions on Stackoverflow
- Read our Bluemix blog


