
At this point, you got familiar with Cascading Style Sheets (CSS), and you know how to:
- target elements using tags, classes or ids,
- work with font and text properties,
- add colors to text and background.
Remember to open the CodePen you created at the beginning of the exercise to do the different iterations of the exercise.
Let's go!
First, you are going to add four ids, one per each <section> you have defined. From top to bottom, the ids should be:
general-informationstructureteamschedule
This is going to help us to identify the different sections. This also created something called internal links. What happens now if you click on the <nav> links at the top of the page? It scrolls down automatically to the section! ✅
Okay, let's start using the CSS tab inside your CodePen project. We will start with setting up the whole page to use the following rule (copy the snippet at the beginning of the CSS tab):
html,
body {
  margin: 0;
  padding: 0;
}
This is going to remove all the elements' margin and padding, or in simple English, will set them to 0. Why are we doing this? We are doing this to reset some styles that your browser automatically apply to elements, known as browser default styles.

💭 Don't worry about what margin and padding properties are right now, we'll discuss them in a bit.
For the whole IronSkydive website, we are going to use a font called Roboto. You can find it in https://fonts.google.com/, Google repository that hosts a huge number of fonts. Typically you have to go through a process to embed one of these fonts in your site, but we have simplified it for you.
At the very beginning of the CSS tab in your CodePen, copy the following line:
@import url('https://fonts.googleapis.com/css?family=Roboto+Condensed:700|Roboto:100,300,700');Nothing happens yet. It just adds a reference to two different fonts:
Roboto, with weights of 100, 300, and 700.Roboto Condensed, with weight 700.
You are going to use both of them on your website. So let's change the font for the entire document. The entire document should have text formatted in the following manner:
- font:
Roboto. - size:
10px. - line height:
3.5em. - weight:
300.
Remember: we can target elements on which we want to apply some styles using class or id or tag name.
You can use body tag and add these respective CSS properties to it. Once you have defined the font for the document, let's change the behavior of the headers.
You are using headers from 1 to 5, use a multi selector that will select all of them. Inside this selector, you set the font to Roboto Condensed. We will modify the size of the headings in a different selector since each of them will be a different size.
/* CSS multiselector example */

h1,
h2,
h3,
h4,
h5,
h6 {
  /*  define font-family here  */
}
The result should be something like this:
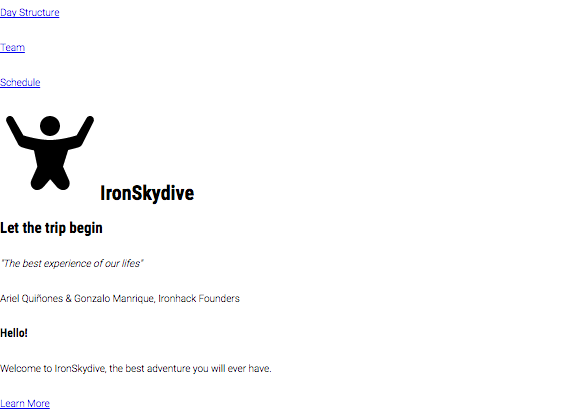
Right now all the fonts have the same size, let's change that. First, let's style the headings by including the following properties:
| Heading | Properties |
|---|---|
<h1> |
Size: 9em Align: center Transform: uppercase |
<h2> |
Size: 5em Align: center Transform: uppercase |
<h3> |
Size: 4.2em Align: center Line height: 1em |
<h4> |
Size: 1.5em Letter spacing: 0.4px Line height: 1em |
<h5> |
Size: 1.2em Line height: 1em |
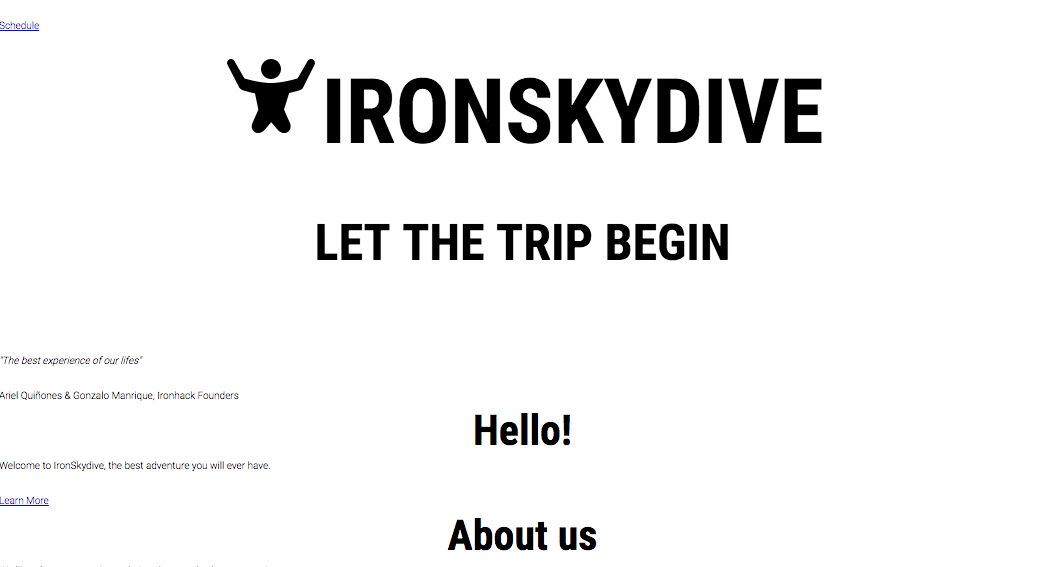
Once you apply these styles to the different headers you have, <h1> and <h2> need more space between them. Let's add more space by setting the <h2> line-height property to 4em.
You have already specified all the text styles you need to have on your website.
Great, now let's add some colors to our website.
Previously, you used the CSS text properties to change the website's appearance, by adding a custom font and sizes, depending on the tag. Now it is time to give it some color!
When you are developing a website, it is a good practice to keep in mind a table with the different colors you are going to use. In this case, the table is:
| Color | RGB | Result |
|---|---|---|
| Blue | 67, 163, 230 |
|
| Dark Blue | 25, 33, 41 |
|
| Text | 0, 0, 0 |
This table will help you to communicate with your UX/UI design team. When they tell you to apply the Dark Blue as a background color, you will know which color it is immediately.
One by one let's describe the changes you have to apply over the different sections we defined on the first iteration of this exercise. Remember the layout we created:
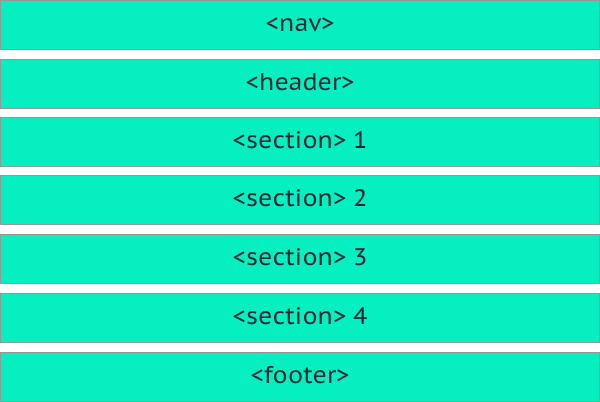
Open CodePen in your browser, and let's start!
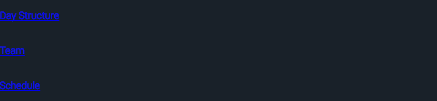
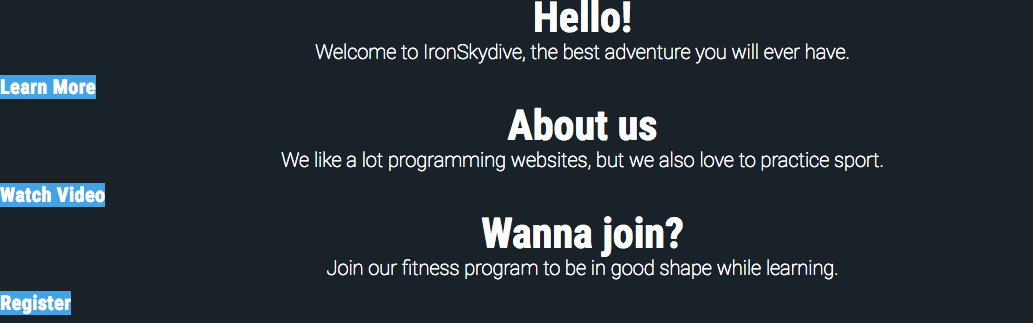
The end goal for the nav bar is next:

Let's start by adding the color. Add Dark Blue as a background color.
It is a good practice to use class selectors instead of using HTML tag selectors to define styles. What if you apply a style to the nav tag and in the future, you change it to header? You would lose all the styles, and change it one by one in the CSS.
Create a selector in your CSS tab called .nav-bar, and assign the style described above. Then, assign the class to the nav tag in your HTML.
It is working... kind of. We have to set the color of links to white and if you try to set the property color: white inside .nav-bar class, it won't work because words/links are wrapped inside a tags.
We can go in the direction of creating a new class and attach the class to each li item inside <nav>, or we can go DRY (Don't Repeat Yourself) and avoid creating one more class but instead of that, reference the items we want to target through the existing class .nav-bar.
.nav-bar a {
  /*  styles to be added here    */
}
Change the color to white, text-decoration to none, and font-size to 2em in order to get the desired result.
In the next iterations, you are going to complete the menu. You are ready to move to the following section.
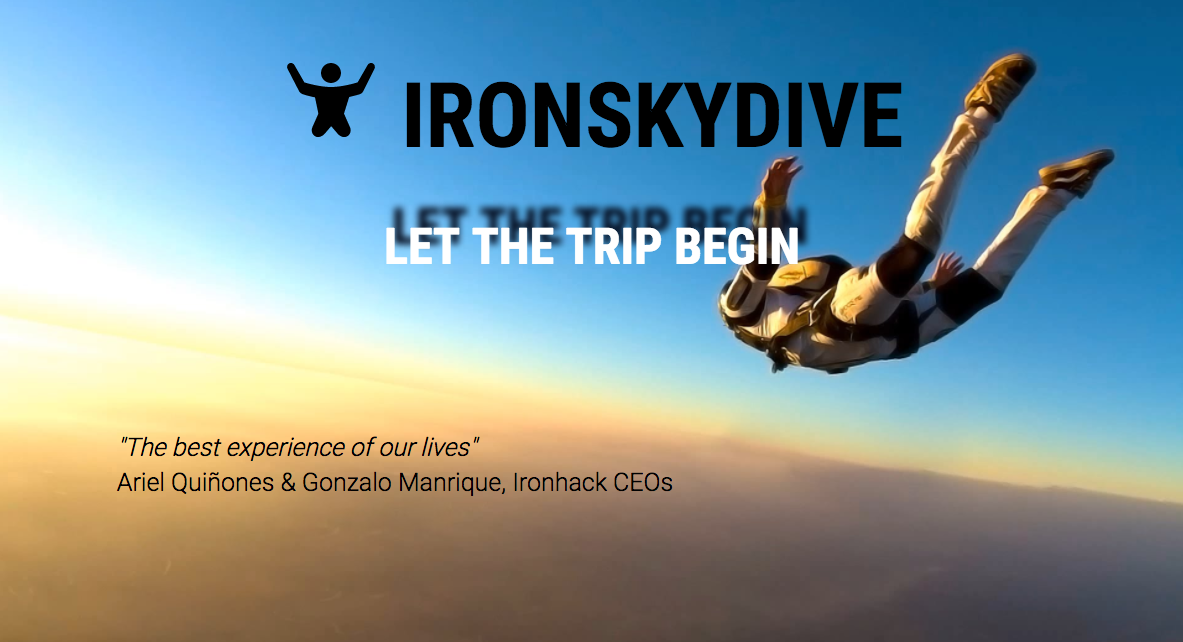
Don't be afraid! It is easier than it seems. First of all, you have to set the background image. The properties of the background image are:
- url:
https://s3-eu-west-1.amazonaws.com/ih-materials/uploads/ironhack-skydive-background.jpg. - position:
0 0. - repeat:
no-repeat - size:
cover.
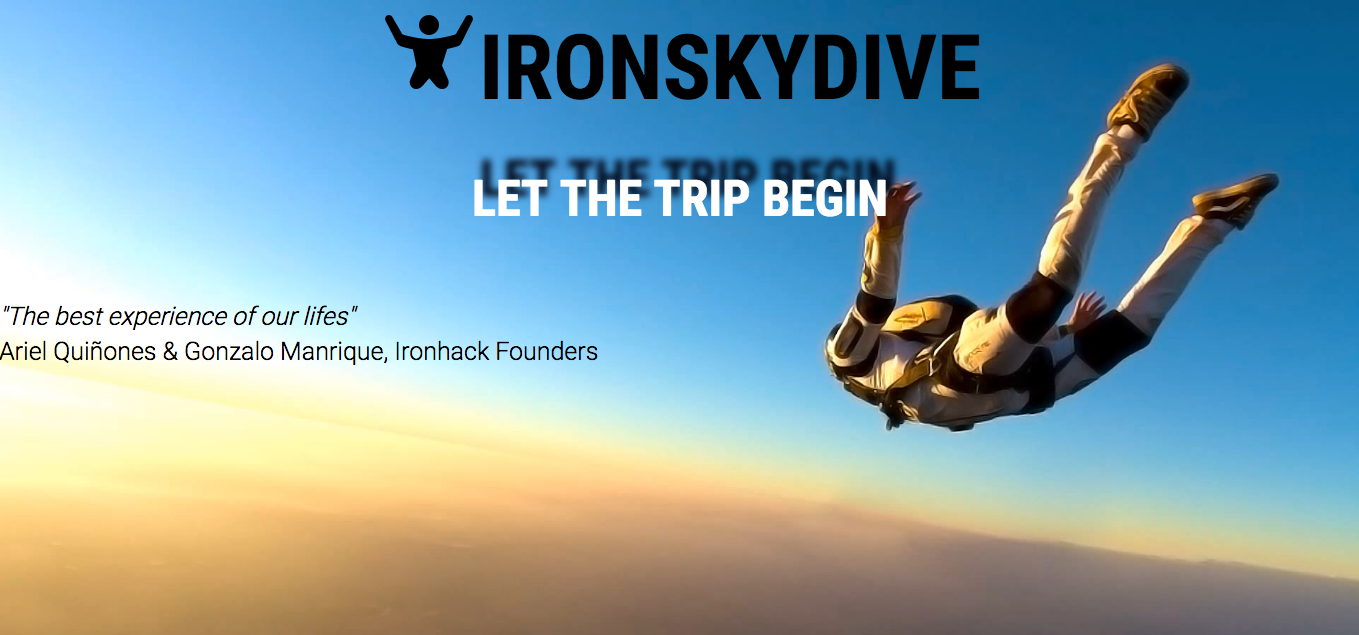
Remember you should create a class, in this case header, and assign it to the header tag in your HTML to use this style. Now, just set the header's height to 650px.
The next step is to change the h2 color to white, and then add some text-shadow to it. The text-shadow property should have as a value #020819 8px -20px 9px.
To finish up this section, change the font-size of the quote. Set it to 2.5em. Create a quote class to do that, and add the class to the aside tag in the HTML.
In one of the previous iterations, you added a general-information id to this section. Our end goal for this section is:
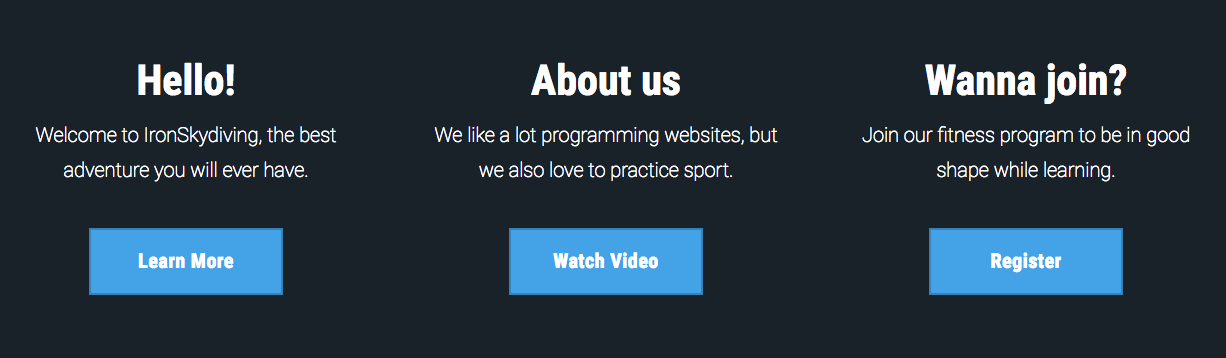
Create a class selector dark-background, that applies the following properties:
- background color: dark blue (check out the table at the beginning of this iteration).
- color: white.
Once you have created the class in your CSS, add it to the section. After applying the class, you can see that the text in the <p> is tiny, and is not centered. Let's solve this problem.
First, to each paragraph inside the general-information section, add a text class.
This selector should have the following CSS properties:
- Font size:
2em. - Font weight:
100. - Text Align:
center.
Much better. Let's finish this section by adding some styles to the links. The links will look like buttons, and all the links of this section will have the same appearance. It means that you should create a class that applies the necessary CSS properties to a link to look like a button.
:::info :bulb: Why wouldn't we use a button? Check out this very concise StackOverflow answer for a good rule of thumb. :::
Let's create a link-btn class with the following properties:
- background color: blue (check out the table at the beginning of this iteration).
- color: white.
- font-family:
Roboto Condensed. - font size:
2em. - Letter Spacing:
0.5px. - text-align:
center. - text-decoration:
none.
Add the class to the three links you have in the section.
Hmm... It seems we need a way to rearrange our elements and put them in certain positions. This will be the objective of one of the next iterations.
Let's move to the next section.
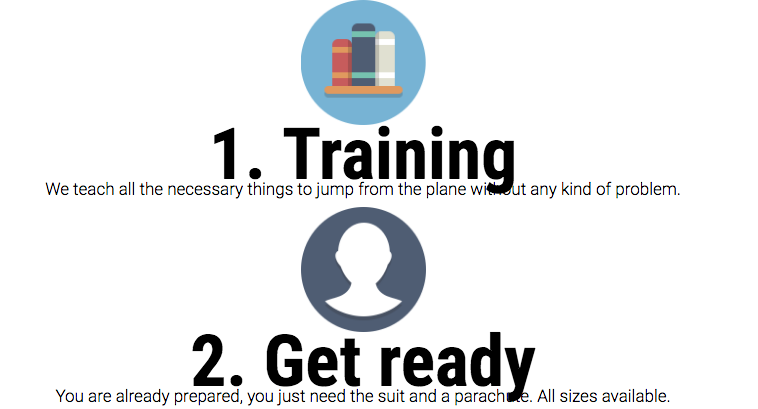
In the second section, we have added a structure id. In this section, you just have to set up the font size and alignment properties.
Create a service-box class in the CSS, with the following properties:
- Font Size:
1.7em. - Text Align:
center.
Assign this class to each article inside the structure section.
Now, create new multiple selectors for all the img classes, inside the service-box class.
👍 Spoiler: Similar what you already did with the links in the navbar, here we will have the following:
.service-box img {
  /*  styles to be added  */
}
Add a property inside to set the width of these images to 125px.
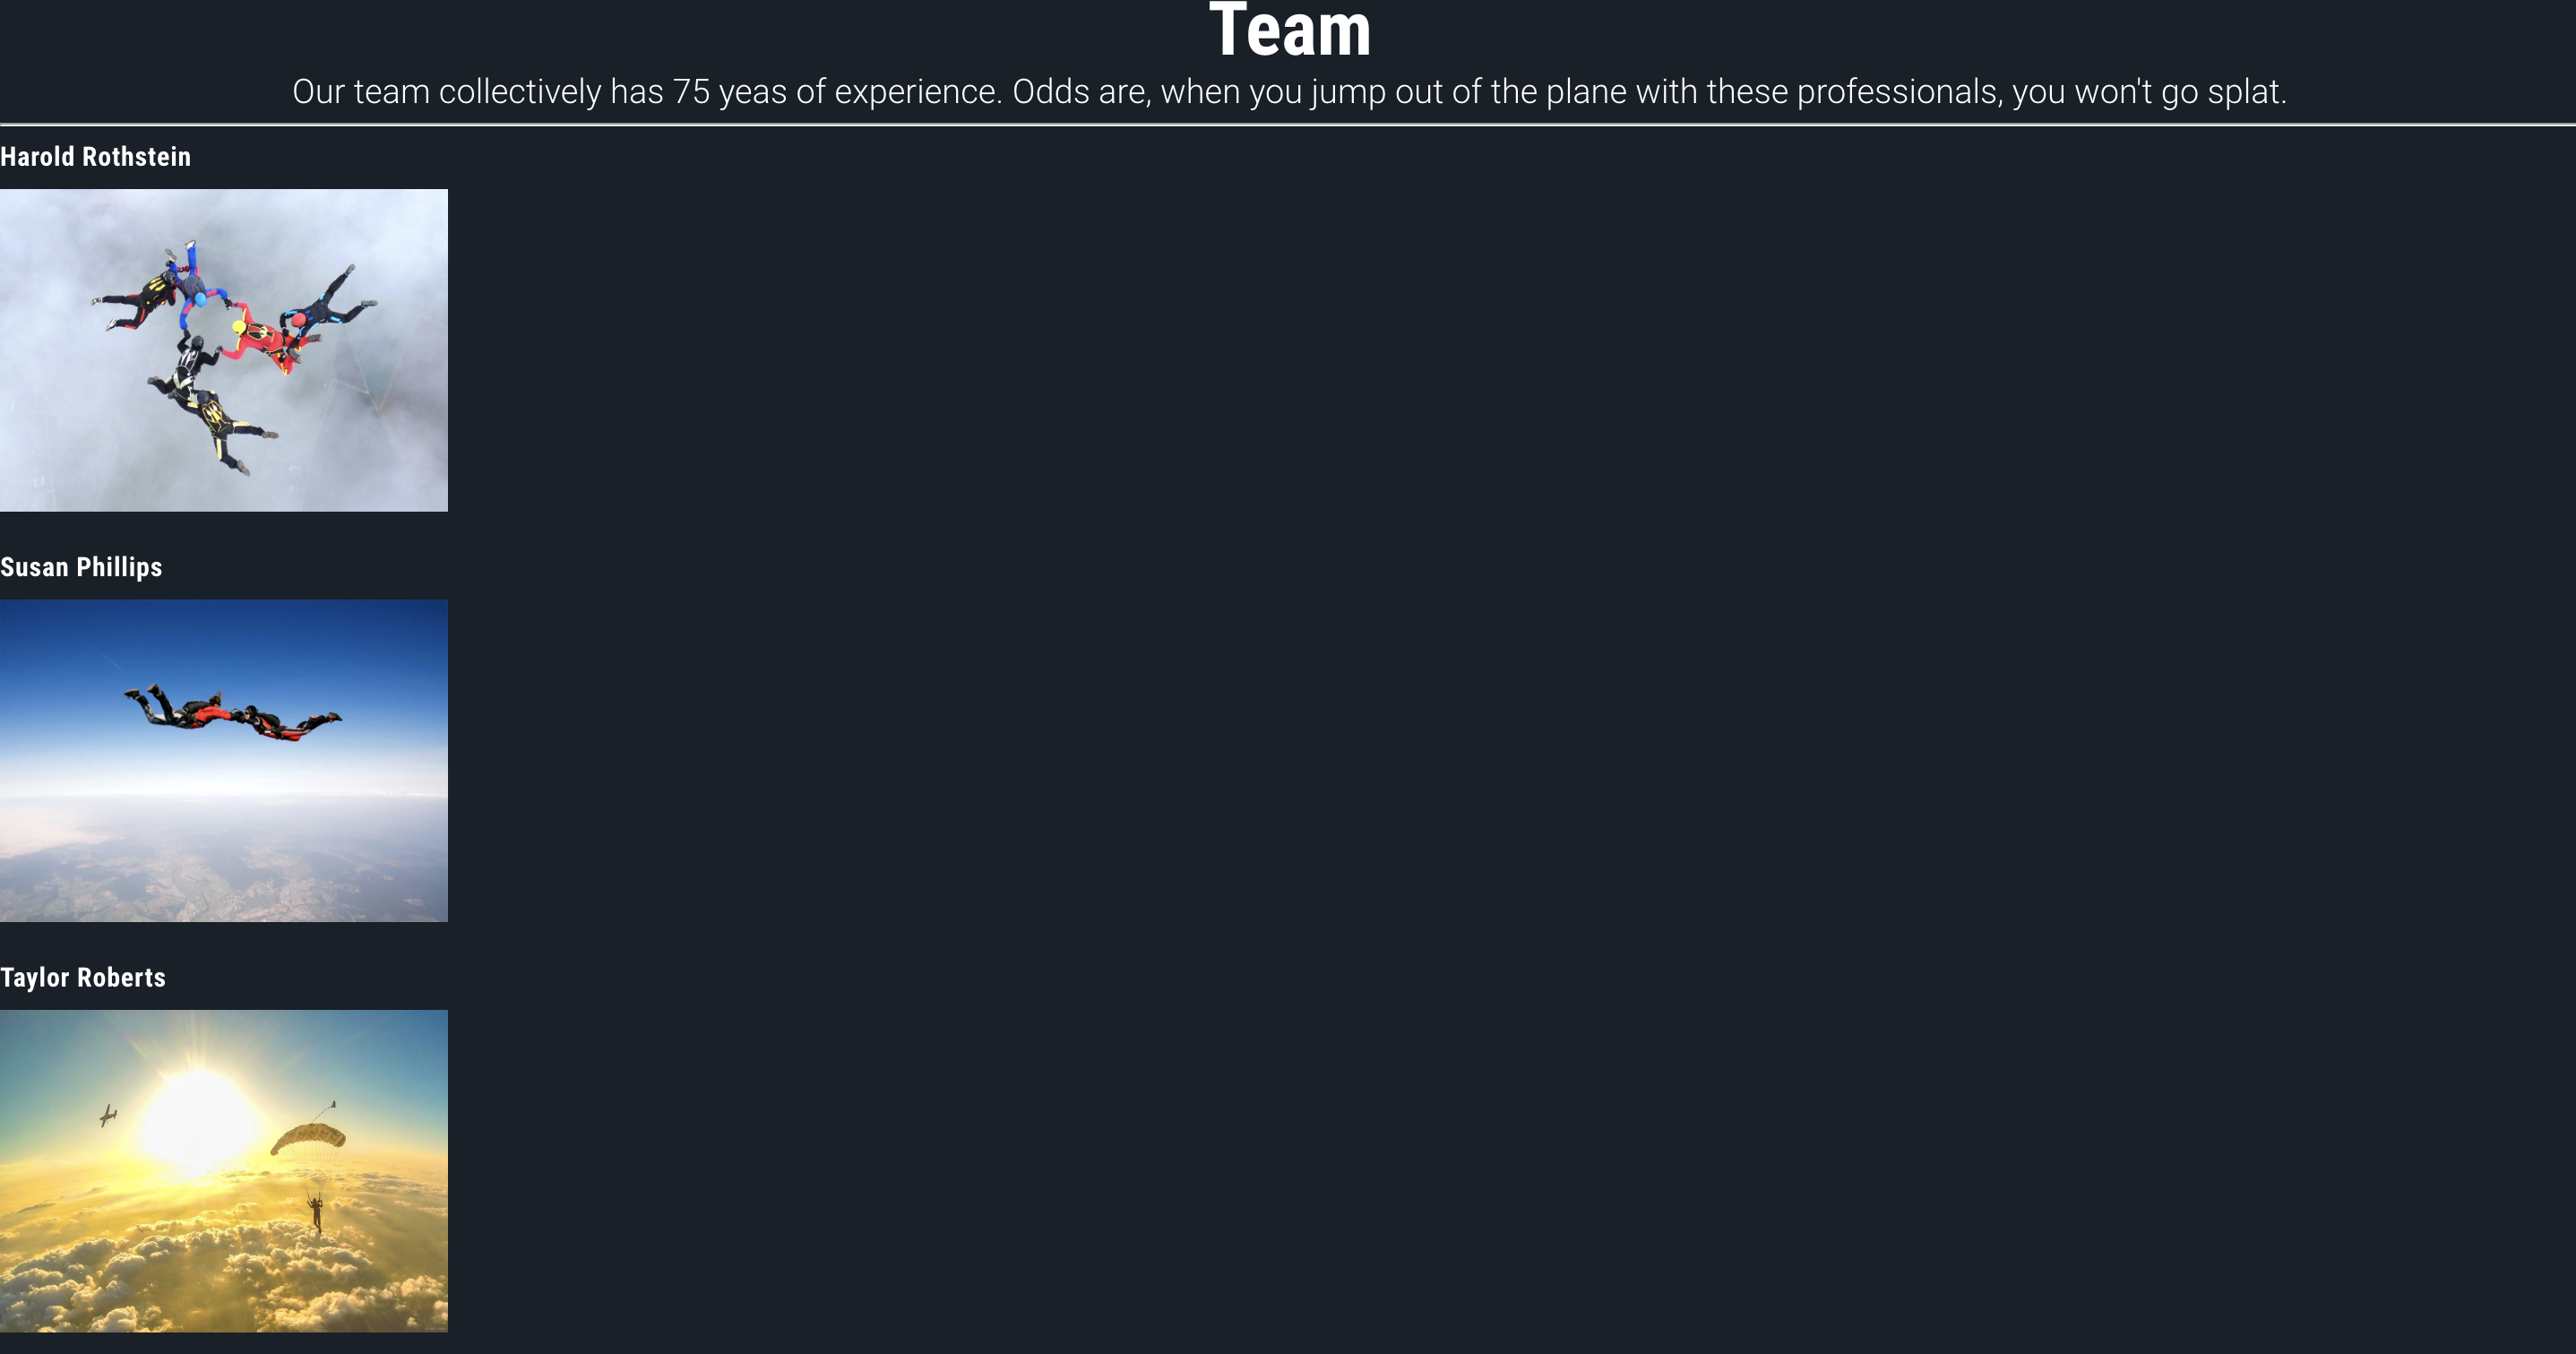
The most important goal in writing quality CSS is to create classes we can reuse. In this section, we again have dark blue as the background color. You previously have created a dark-background class and now add this class to the team section.
Now, you have to create two different classes — one for the text of the section, and another one for the team member names. The first class, section-text, will have set the font size to 1.9em, and the text should be aligned to the center.
On the other hand, the member-name class will set the font size to 1.5em, with a font weight of 700. Add the first class to the p in the HTML, and the second class to all the h4 tags.
To avoid properties overwriting other classes, create a multiple selector to set these classes specifically inside the team id element:
#team .section-text {
}

#team .member-name {
}
Also, let's take care of the images in this section. As we can see they are super large. Let's use multiple selectors to target the img tags inside #team and set the:
- width to 250px and
- height to 180px.
👍 Spoiler:
#team img {
  /* styles to be added here */
}
Nothing to do here...yet!
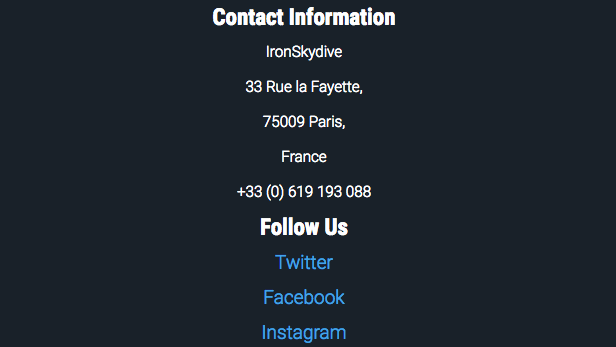
Again, we have a dark background and white text. Add the dark-background class to the footer tag in the HTML. Create a footer class and add it as a second class on the <footer> tag. Use this class to center all the text inside this element and to set up the font size to 1.9em.
👍 Spoiler: To add a second class, you have to do the following:
<!-- ... -->

<footer class="dark-background footer">
  <!-- ... -->
</footer>
Now, create a new class - address, and assign it to the address HTML tag. In this class, define:
- font style:
normal. - font size:
0.8em.
We are almost done. The same as we targeted all the links inside the nav bar (using multiple selector approach), here let's target all the links inside footer and their styles:
- color: blue (check out the table at the beginning of this iteration).
- text-decoration: none.
Assign this class to each element inside the list you have in the footer.
👍 Spoiler: The way to go about this is the next:
.footer a {
  /* styles to be added here */
}
And one, the last thing for this iteration is to remove the dots from the list that is displaying social media links. You can target the ul tag inside the footer and set the list-style property to none. So here it is!
❤️ Happy coding!

