- Describe GitHub and its relationship with Git
- Create a remote repository on GitHub
- Use
git pushto connect your local repository of files to your remote repository - Use
git remote - Use
git push - Use
git pull
GitHub does nothing special in the git universe. It's just another git repository in the cloud. If you don't want to work with anyone else, you don't need remotes. However, this is rarely the case, and we want to work with others! So, we have to talk about remotes.
- While logged into GitHub, click the ➕ in the menubar and select
New repository. Alternatively, just navigate to github.com/new. - Enter a name for your repository in the
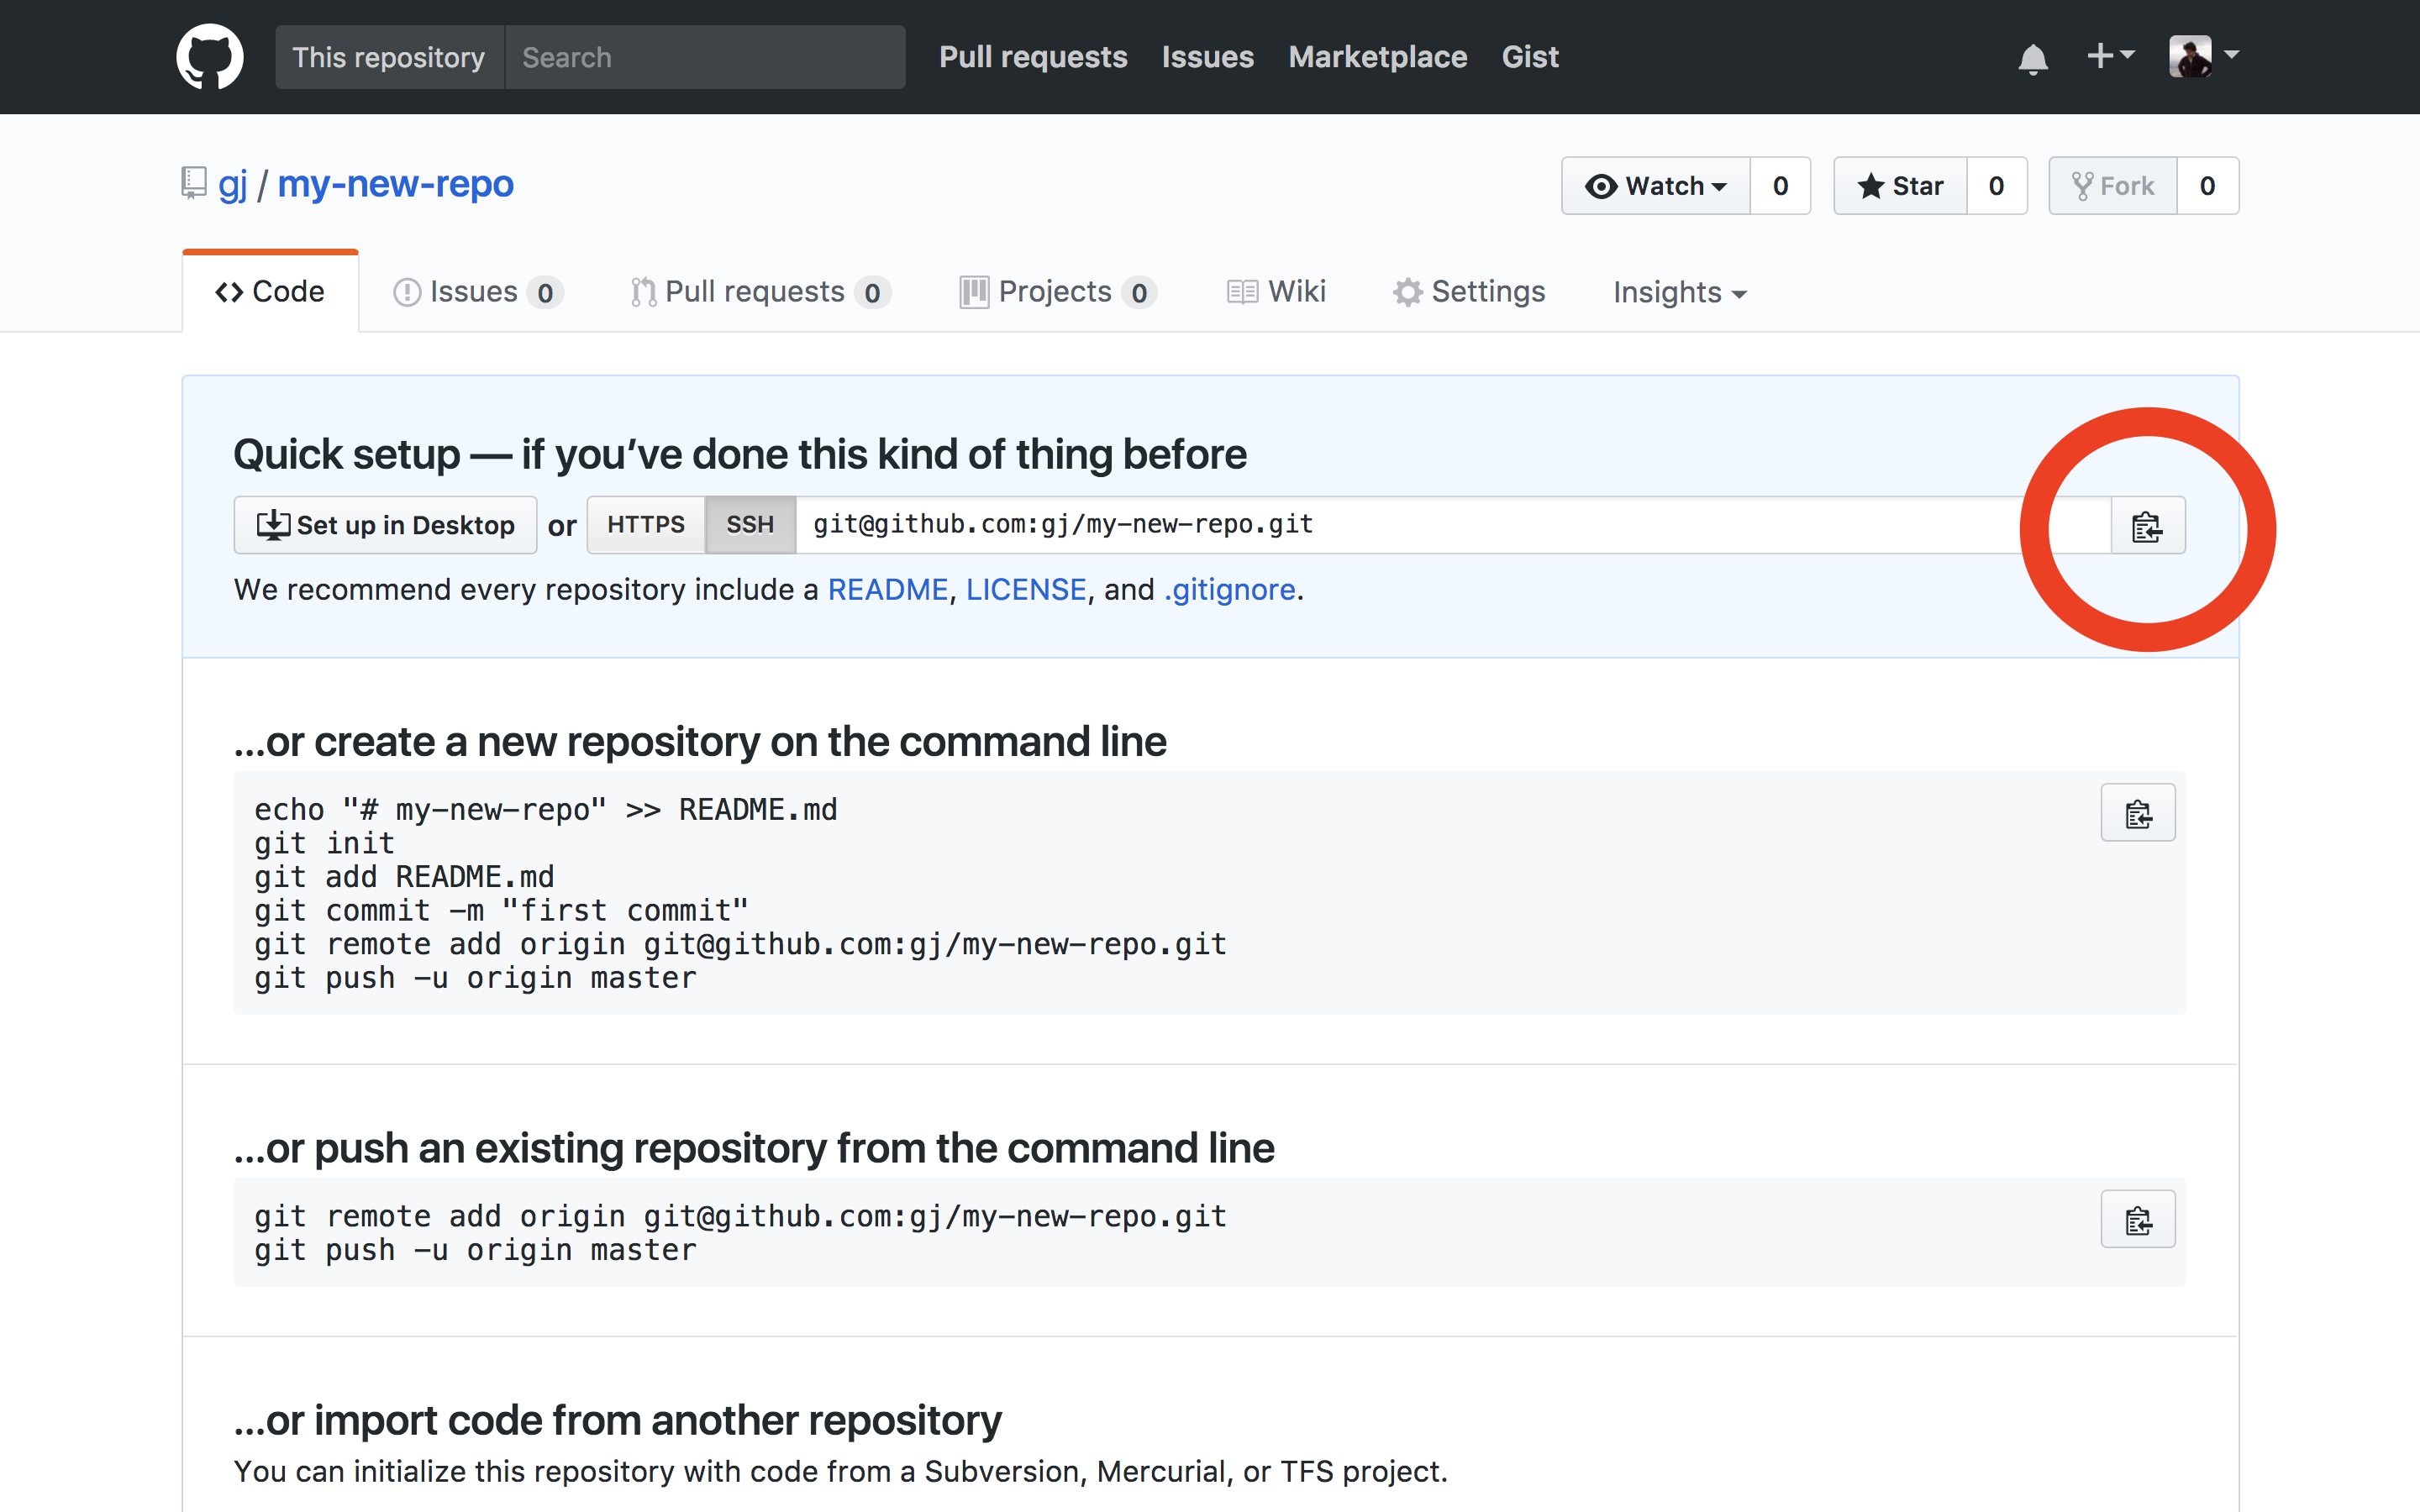
Repository namefield. You can name it whatever you'd like; be creative! The default options are fine as-is — don't initialize the new repository with a README or add a.gitignoreor license. Click the greenCreate repositorybutton. - After you create the repo, you should see a "Quick setup" page. Click the "Copy to clipboard" symbol next to the repo URL (pictured) to copy the URL. (We'll use this in the next section.)
- In your terminal, create a new directory and add a file. You can run this series of commands:
- Change into your
codedirectory:cd ~/code- If your development directory is named something other than
~/code, that's fine —cdinto whatever yours is called.
- If your development directory is named something other than
- Create a new directory named
my_new_directory:mkdir my_new_directory - Change into the newly-created directory:
cd my_new_directory - Create a new file named
README.md:touch README.md - Add some text to the new file:
echo "This is my readme file" > README.md
- Change into your
git initgit add .+git commit -m "initialize git". Add and commit the new file created in step 1.git remote add origin your-remote-repository-URL. This sets the remote, so you can push and pull code.
What is origin? "Origin" is simply the default alias assigned to your new remote repo, but we could rename it to anything. Let's try changing the name of the repo to destination:
git remote -v
# View existing remotes
# origin  https://github.com/OWNER/REPOSITORY.git (fetch)
# origin  https://github.com/OWNER/REPOSITORY.git (push)

git remote rename origin destination
# Change remote name from 'origin' to 'destination'

git remote -v
# Verify remote's new name
# destination  https://github.com/OWNER/REPOSITORY.git (fetch)
# destination  https://github.com/OWNER/REPOSITORY.git (push)
For consistency's sake, let's go ahead and rename destination back to origin:
git remote rename destination originNow that we added a remote repo, there are two actions. We can send our latest work to and retrieve the latest work from the remote.
We use this command when we want to send some code from the local repository to the associated remote repository.
git push takes two arguments. The first is the name of the remote repo. Remember, origin is just an alias that refers to the repository name. You don't actually have to enter the repository name. Instead, you can just use origin. The second is the name of the remote branch you want to send code to. In the example below, we're pushing to the master branch of our remote repository, referred to as origin. To find all the branch names, run git branch -r.
git push origin masterThat is the explicit way to push. You can also implicitly push your code by running:
git pushThis will push your code up to the remote repo/branch you're tracking. The first time you push code up to a newly-added remote repository, use the -u flag to tell Git to track the remote repository: git push -u origin master. For every subsequent push, plain old git push will suffice.
For more details, check out the GitHub guide on pushing.
As we collaborate with other people, inevitably they will push some code. The only problem is that now the code on our machine (our local repo) is out of sync with the remote repo. To remedy this, we must pull down the new code from the remote repo to our local. No surprise here. To do this, run:
git pullAgain, we can also do this explicitly if need be by adding the remote name and branch as arguments: git pull origin master.
For more details, check out the GitHub guide on pulling.
View Git Remotes + GitHub on Learn.co and start learning to code for free.


