Giter Site home page Giter Site logo

coreprocess / linux-unattended-installation Goto Github PK

View Code? Open in Web Editor NEW
311.0 11.0 113.0 85 KB

This project provides all you need to create an unattended installation of a minimal setup of Linux.

License: MIT License

Shell 96.80% Dockerfile 3.20%
unattended-installation unattended linux iso physical-machine virtual-machine ubuntu vm preseed debian-installer

linux-unattended-installation's Introduction

Linux Unattended Installation

This project provides all you need to create an unattended installation of a minimal setup of Linux, whereas minimal translates to the most lightweight setup - including an OpenSSH service and Python - which you can derive from the standard installer of a Linux distribution. The idea is, you will do all further deployment of your configurations and services with the help of Ansible or similar tools once you completed the minimal setup.

Ubuntu 16.04 LTS, 18.04 LTS and 20.04 LTS

Use the build-iso.sh script to create an ISO file based on the netsetup image of Ubuntu.

Use the build-disk.sh script to create a cloneable preinstalled disk image based on the output of build-iso.sh.

Features

  • Fully automated installation procedure.
  • Shutdown and power off when finished. We consider this a feature since it produces a defined and detectable state once the setup is complete.
  • Authentication based on SSH public key and not on a password.
  • Setup ensures about 25% of free disk space in the LVM group. We consider this a feature since it enables you to use LVM snapshots; e.g., for backup purposes.
  • Generates SSH server keys on first boot and not during setup stage. We consider this a feature since it enables you to use the installed image as a template for multiple machines.
  • Prints IPv4 and IPv6 address of the device on screen once booted.
  • USB bootable hybrid ISO image.
  • UEFI and BIOS mode supported.

Prerequisites

Linux

Run sudo apt-get install dos2unix p7zip-full cpio gzip genisoimage whois pwgen wget fakeroot isolinux xorriso to install software tools required by the build-iso.sh script.

Run sudo apt-get install qemu-utils qemu-kvm in addition to install software tools required by the build-disk.sh script.

Mac (Ubuntu 18.04 LTS only)

Run brew install p7zip xorriso wget dos2unix fakeroot coreprocess/gnucpio/gnucpio to install software tools required by the build-iso.sh script.

The script build-disk.sh is not supported on Mac.

Docker

Run docker build -t ubuntu-unattended . to build the Docker image.

When running the Docker container, add the public key you want to use and the ISO output directory as volume links and specify the desired Ubuntu version as parameter (defaults to 18.04), e.g:

docker run \
  --rm \
  -t \
  -v "$HOME/.ssh/id_rsa.pub:/root/.ssh/id_rsa.pub:ro" \
  -v "$(pwd):/iso" \
  ubuntu-unattended \
  16.04

Explanation of the command switches:

--rm
# Remove the Docker container when finished

-t
# Show terminal output

-v "$HOME/.ssh/id_rsa.pub:/root/.ssh/id_rsa.pub:ro"
# Mount "$HOME/.ssh/id_rsa.pub" from your machine to "/root/.ssh/id_rsa.pub"
# in the container (read only).
# This is the path, where the script expects your public key to be.

-v "$(pwd):/iso"
# Mount the current working directory from your machine to "/iso"
# in the container. This is the path, where the ISO file is written to.

It is enough to build the container once. If you want to add a custom preseed config when executing docker run, mount your local copy of the file into the container, e.g: -v "$(pwd)/my_preseed.cfg:/ubuntu/<version>/custom/preseed.cfg".

The script build-disk.sh is not supported on Docker.

Usage

Build ISO images

You can run the build-iso.sh script as regular user. No root permissions required.

./ubuntu/<VERSION>/build-iso.sh <ssh-public-key-file> <target-iso-file>

All parameters are optional.

Parameter Description Default Value
<ssh-public-key-file> The ssh public key to be placed in authorized_keys $HOME/.ssh/id_rsa.pub
<target-iso-file> The path of the ISO image created by this script ubuntu-<VERSION>-netboot-amd64-unattended.iso

Boot the created ISO image on the target VM or physical machine. Be aware the setup will start within 10 seconds automatically and will reset the disk of the target device completely. The setup tries to eject the ISO/CD during its final stage. It usually works on physical machines, and it works on VirtualBox. It might not function in certain KVM environments in case the managing environment is not aware of the eject event. In that case, you have to detach the ISO image manually to prevent an unintended reinstall.

Power-on the machine and log into it as root using your ssh key. The ssh host key will be generated on first boot.

Build disk images

You can run the build-disk.sh script as regular user. No root permissions required, if you are able to run kvm with your user account.

./ubuntu/<VERSION>/build-disk.sh <ram-size> <disk-size> <disk-format> <ssh-public-key-file> <disk-file>

All parameters are optional.

Parameter Description Default Value
<ram-size> The RAM size used during setup routine in MB (might affect size of swap partition) 2048
<disk-size> The disk size of the disk image file to be created 10G
<disk-format> The format of the disk image file to be created (qcow2 or raw) qcow2
<ssh-public-key-file> The ssh public key to be placed in authorized_keys $HOME/.ssh/id_rsa.pub
<disk-file> The path of the disk image created by this script ubuntu-<VERSION>-amd64-<ram-size>-<disk-size>.<disk-format>

Use the generated disk image as template image and create copies of it to deploy virtual or physical machines. Do not boot the template itself, since the ssh host key will be generated on first boot.

linux-unattended-installation's People

Stargazers

 avatar  avatar  avatar  avatar  avatar  avatar  avatar  avatar  avatar  avatar  avatar  avatar  avatar  avatar  avatar  avatar  avatar  avatar  avatar  avatar  avatar  avatar  avatar  avatar  avatar  avatar  avatar  avatar  avatar  avatar  avatar  avatar  avatar  avatar  avatar  avatar  avatar  avatar  avatar  avatar  avatar  avatar  avatar  avatar  avatar  avatar  avatar  avatar  avatar  avatar  avatar  avatar  avatar  avatar  avatar  avatar  avatar  avatar  avatar  avatar  avatar  avatar  avatar  avatar  avatar  avatar  avatar  avatar  avatar  avatar  avatar  avatar  avatar  avatar  avatar  avatar  avatar  avatar  avatar  avatar  avatar  avatar  avatar  avatar  avatar  avatar  avatar  avatar  avatar  avatar  avatar  avatar  avatar  avatar  avatar  avatar  avatar  avatar  avatar  avatar

Watchers

 avatar  avatar  avatar  avatar  avatar  avatar  avatar  avatar  avatar  avatar  avatar

linux-unattended-installation's Issues

How to know the login and password

Hello, just created the new ISO file and used in a VM but can't find the username and password that has been used in the installation process.

Feature request: extend compatibility to Ubuntu server image

It works with netboot.iso perfectly thank you!

I tried to replace netboot.iso with ubuntu-18.04-server-amd64.iso but ran into two issues so far.

  1. The patching doesn't seem to work
  2. cat: /tmp/tmp.oEoTzfiQlV/initrd.gz: No such file or directory

Not sure what is going on.

Feature request: generate hybrid ISO file, e.g. to produce bootable USB drives

I followed the instructions like so:

user$ git clone https://github.com/core-process/linux-unattended-installation.git
user$ ./ubuntu/18.04/build-iso.sh /home/user/.ssh/id_rsa.pub /tmp/bootable_ubuntu1804.iso

When trying to burn the iso with Etcher (official ubuntu usb-stick-creation software recommendation) it complains that this is not a bootable iso. I ignored this at first and did it anyway, but wasn't able to boot with this.
Is this meant to create a bootable iso?

Best,
Alex

Outdated ISO download URL

The URL to the .iso is outdated - something along the lines of this
should be implemented [see lines 68-78]

#get the latest versions of Ubuntu LTS

tmphtml=$tmp/tmphtml
rm $tmphtml >/dev/null 2>&1
wget -O $tmphtml 'http://releases.ubuntu.com/' >/dev/null 2>&1

prec=$(fgrep Precise $tmphtml | head -1 | awk '{print $3}')
trus=$(fgrep Trusty $tmphtml | head -1 | awk '{print $3}')
xenn=$(fgrep Xenial $tmphtml | head -1 | awk '{print $3}')
bion=$(fgrep Bionic $tmphtml | head -1 | awk '{print $3}')

18.04 LTS > Volume Group max size 1 TB

Hello there,

Not sure this is something that has to do with your tooling or with the Ubuntu installation process, but we have bumped into a small problem when using the 18.04 LTS installation on two new machines with 2TB of storage.

The volume group called main (/dev/mapper/main-root) is not sized to use the whole storage. Instead it only uses ~1TB.
This can easily be solved manually after the installation, so it isn't a big deal, but I thought I would flag it anyway.

Cheers,

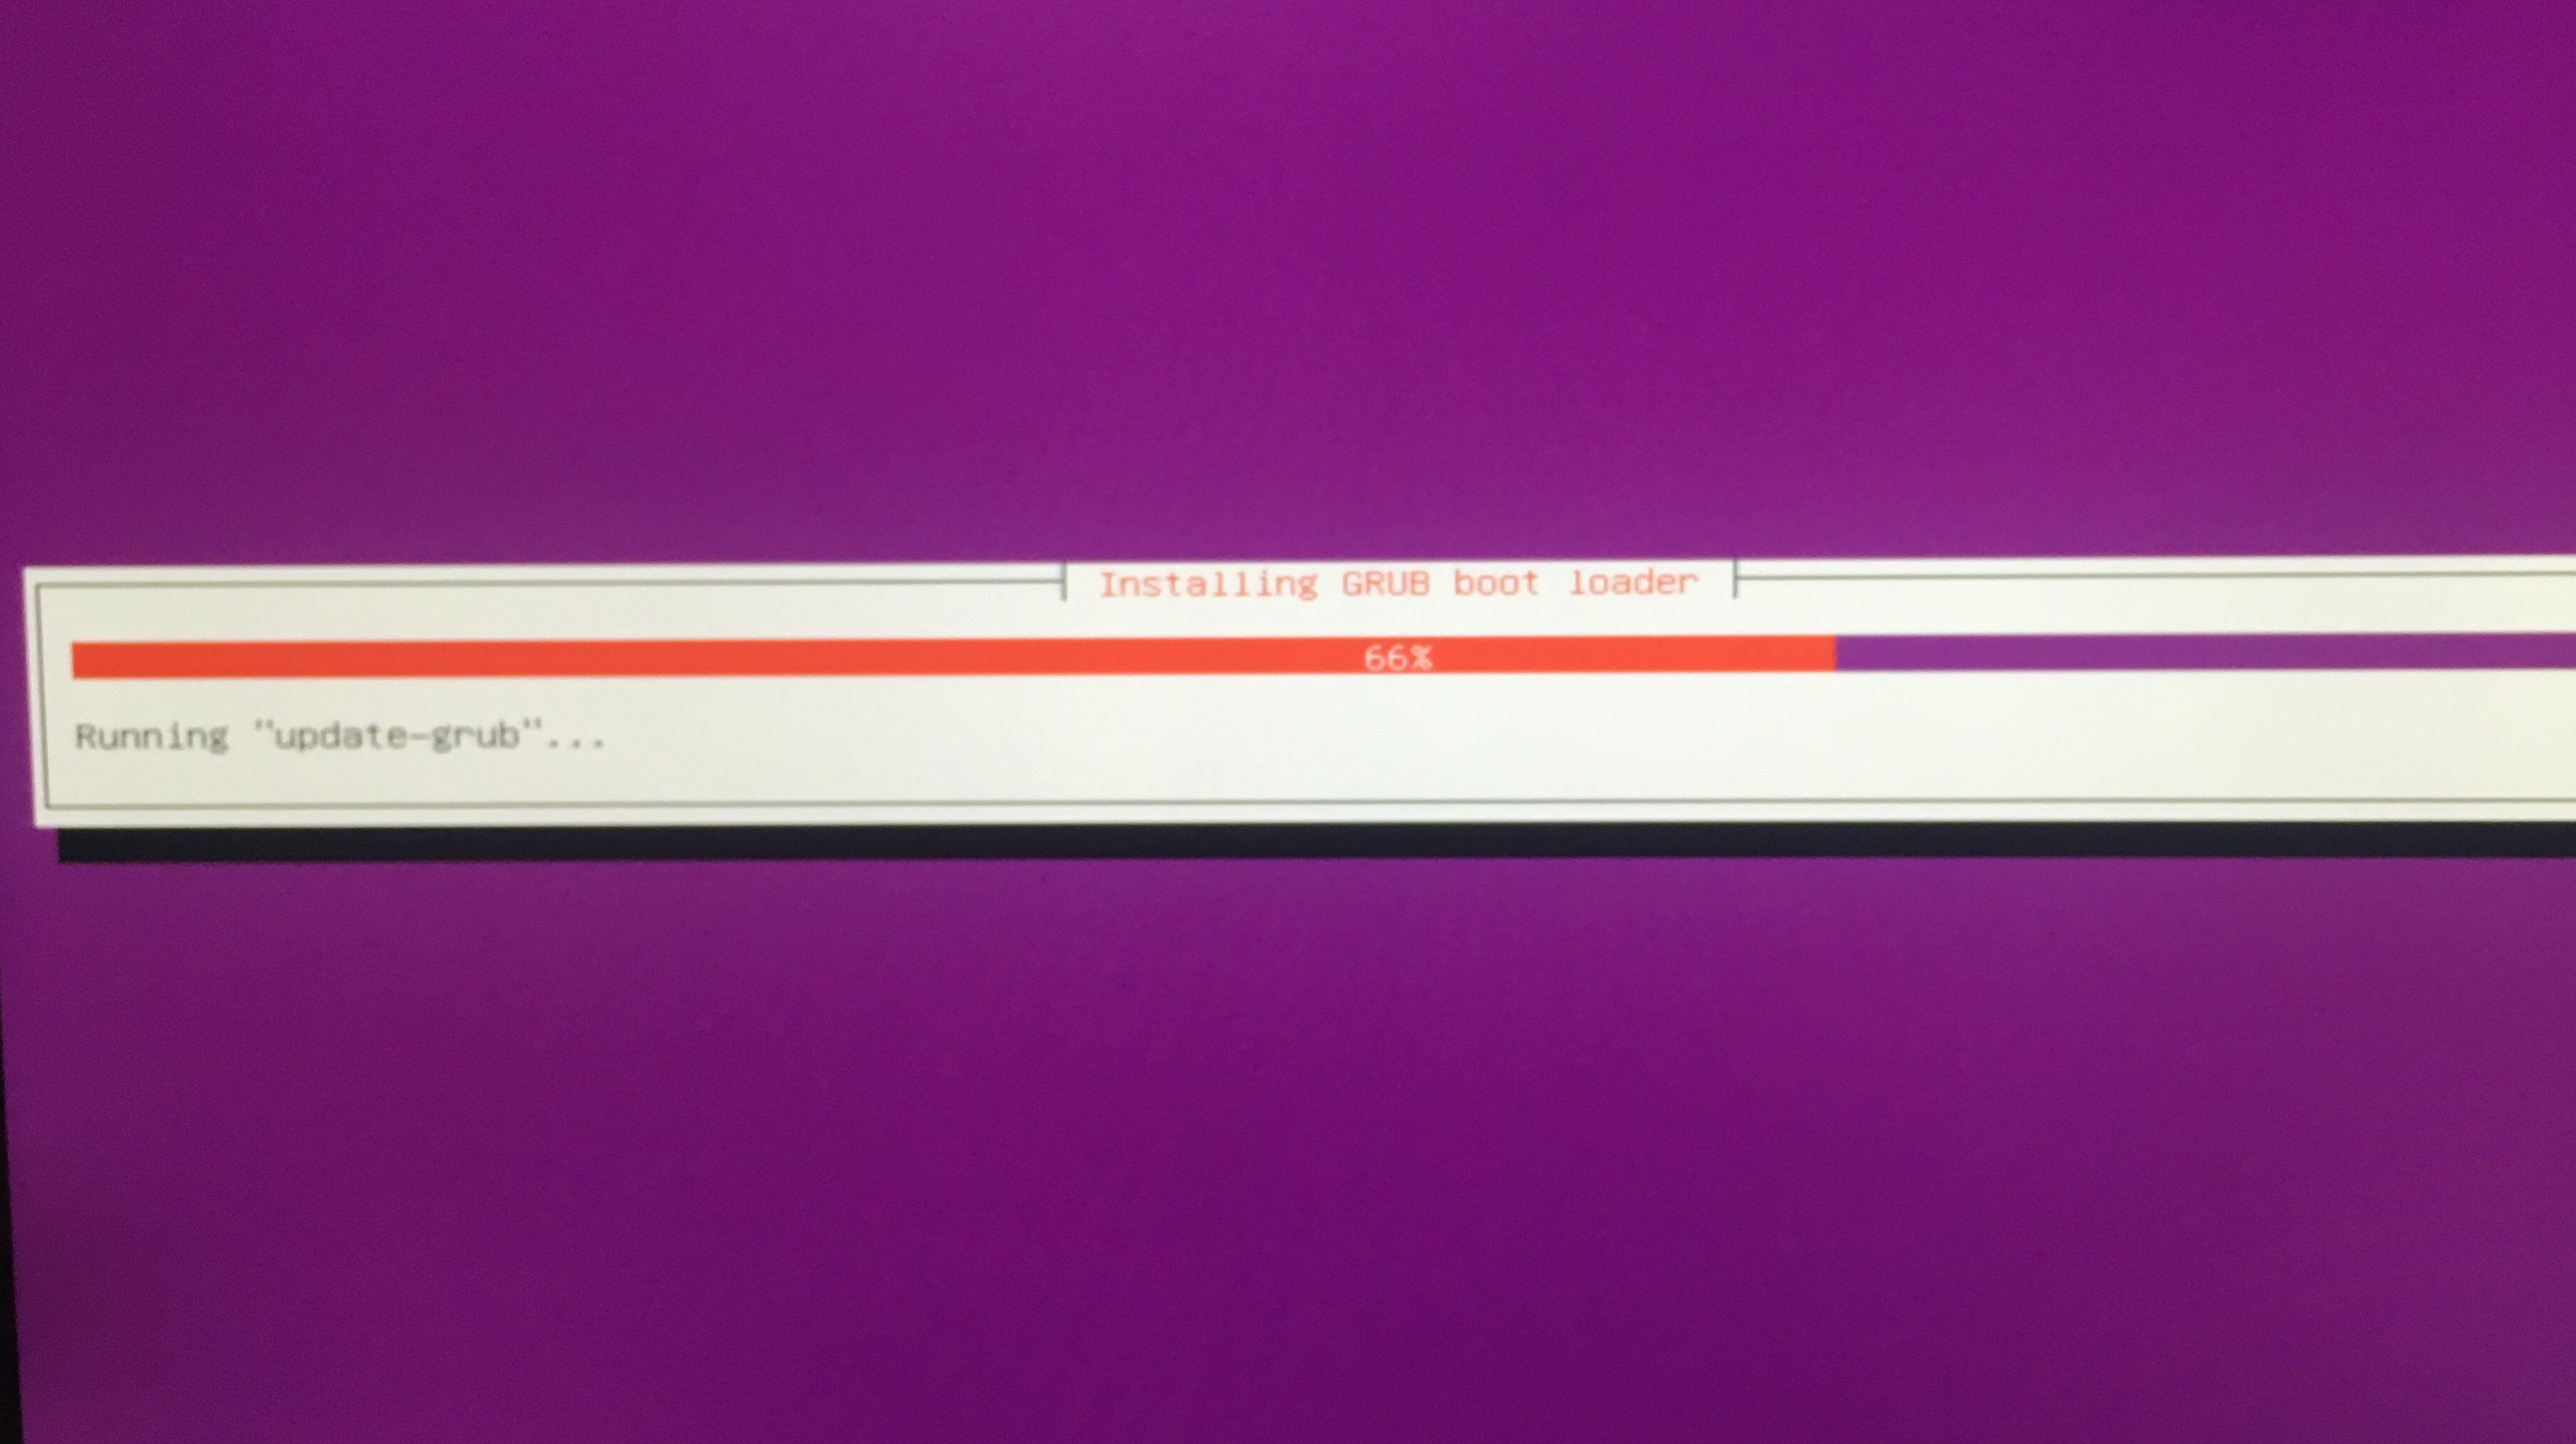
Hangs on Grub Boot Loader Install

The machine I'm installing to is a dev machine and I don't care what drives I reformat.
It does have Linux installed to the nvme drive already. Erasing is no problem here.

Drives we have
1 NVME, usually our OS is installed here /dev/nvme0n1
1 SSD, fast archive storage /dev/sdb
1 HDD, slow archive storage /dev/sda

Bios boot order is:
NVME
SSD
HDD is boot disabled

There is a grub partition already because of the pre-existing install.
Maybe this is the source of the issue for me.
A desirable feature for some would be to format all drives first

Unplugging all drives except nvme0n1 and changing the predeed.cfg from /dev/sda to /dev/nvme0n1 has the same issue and hangs at 66% and doesn't go any further

Line 73

### Partitioning
d-i preseed/early_command string umount /media || true
d-i partman-auto/disk string /dev/nvme0n1
 ...

&

Line 99

### Grub
d-i grub-installer/bootdev string /dev/nvme0n1
d-i grub-installer/only_debian boolean true
d-i grub-installer/with_other_os boolean true
 ...

Any thoughts Niklas?
Again, great work!

grub-install-hang

relative path for ssh key

when adding a ssh key, it needs to be relative to the temp dir.
So I made myself an enhancement to the build-iso.sh script, that I would like to share (tested on my macbook):

function getRealPath {
    path=$1
    perl << EOF
#!/usr/bin/perl
use Cwd 'abs_path';
\$realfilepath = abs_path("$path");
print "\$realfilepath\n";
EOF
}


# get parameters
SSH_PUBLIC_KEY_FILE=${1:-"$HOME/.ssh/id_rsa.pub"}
TARGET_ISO=${2:-"`pwd`/ubuntu-18.04-netboot-amd64-unattended.iso"}
# get realpath of public key
SSH_PUBLIC_KEY_FILE=$(getRealPath $SSH_PUBLIC_KEY_FILE)
# get realpath of target iso file
TARGET_ISO=$(getRealPath $TARGET_ISO)

Feature request: Add UEFI boot capability

Newer hardware often prefers UEFI, some of it doesn't even include a legacy BIOS mode.
This would also be helpful to those wishing to do minimal/task specific Desktop installs using the netboot image.

Its been known this is possible to do with the netboot mini.iso for a good while, and its curious that canonical haven't included it as part of the image build process yet.
See:- https://askubuntu.com/questions/738305/why-doesnt-the-minimal-image-support-uefi
and https://bugs.launchpad.net/ubuntu/+source/debian-installer/+bug/1429030

This should be quite possible to add as part of the build-iso.sh script as it does unpack the source iso anyway.

Preseed would also need adjustment to match the manual steps described here:- https://www.onetransistor.eu/2015/12/install-ubuntu-minimal-cd-uefi-enabled.html

./build-iso.sh: line 36: patch: command not found

dos2unix: converting file ./isolinux.cfg to Unix format...
./build-iso.sh: line 36: patch: command not found
root@TestUbuntu-VM:~/linux-unattended-installation-master/ubuntu/18.04#

Image running: Ubuntu 18.04.2 LTS (GNU/Linux 4.15.0-46-generic x86_64)

Can you please tell me what dependency I'm missing? I installed the recommended ones from the readme.md.

Cheers!

Do not store binaries in version control system (isohdpfx.bin)

What I want

  • I would like to not have a binary (isohdpfx.bin) in version control system
  • I would like to be able to fetch the required binaries on the fly, according to the context (version to fetch for instance)
  • If the official binary isohdpfx.bin does not fit my needs, I would like to be able to rebuild it myself in order to be able to control the involved changes made to it

Why I want

  • Having a binary in a repository always makes us wondering if this binary is malicious, so moving this part in a clean way to show what we do and how we do is a good way to proof the code innocence and good faith to dear users
  • I would like to enhance quality and to improve users adoption of the awesome work done in this repository

Question(s)

  • Do you think it is reasonable/achievable to externalize the fetch of this binary?

Command Not Found on Line 30 for build-iso.sh

eighti@console:~/Downloads/linux-unattended-installation-master/ubuntu/18.04$ sudo ./build-iso.sh 
[sudo] password for eighti: 
--2018-07-16 19:28:01--  http://archive.ubuntu.com/ubuntu/dists/bionic/main/installer-amd64/current/images/netboot/mini.iso
Resolving archive.ubuntu.com (archive.ubuntu.com)... 91.189.88.162, 91.189.88.149, 91.189.88.161, ...
Connecting to archive.ubuntu.com (archive.ubuntu.com)|91.189.88.162|:80... connected.
HTTP request sent, awaiting response... 200 OK
Length: 67108864 (64M) [application/x-iso9660-image]
Saving to: ‘./netboot.iso’

./netboot.iso       100%[===================>]  64.00M  9.98MB/s    in 8.4s    

2018-07-16 19:28:10 (7.58 MB/s) - ‘./netboot.iso’ saved [67108864/67108864]

./build-iso.sh: line 30: : command not found
eighti@console:~/Downloads/linux-unattended-installation-master/ubuntu/18.04$ ls
build-disk.sh  build-iso.sh  custom

Sorry if I am missing something simple

Recommend Projects

  • React photo React

    A declarative, efficient, and flexible JavaScript library for building user interfaces.

  • Vue.js photo Vue.js

    🖖 Vue.js is a progressive, incrementally-adoptable JavaScript framework for building UI on the web.

  • Typescript photo Typescript

    TypeScript is a superset of JavaScript that compiles to clean JavaScript output.

  • TensorFlow photo TensorFlow

    An Open Source Machine Learning Framework for Everyone

  • Django photo Django

    The Web framework for perfectionists with deadlines.

  • D3 photo D3

    Bring data to life with SVG, Canvas and HTML. 📊📈🎉

Recommend Topics

  • javascript

    JavaScript (JS) is a lightweight interpreted programming language with first-class functions.

  • web

    Some thing interesting about web. New door for the world.

  • server

    A server is a program made to process requests and deliver data to clients.

  • Machine learning

    Machine learning is a way of modeling and interpreting data that allows a piece of software to respond intelligently.

  • Game

    Some thing interesting about game, make everyone happy.

Recommend Org

  • Facebook photo Facebook

    We are working to build community through open source technology. NB: members must have two-factor auth.

  • Microsoft photo Microsoft

    Open source projects and samples from Microsoft.

  • Google photo Google

    Google ❤️ Open Source for everyone.

  • D3 photo D3

    Data-Driven Documents codes.