Welcome to Task-3T2, where you'll learn the power of state management and why use it in your Flutter apps!
This week, we'll dive deep into the provider library, your tool to keeping your app's state organized and efficient. you'll be building dynamic and responsive applications with ease.
- understand state management: Understand the importance of managing state and why use it in your app.
- learn the different between stateful and stateless widgets: Learn the differences between them and choose the widget that works for your goal.
- Become a provider expert: Master the provider library to manage state effectively in your Flutter app.
- Provider Package: https://pub.dev/packages/provider - Your official guide to the provider library.
- Simple State Management | Flutter: https://docs.flutter.dev/ - Flutter's documentation on state management concepts.
- Provider Introduction | Video: https://www.youtube.com/watch?v=m2hWRdTBLQ8 - A visual walkthrough to get you started with provider.
Now, let's dive into the code!
1. Setting up the Provider:
Add the following line to your pubspec.yaml file:
dependencies:
  flutter:
    sdk: flutter
  provider: ^6.0.x # Replace with the latest version
2. Creating a Todo Item Model:
Create a file named todo_item.dart with the following code:
class TodoItem {
  final String title;
  final bool isCompleted;

  const TodoItem({
    required this.title,
    this.isCompleted = false,
  });

  TodoItem copyWith({
    required String title,
    bool? isCompleted,
  }) {
    return TodoItem(
      title: title,
      isCompleted: isCompleted ?? this.isCompleted,
    );
  }
}

**3. Creating a Todo Provider :**

```dart
  void addTodo(String title) {
    _todos.add(TodoItem(title: title));
    notifyListeners();
  }

  void toggleTodo(TodoItem item) {
    final index = _todos.indexOf(item);
    if (index != -1) {
      _todos[index] = _todos[index].copyWith(isCompleted: !item.isCompleted);
      notifyListeners();
    }
  }

  void removeTodo(TodoItem item) {
    _todos.remove(item);
    notifyListeners();
  }
4. Building the User Interface:
Create files for your main app and the todo list screen. Here's the example of the main app widget (main.dart):
import 'package:flutter/material.dart';
import 'package:provider/provider.dart';
import 'package:todo_list_app/todo_provider.dart';
import 'package:todo_list_app/todo_list_screen.dart';

void main() {
  runApp(
    ChangeNotifierProvider(
      create: (context) => TodoProvider(),
      child: MaterialApp(
        home: TodoListScreen(),
      ),
    ),
  );
}
This simply wraps the entire app with ChangeNotifierProvider and provides the TodoProvider to all child widgets.
5. Implementing the Todo List Screen :
Create a file named todo_list_screen.dart to build the UI for your app. Here's the code:
import 'package:flutter/material.dart';
import 'package:provider/provider.dart';
import 'package:todo_list_app/todo_item.dart';
import 'package:todo_list_app/todo_provider.dart';

class TodoListScreen extends StatefulWidget {
  @override
  _TodoListScreenState createState() => _TodoListScreenState();
}

class _TodoListScreenState extends State<TodoListScreen> {
  final _newTodoController = TextEditingController();

  @override
  Widget build(BuildContext context) {
    final todoProvider = Provider.of<TodoProvider>(context);

    return Scaffold(
      appBar: AppBar(
        title: Text('Todo List'),
      ),
      body: Column(
        children: [
          Padding(
            padding: const EdgeInsets.all(8.0),
            child: TextField(
              controller: _newTodoController,
              decoration: InputDecoration(
                hintText: 'Add a new task',
              ),
              onSubmitted: (text) {
                if (text.isNotEmpty) {
                  todoProvider.addTodo(text);
                  _newTodoController.clear();
                }
              },
            ),
          ),
          Expanded(
            child: ListView.builder(
              itemCount: todoProvider.todos.length,
              itemBuilder: (context, index) {
                final todoItem = todoProvider.todos[index];
                return CheckboxListTile(
                  title: Text(todoItem.title),
                  value: todoItem.isCompleted,
                  onChanged: (newValue) {
                    todoProvider.toggleTodo(todoItem);
                  },
                  onLongPress: () {
                    todoProvider.removeTodo(todoItem);
                  },
                );
              },
            ),
          ),
        ],
      ),
    );
  }
}
Remember, this is just a basic example. You can customize the UI design, add more features, and explore stuff to do in the bonus round based on your liking. be creative.
This week, you'll put your newfound skills to the test by creating a powerful to-do list app using the provider library. three points you will focus on which are:
- Master CRUD operations: Implement functionalities to create, read, update, and delete tasks within your app.
- Use the provider library: Manage the app's state efficiently using the provider library. See the code examples for help.
- Document your work: Update this README to provide clear instructions and details about your app.
- Splash into action: Add a captivating splash screen to mark the start of your app.
- enter the dark side: Implement a dark mode functionality to cater to diverse preferences .
- Design matters: Unleash your creativity and build a visually appealing and user-friendly UI for your app.
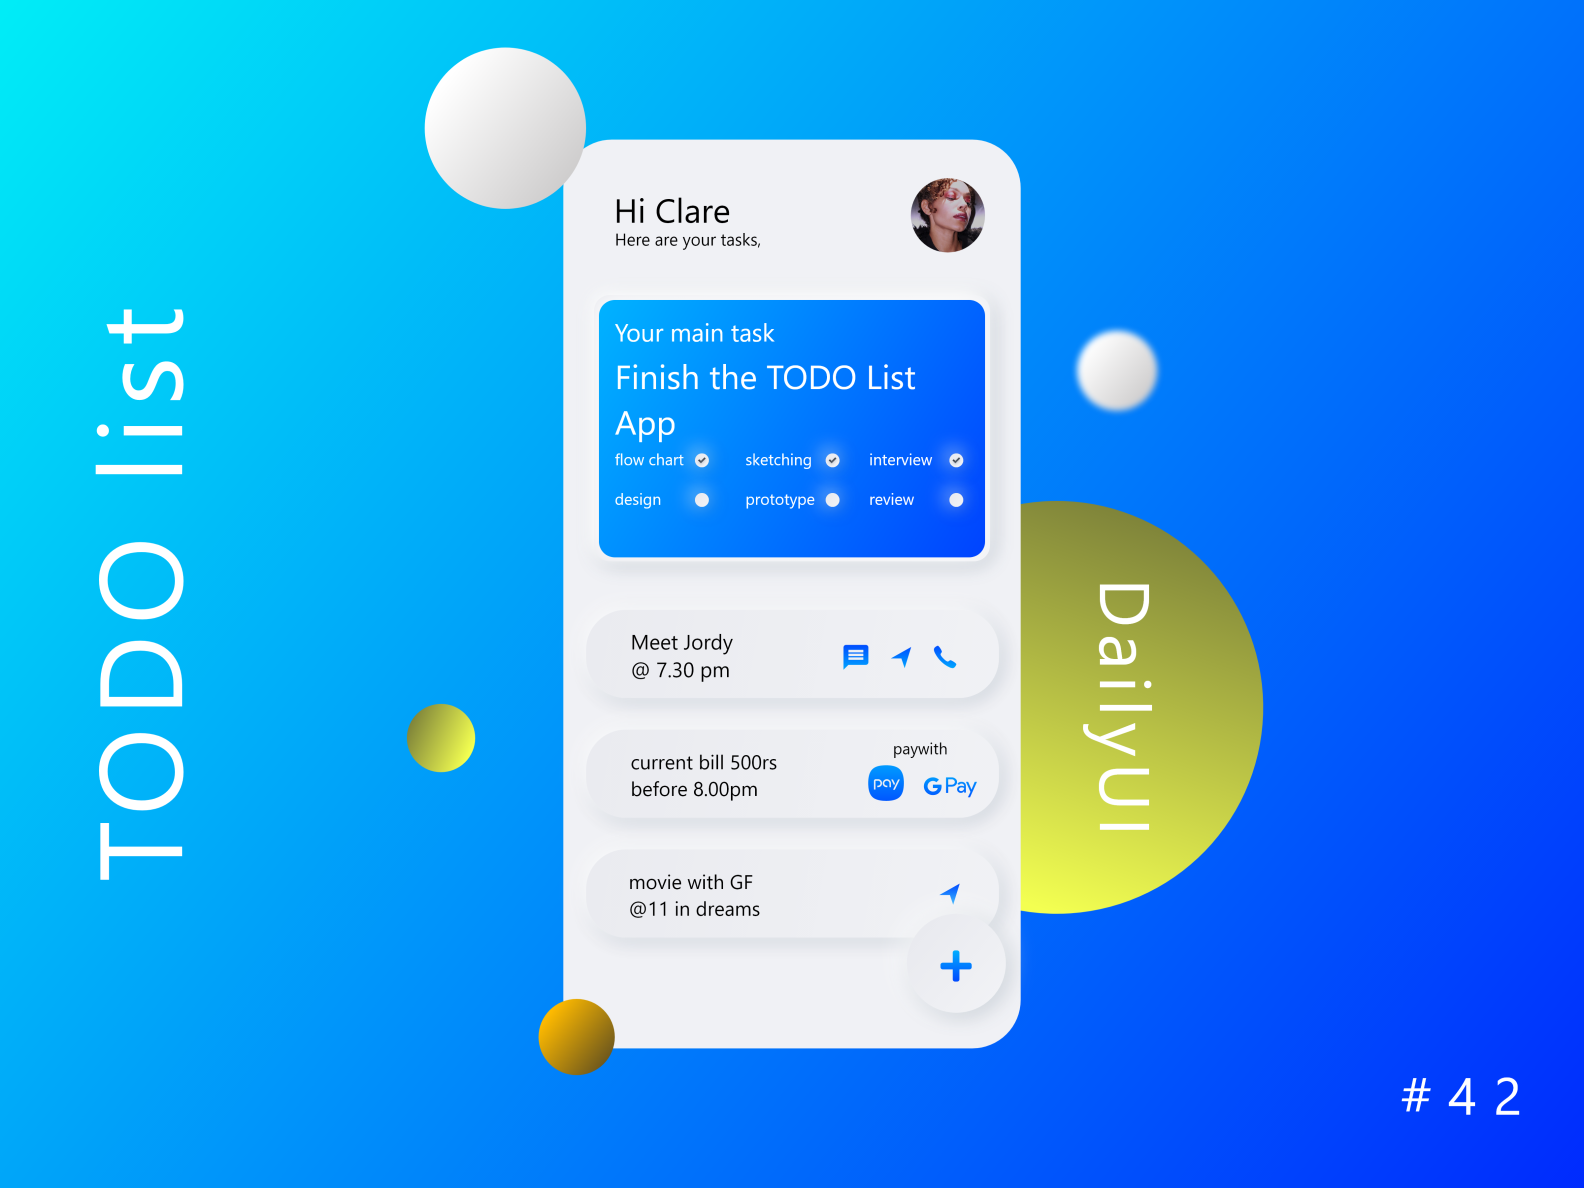
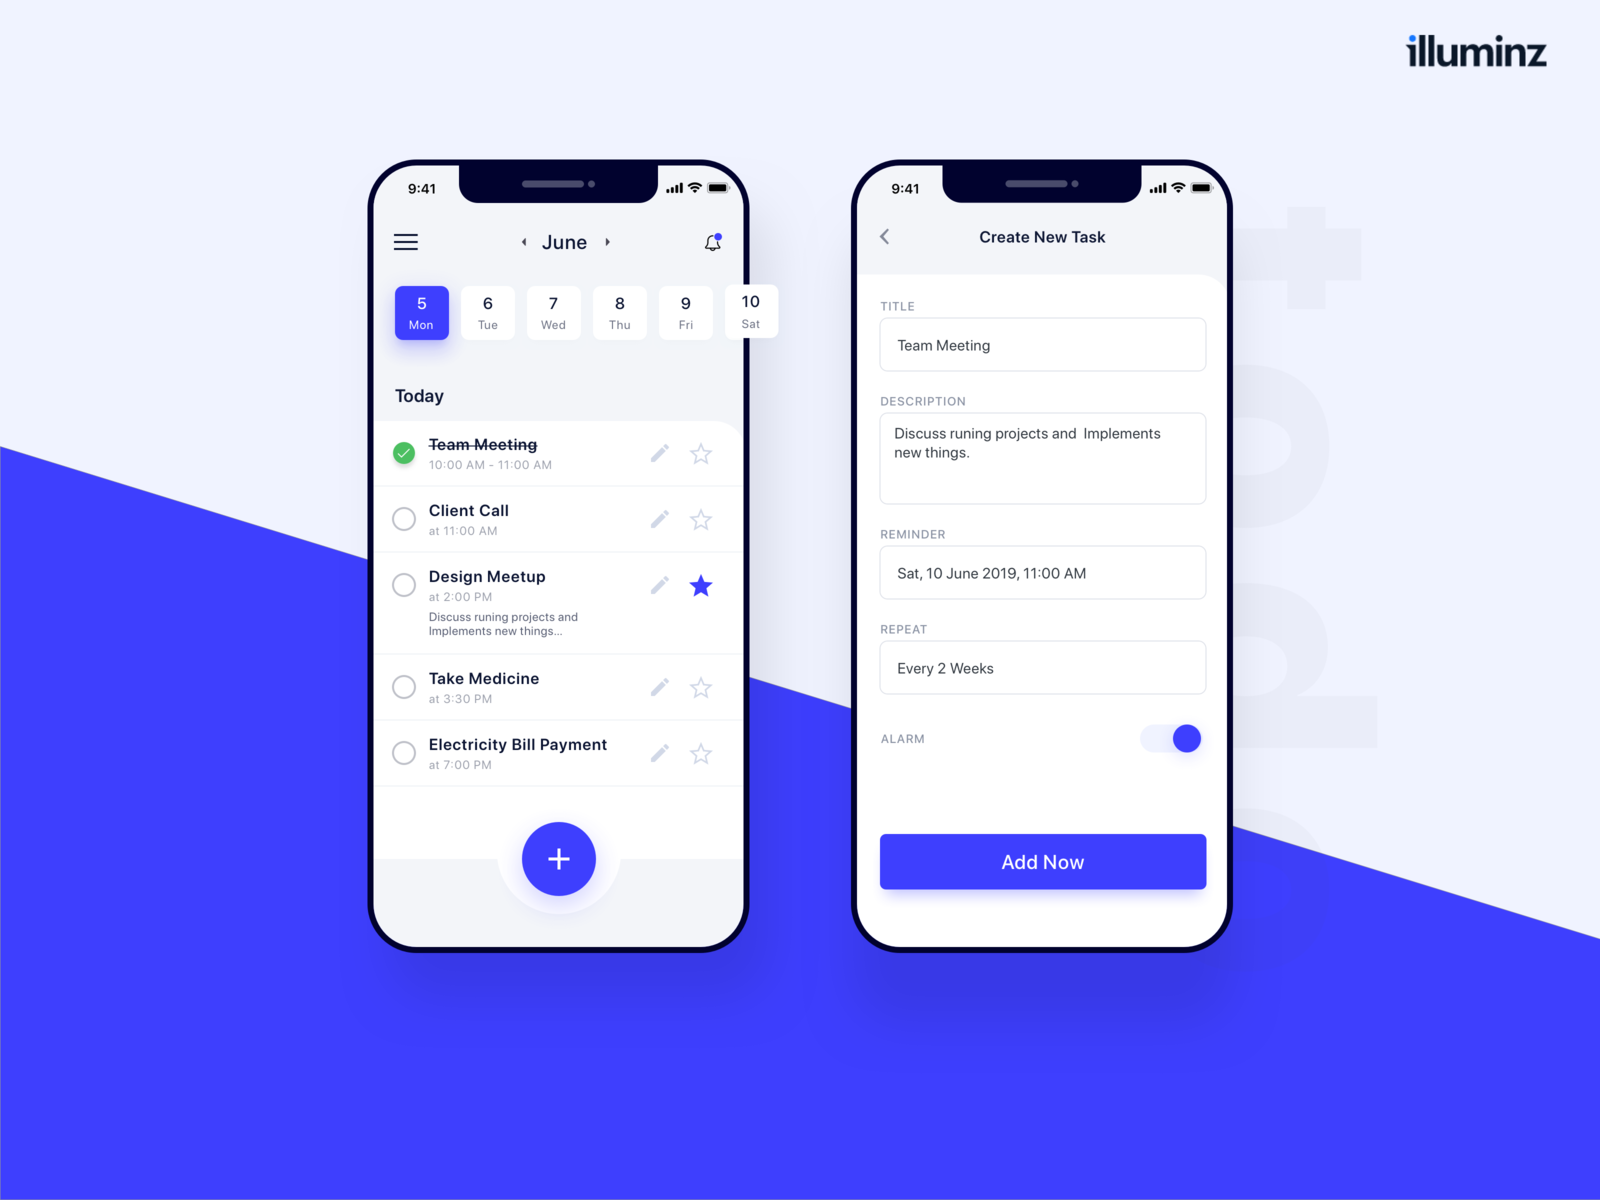
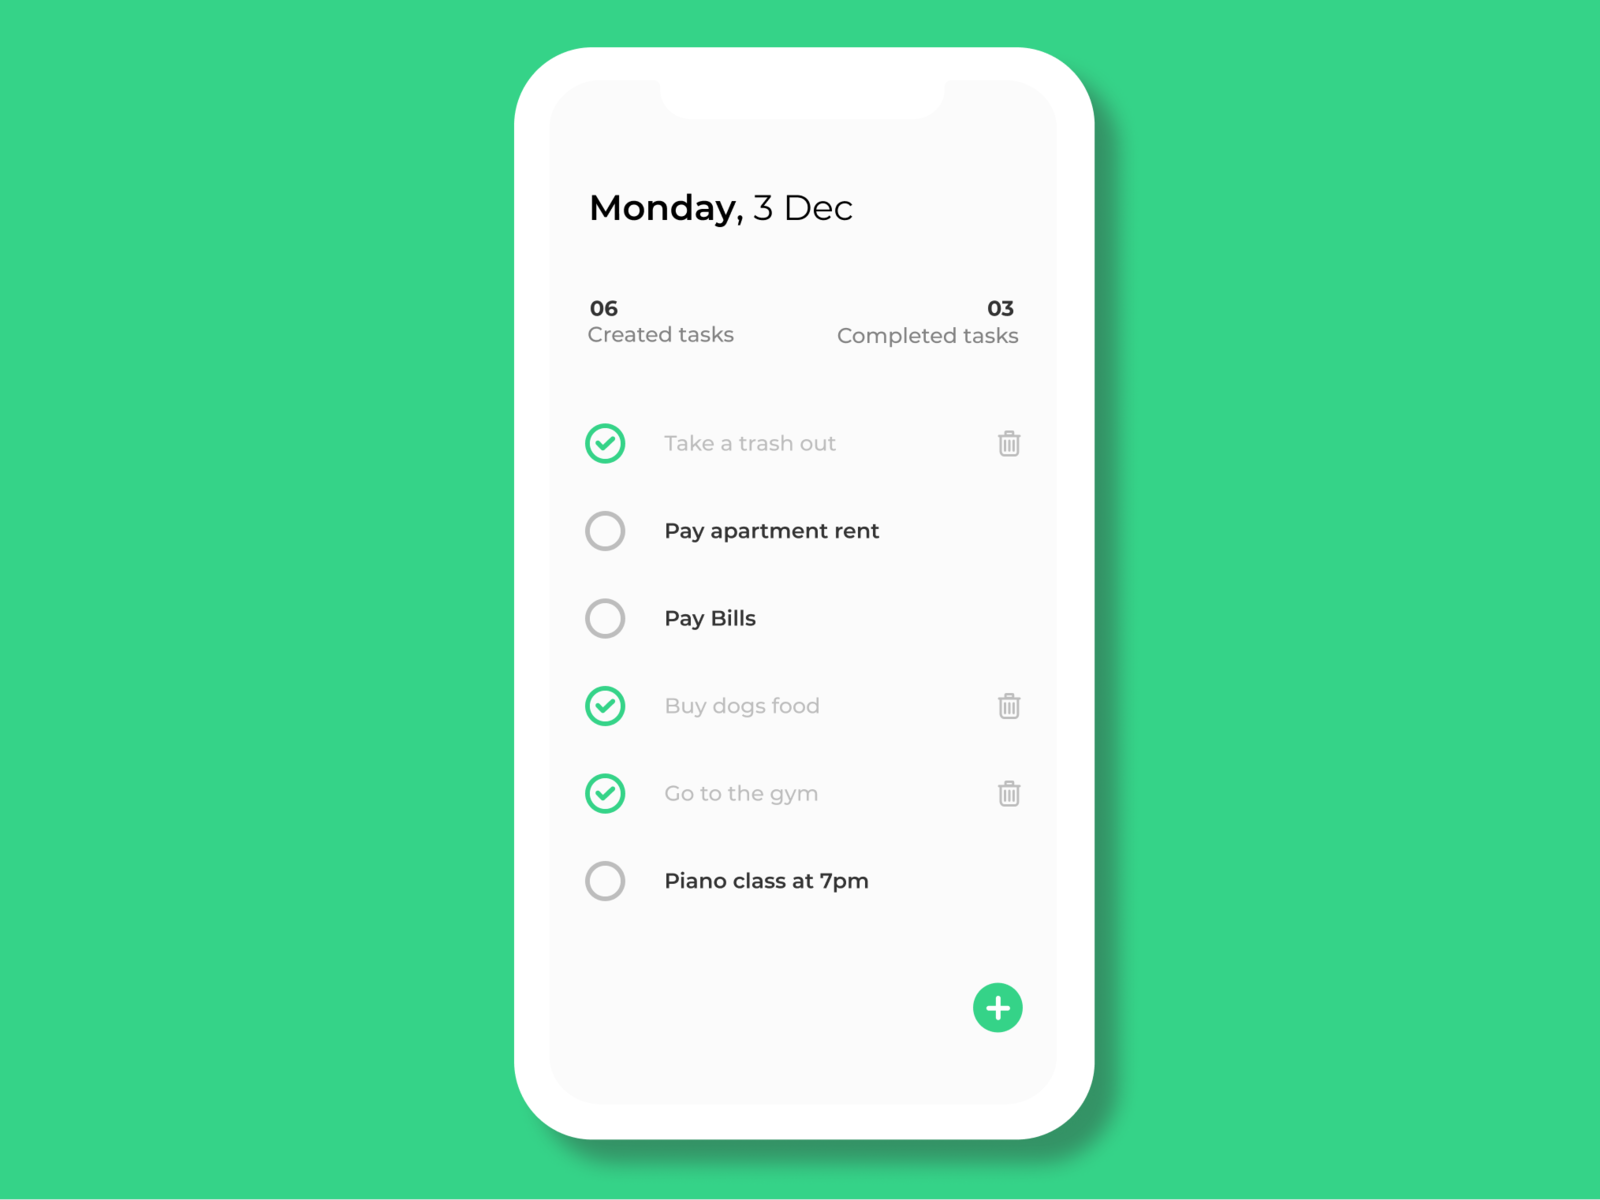
Get inspired by these stunning to-do list app designs:
Remember, there are no limits to your creativity! So, get coding, have fun, and build a to-do list app that reflects your self and work. excited to see what you can come up with!!

