Our goal will be to create a very rudimentary mockup of the game Rock, Paper, Scissors. Ultimately we'll make a site that looks like this:
http://rps-html.matchthetarget.com/
It's a pretty bad game right now — the computer always plays the same moves. We'll bring it to life with Ruby in a couple of weeks.
For now, we're just trying to learn how to make the pages look the way we want.
- Open the project in Gitpod.
- When you're creating the workspace for the very first time, wait for it to finish setting up.
- Start the web server by typing
bin/serverat a Terminal prompt and pressing return. - Check out the your live application preview. I like to pop it open in its own tab.
- As you work, remember to navigate to
/gitand commit often as you work. - Run
rails gradeas often as you like to see how you are doing, but make sure you test your app manually first to make sure it matches the target's behavior first.
-
Click through that and then you may see a page that says "Yay! You’re on Rails!". That means your server started up successfully. We now need to start building some pages.
-
Create a file in the
/publicfolder calledrock.html. In that file, enter some text:Hello, world!
-
In your live application, navigate to the URL that you just built — add
/rockonto the end of the homepage URL. It will look something like this:https://yourlonganduglylookinggitpodpreviewurl.io/rockCongratulations! Your very first web page. As you update the source code with more stuff, be sure to save the source code first and then refresh the live app in Chrome to see the new version.
-
Now your job is to, page by page, make your application match the target.
-
Use the HTML Reference to try and find elements that will help.
-
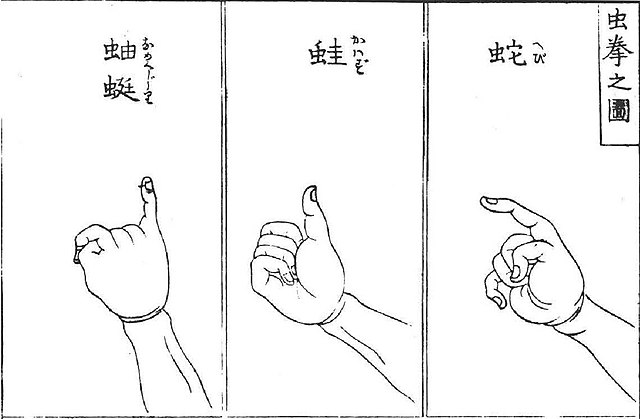
When you get to the rules page, here are the URLs of the images:
- https://upload.wikimedia.org/wikipedia/commons/thumb/6/67/Rock-paper-scissors.svg/627px-Rock-paper-scissors.svg.png
- https://upload.wikimedia.org/wikipedia/commons/thumb/9/9d/Kitsune-ken_%28%E7%8B%90%E6%8B%B3%29%2C_Japanese_rock-paper-scissors_variant%2C_from_the_Genyoku_sui_bento_%281774%29.jpg/640px-Kitsune-ken_%28%E7%8B%90%E6%8B%B3%29%2C_Japanese_rock-paper-scissors_variant%2C_from_the_Genyoku_sui_bento_%281774%29.jpg
- https://upload.wikimedia.org/wikipedia/commons/thumb/a/ae/Mushi-ken_%28%E8%99%AB%E6%8B%B3%29%2C_Japanese_rock-paper-scissors_variant%2C_from_the_Kensarae_sumai_zue_%281809%29.jpg/640px-Mushi-ken_%28%E8%99%AB%E6%8B%B3%29%2C_Japanese_rock-paper-scissors_variant%2C_from_the_Kensarae_sumai_zue_%281809%29.jpg
-
When you are making links to pages, you can either put in the entire URL (the absolute URL):
href="https://yourlonganduglylookinggitpodpreviewurl.io/rock"or you can put in just the part after domain (the path):
href="/rock"but don't leave out the leading
/if you go with the latter approach. -
When you get to making the homepage (i.e. the bare domain with nothing after it), call the file
index.html— Rails uses the file/public/index.htmlfor the homepage.When you are making links to the homepage from the other pages, you can just put
/in thehref:<a href="/">Rules</a>
-
Run
rails gradeto see how you're doing. -
Ask lots of questions on Piazza!
- If you don't have an account, sign up for Heroku.
- If asked for your preferred language, you can say Ruby or anything else; it doesn't make any difference.
- You don't need to add a credit card to it if you don't want to.
- You can host up to 5 apps before adding a credit card.
- After you add a credit card, you can host up to 100 apps.
- Whether 5 or 100, they can still remain on the free tier; credit card is just for identity verification.
- You also need to verify your identity if you want to put your app behind your own custom domain.
-
At a terminal prompt:
heroku login -
You will see something like:
heroku: Press any key to open up the browser to login or q to exit: -
Press a key. You will then see:
Opening browser to https://cli-auth.heroku.com/auth/cli/browser/48eda9ea-0edd-426a-91eb-3a8486df4a1c › Warning: Cannot open browser. -
Copy-paste that URL into a browser tab (or Cmd/Ctrl
+click on it). Sign in to your Heroku account. Back in the terminal, you should see:Logging in... done Logged in as [YOUR HEROKU EMAIL ADDRESS].
-
At a terminal prompt,
heroku createThis will assign a random name to your app. If you want to, you can also choose a name for the app when creating it:
heroku create my-cool-appOr, at any time, you can rename the app:
heroku rename my-awesome-app
-
Make a git commit with your latest work that you wish to deploy. You can use the web interface at
/git, or you can run the following commands at a terminal prompt:git add -A git commit -m "Describe your changes" -
At a terminal prompt,
git push heroku HEAD:master -f -
That's it! Your app will be available, once deployed, at
https://my-awesome-app.herokuapp.com(or whatever name you chose or were assigned). -
Repeat the two steps above as many times as you like to deploy new changes.
-
To put your app behind a custom domain name, you must first verify your identity by adding a credit card to your Heroku account. This will also lift your app limit from 5 to 100.
-
Then, at a terminal prompt:
heroku domains:add www.your-domain.com -
You will see some instructions:
heroku domains:add www.your-domain.com Adding test.appdevproject.com to ⬢ my-awesome-app... done Configure your app's DNS provider to point to the DNS Target young-peony-foamxxrzcu9xzxd286waw6ay.herokudns.com. For help, see https://devcenter.heroku.com/articles/custom-domains The domain www.your-domain.com has been enqueued for addition Run heroku domains:wait 'www.your-domain.com' to wait for completion -
Back in your domain registrar, find the place to add "CNAME Records". Depending on the registrar, you will usually under "DNS Settings".
-
Create a CNAME record that points
wwwto the target that Heroku gave you (in the example above,young-peony-foamxxrzcu9xzxd286waw6ay.herokudns.com). -
That's it! It usually takes a few minutes to take effect.


