MCT Tool is a Google Colab based Jupyter notebook uses Rclone and other popular engines (aria, yt-dlp, libtorrent, 7zip etc) to manipulate & tranfer data (even simultaneously) between two or more cloud services without utilizing one's bandwidth or system resources. While performing given task, MCT Tool saves important user session or configuration files in safe (encrypted) format to make things easier next time when user perform same task requiring same configuration or session files.
->📃Download Links from txt file
->🎥YouTube videos/playlist & other sites
->📤Upload Files/Folder to Anonymous Platforms
->Rclone upgraded to v1.61.1
->yt-dlp upgraded to v2023.01.16
->LibTorrent upgraded to v2.0.8
->NoteBook upgraded to v5.0.2
->Installer upgraded to v5.0.1
->Bulk links download without .txt file.
->'Upload to Anonfiles' feature renamed to 'Upload to Anonymous platforms' and supports 12 new platforms.
->Upload folder support with link harvest feature on 12 Anonymous file sharing platform.
->MEGA Credentials will now be saved in json format instead of txt file and in encrypted format instead of plan text.
->Seperate direct link generators are removed.
->New check to block any unknown file to be executed received from any input field provided by the Tool.
->MCT Tool is 7x faster & smaller then ever!
->Slow code execution problem caused by recent changes made by Google Colab team in google.colab library or at colab's backend.
->Let string be string don't interpret, basically MCT Tool was sometime producing unknown errors/outputs caused due to some special signs that a given particular path may or may not contain.
->Typos in paths (drive or root) of Rclone file causing error in uploading/saving it.
3.Damage caused due to any type of unofficial edits or forks should not be reported to official contributors.
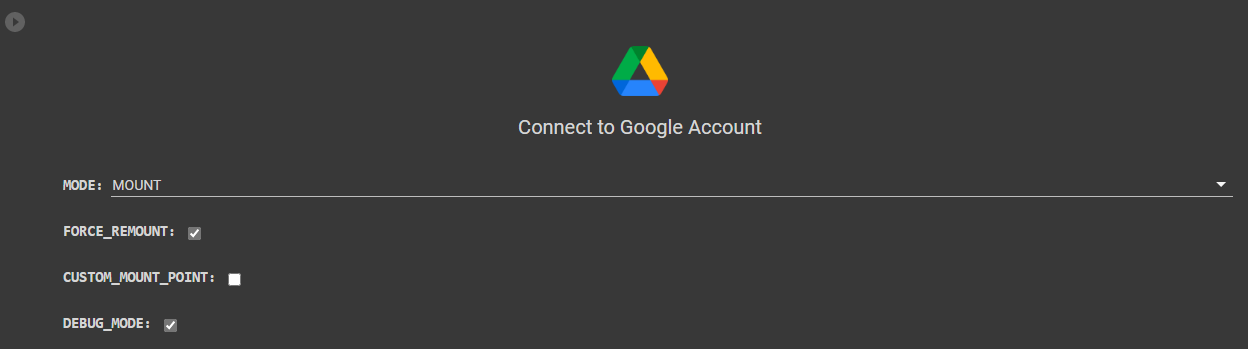
FORCE_REMOUNT: Forcefully remount Google Drive.
CUSTOM_MOUNT_POINT: Choose different path for mounting Google Drive.
DEBUG_MODE: To enable or disable DEBUG Mode.
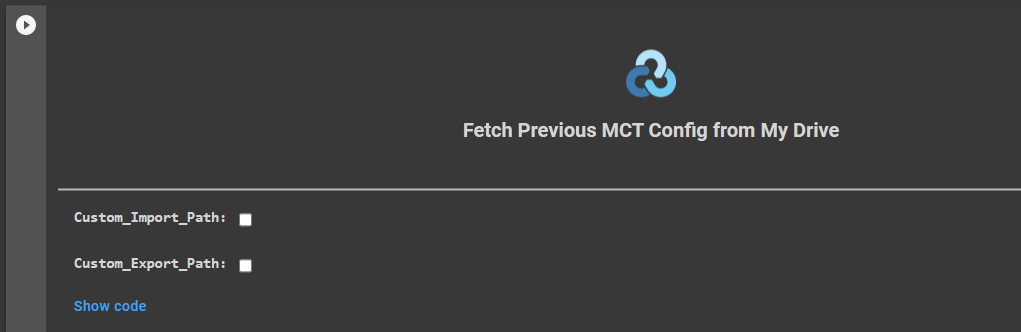
2.Fetch your previous saved MCT Tool configuration files from Google Drive->My Drive->MCT Config folder to stop wasting your time by creating them again and again@
Custom_Import_Path: Scan a custom path (or directory) give by user for usable MCT Configuration files.
Custom_Export_Path: Export all your MCT Configuration files to a gives path.
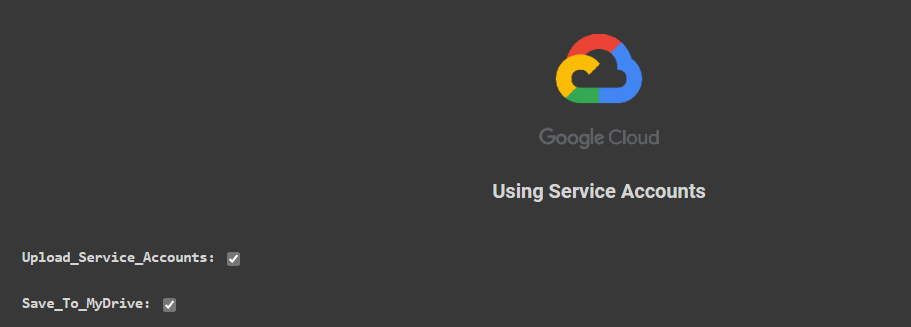
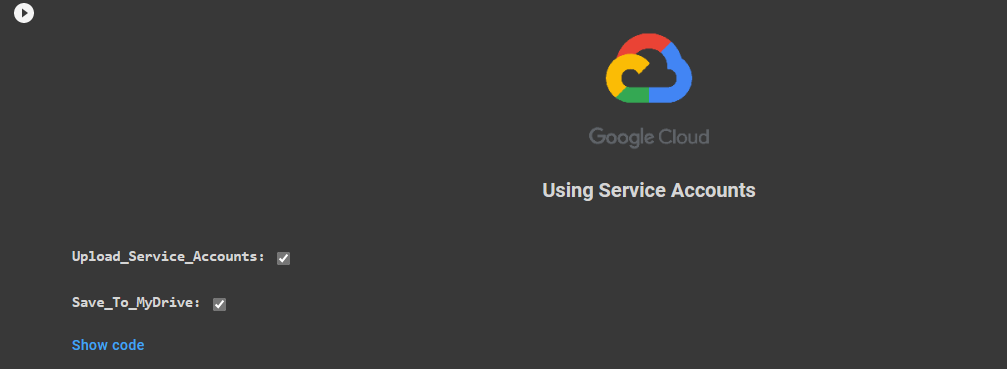
4.Use Service Accounts with MCT Tool to avoid Google Drive's transfer limits, read "Using Service Accounts" Section to learn how to.
Upload_Service_Accounts: Upload new Service Accounts.
Save_To_MyDrive: Save new/existing Service Accounts to Google Drive-> My Drive
delete: Delete the content of folder or single file.
purge: Delete whole directory and leaving nothing behind.
rmdir: Completely delete the given path.
rmdirs: Remove any empty directories under the path.

6.Add-ons are additional features which are not offered by Rclone officially but created by two or more engines.
7.MCT Tool supports packing & extracting files or folders in variety of formats and transfer simultaneously.

MCT Tool uses Rclone, one of the best command line tool for data transfer & data management tool for performing any task involving transfer of data, that means it can transfer any amount of data from/to any cloud service without utilizing one's own bandwidth or system resources.
1.Before we procced! I recommend to either create/upload or fetch your Rclone Config file to Google Colab using below methods! Creating and fetching will automatically place the file in correct location!
Custom_Import_Path: Scan a custom path (or directory) given by user for usable MCT Configuration files.
Custom_Export_Path: Export all your MCT Configuration files to a gives path.

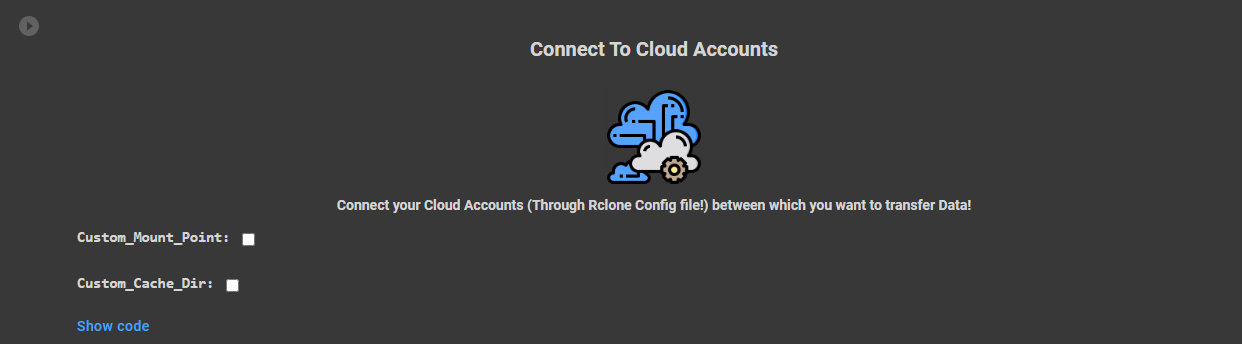
2.Once you done creating or fetching the config files! just run the cell named Connect to Cloud Accounts and it will automatically detect your config file and will show you the available remotes, follow on-screen instructions to mount them
Custom_Mount_Point: To set Custom Mount Point.
Custom_Cache_Dir: To set Custom Cache Directory.
3.After mounting those remotes or cloud Accounts, now click on the file icon as shown in the image and then navigate to the folder where you mounted your remoted (default folder is drives) and you will see the names of remotes or cloud account which you mounted previously!

4.Now copy the file or folder path which needs to be copied and then right click on the file or folder and select Copy Path option from the list.

5.After that! paste the path of file or folder in Source field and again go to File Icon->drives and open the cloud Account into which you want to transfer files/folders and copy its path! You can either directly copy the path of cloud Account or of any folder inside it and paste the path in Destination field.

6.Choose the transfer mode trough which you want to transfer your data! refer to "🚅Modes of Transfer" below to learn about all of them.
Service Accounts are just like normal Google Account and thus have same upload or download limits as Google Account which is 750GB upload and 10TB download. They are used to act on behalf of a Google Account and hence we can use them to prevent hitting Google Drive transfer limits by creating them in a bulk amount.
1.Don't have Service Accounts? Create Here
2.After creating! make the zip of accounts folder which have 100 Json files and keep its name as accounts.zip.
3.Now back to Google Colab screen and select saving options for Service Accounts to use them without uploading them again next time.
Upload_Service_Accounts: Upload new Service Accounts.
Save_To_MyDrive: Save new/existing Service Accounts to My Drive->MCT Config folder.
4.After it! click the file icon, then open accounts folder and right click on anyone Json file and select Copy path.

5.Run the Create/Edit/Delete Rclone Config File and paste the path in service_account_file during creating remote for Google Drive.

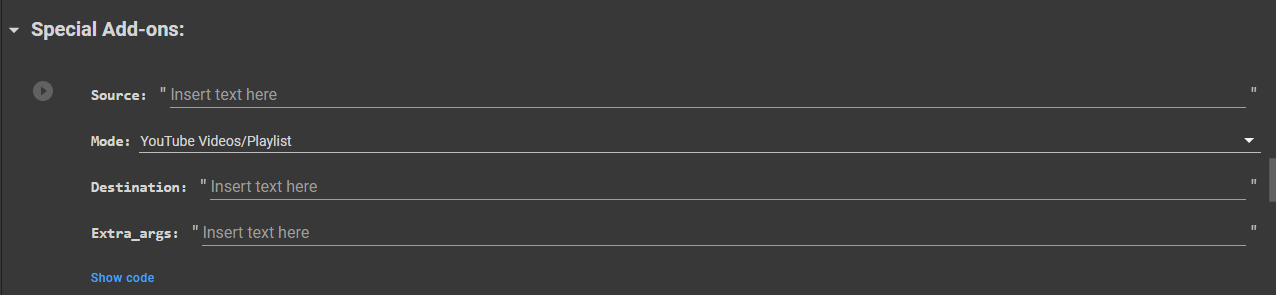
Add-ons are the special functions not provided by any single engine and are made by combining two or more engines while performing any particular task simultaneously. Each of these functions (or simply add-ons) are explained below with their steps to use.
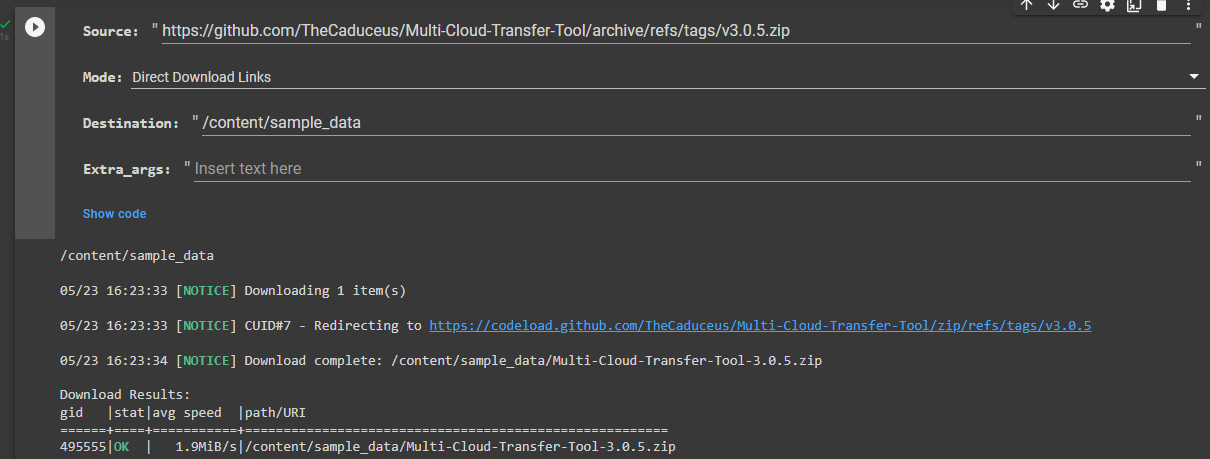
Function enables to download files or data from single or multiple direct download links to any cloud. It uses Aria engine to deliver best and fastest performance possible. You can also download two or more links at same time with this.
Just put your direct download links in Source field and then enter the Destination path to where you want to download data. You can enter multiple Direct Download links in the source field by separating them using , between each link in the following format:
Link1,Link2
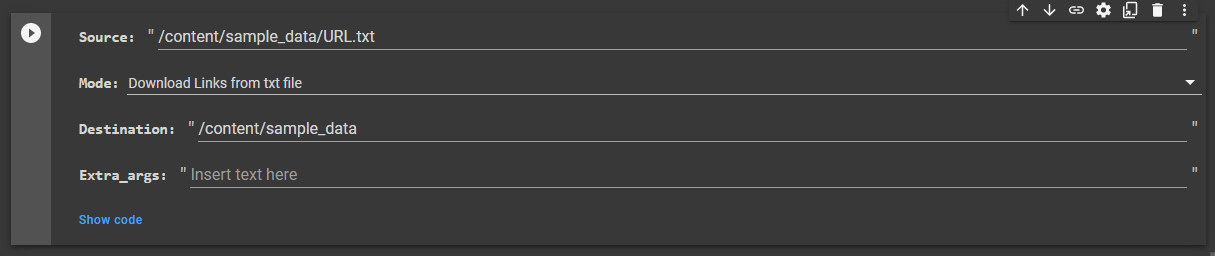
Functions enables to download all links written in a given txt file. This function is useful when we have too many links and it will take too much time separate each link with ,.
User just need to upload the txt file containing the download links to any cloud or in runtime provided by Google Colab then have to provide its path in Source field and Destination path in Destination field to where you want to download the data. Best format to arrange links in txt file:
Link1
Link2
Link3
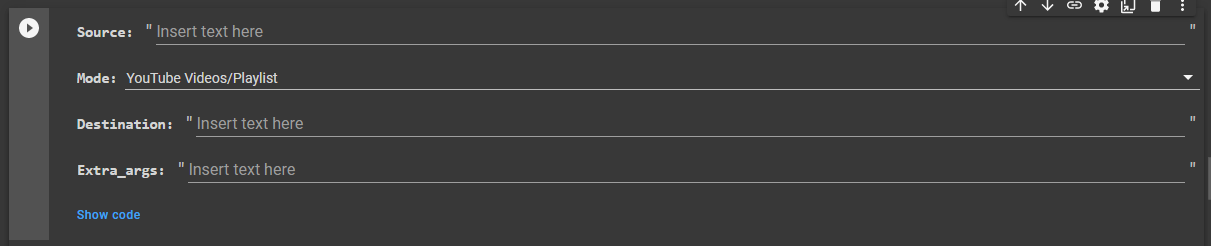
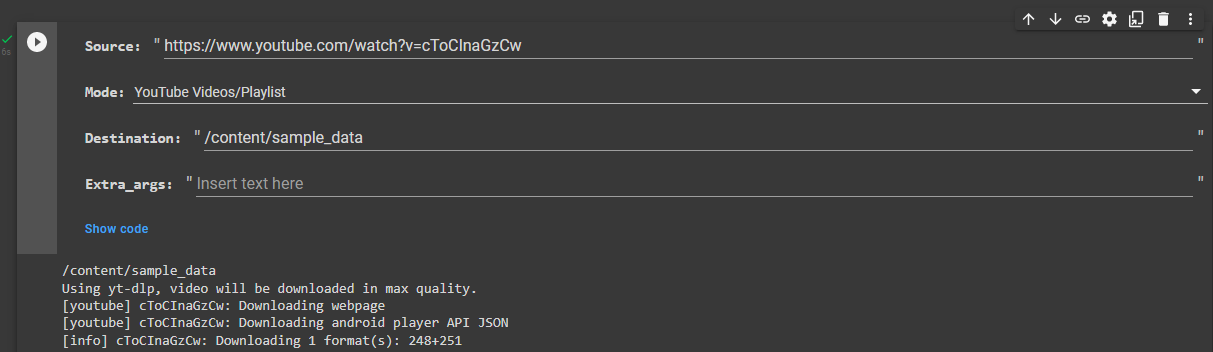
Function gives the flexibility to download YouTube Videos or Playlist and videos from other supported sites directly to any cloud. It uses yt-dlp which downloads everything is maximum quality. You can download two or more videos which are not in same playlist or even two separate playlists at once. Refer to yt-dlp documentation for more information.
Just provide the YouTube link of video or playlist or link to videos located on other website (Non-DRM Protected) in Source field and Destination path in Destination field to where you want to download it. You can separate the link of videos or playlist by providing space between each in following format:
VideoLink1 VideoLink2
PlaylistLink1 PlaylistLink2
VideoLink1 PlaylistLink1
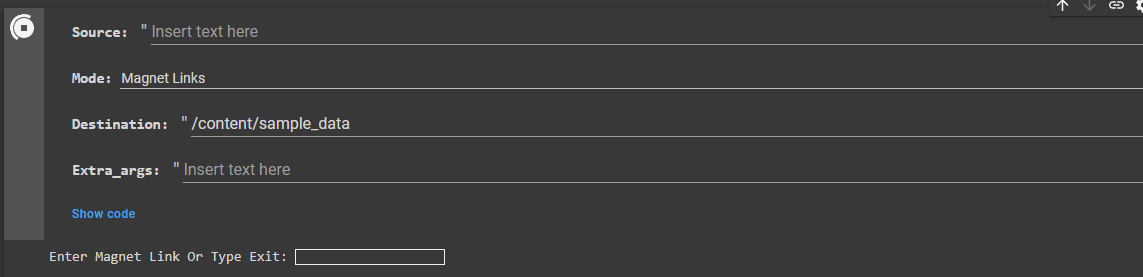
Function allow anyone to download torrent using magnet link directly into any cloud with high speed. It uses LibTorrent which is a lightweight powerful BitTorrent client. User can download multiple magnet links at once, just keep the Source field empty.
Provide the Destination path in Destination field where all downloaded torrent files will be copied and run the code. User can provide as many magnet link as you can but only 1 magnet link per input box and hit enter! once you done adding magnet links, just type Exit and it will start downloading it.
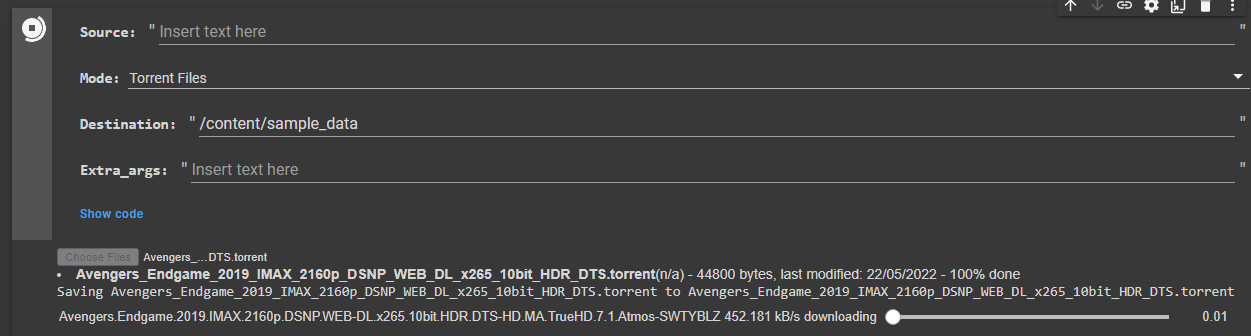
Function gives ability to download torrent from .torrent files, user can provide as many torrent files as much it want. This function also uses LibTorrent to deliver fast download speed.
have to provide Destination path to where all downloaded torrent data will be moved and torrent file through Choose file option. Once you provided torrent file you want to download then click Cancel Upload then it will start downloading torrent for you.
Function allow one to upload files or folder to 12 supported anonymous file sharing platforms and harvest all generated links in .txt file, officially none of these platform support 'folder upload' & 'link harvest' feature which sometimes makes thing defficult like when we need to share multiple files but MCT Tool uses 'for loop' after detecting a given path as 'folder' to continously upload files availabe in given folder and provides option to export all generated links in .txt file to make things more easier.
1.For this, just provide the required path (file or folder) in source field and follow on-screen instruction.
1.As stated above! user can use MEGA Account and MCT tool will save its credentials in safe format automatically for future use. Enter MEGA Link in Source field and Destination Path in Destination field where MEGA link needs to be downloaded.
2.If destination path is not provided then downloaded files will be moved to downloads folder in connected runtime (Temporary storage).
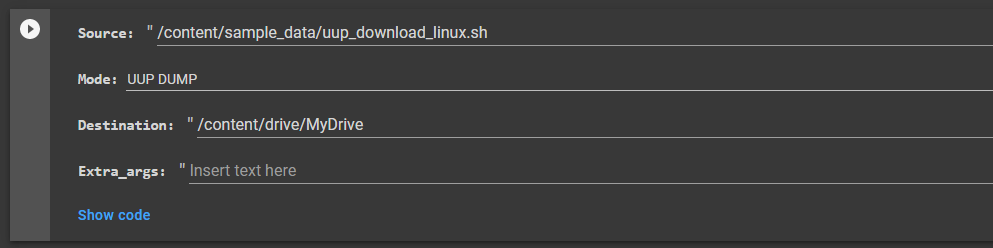
Function enables to collect files mentioned in uup_download_linux.sh files and upload them to any cloud mentioned as Destination. It makes work super easy for users makingISO files using .sh file given by UUP DUMP or any other websites.
1.First download any UUP file in your device, then either upload it to Google Colab or any other cloud.
2.Now copy the path of uup_download_linux.sh file or path of folder which contaning .sh file and paste it as Source, now mount or connect any cloud using steps given above and copy the path and paste it as Destination.
MCT Tool comes with the ability to pack or extract any files or folder in variety of formats with or without Password Protection while moving the data from one cloud to another cloud. What you need is just Source Path which needs to be packed or extracted and destination path where you need the final result, so let's learn how to use this function.
1.First mount remotes between which you need to transfer the packed or extracted data. Please read STEP 2 of "🪝Multi Cloud Transfer" section to learn how to do that!
3.After it! choose the action which needs to be done with the source path and then enter following Details:
Packed_File_Name: Enter the name of Packed or Zipped file if zipping/packing anything.
Source_Path: The Path of Data which needs to be processed.
Destination_Path: The Path on which you want the final output.
As this project use Rclone as a base! and Rclone support multiple options to help you move or clean your Data, in this Project those options are known as Modes. Here is the list of the Modes that this Project supports:
CopyURL: Download a URL's content and copy it to the destination without saving it in temporary storage.
Moveto: If source:path is a file or directory then it moves it to a file or directory named dest:path.
Check: Checks the files in the source and destination match. It compares sizes and hashes (MD5 or SHA1) and logs a report of files that don't match. It doesn't alter the source or destination.
Sync: Sync the source to the destination, changing the destination only. Doesn't transfer files that are identical on source and destination, testing by size and modification time or MD5SUM. Destination is updated to match source, including deleting files if necessary (except duplicate objects, see below).
Bisync: Bisync provides a bidirectional cloud sync solution in rclone. It retains the Path1 and Path2 filesystem listings from the prior run. On each successive run it will:
CleanUp: Clean up the remote if possible. Empty the trash or delete old file versions. Not supported by all remotes.
Following Modes can easily cause Data Loss:
1.MCT Tool saves all important credentials like MEGA Credetials in encrypted format as json file in private MCT-Config folder (MyDrive) and hence follow common security standards.
2.Program automatically moderates & block all unknown files provided during additional input field & hence never touch them to prevent any unknown behaviour.
Telegram Channel: Subscribe
Send personal meesage on Telegram here.
Dr.Caduceus: For making this project and guide.
Rclone: The backbone of this powerful project.
