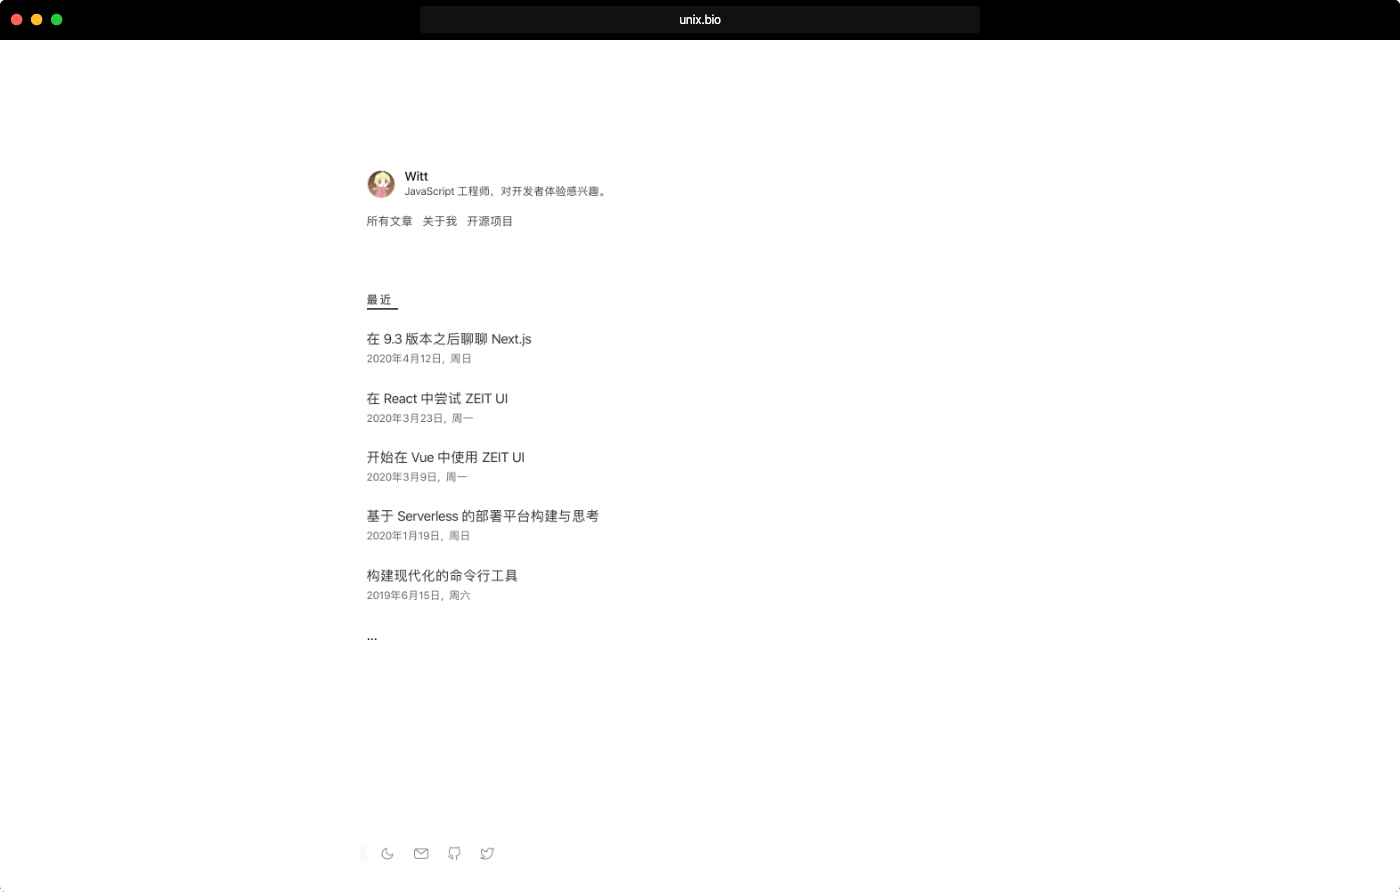
Modern static blog template.
This is the source code of my blog.
You can also use this project to build your own blog.
Run npm init unix-bio or yarn create unix-bio to initialize.
First, Please make sure your NodeJS is in the latest version.
-
In project, run
npm ito download dependents. -
run
npm run postto create your post. -
run
npm run devto browse development page. -
run
npm i -g now && nowto deploy. (Default deployment to now)
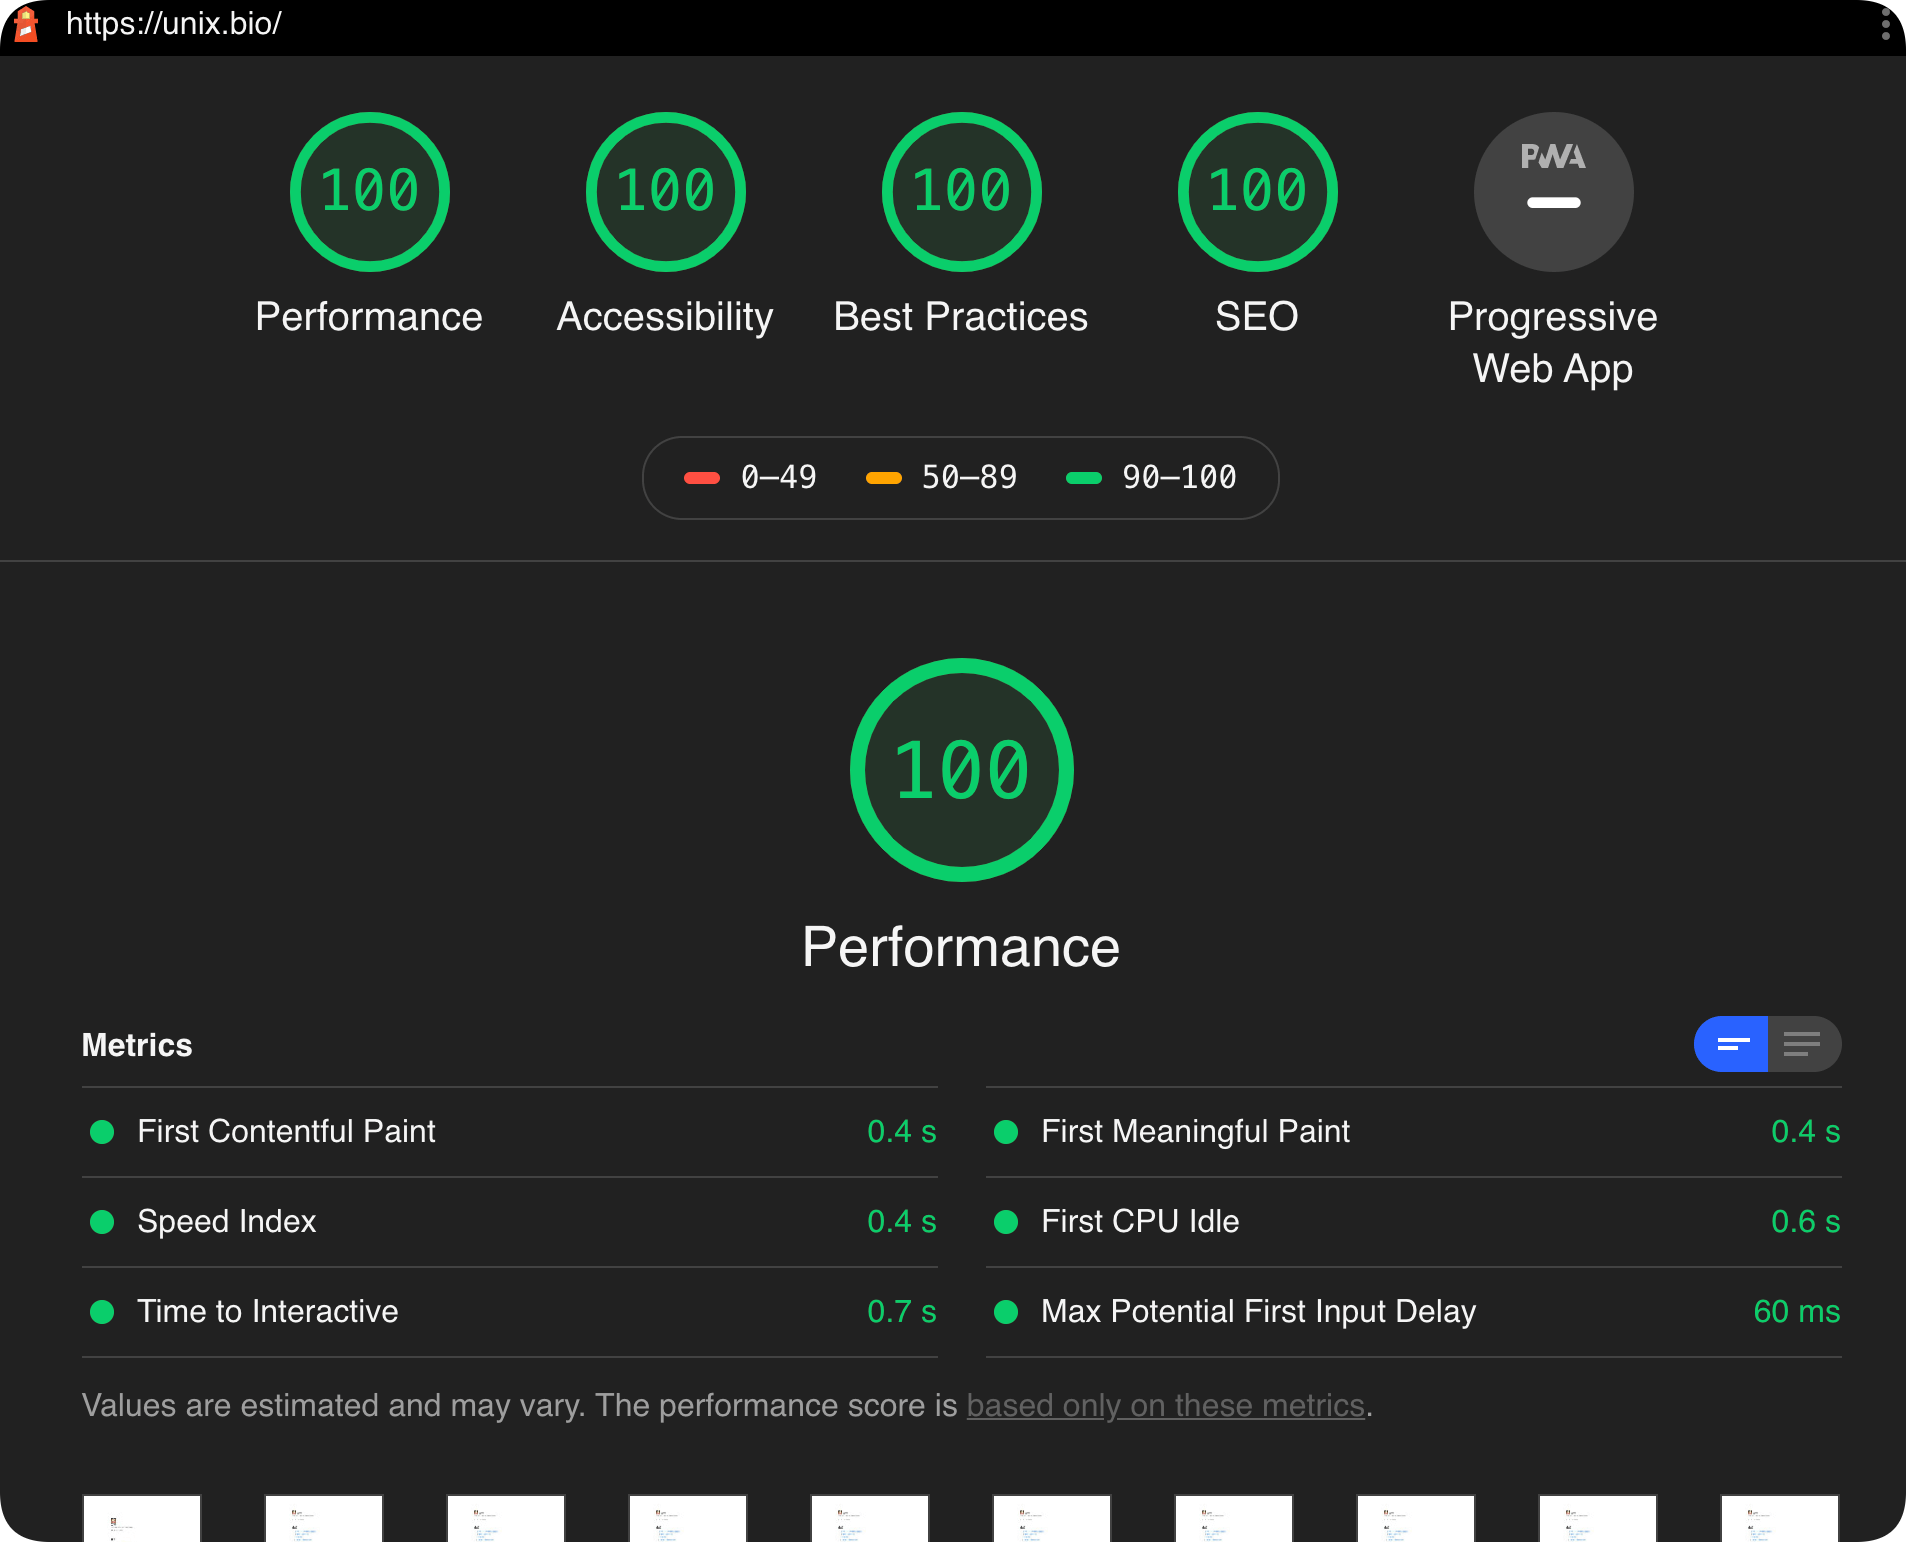
- High performance optimization thanks to next.js
- Perfect SEO support
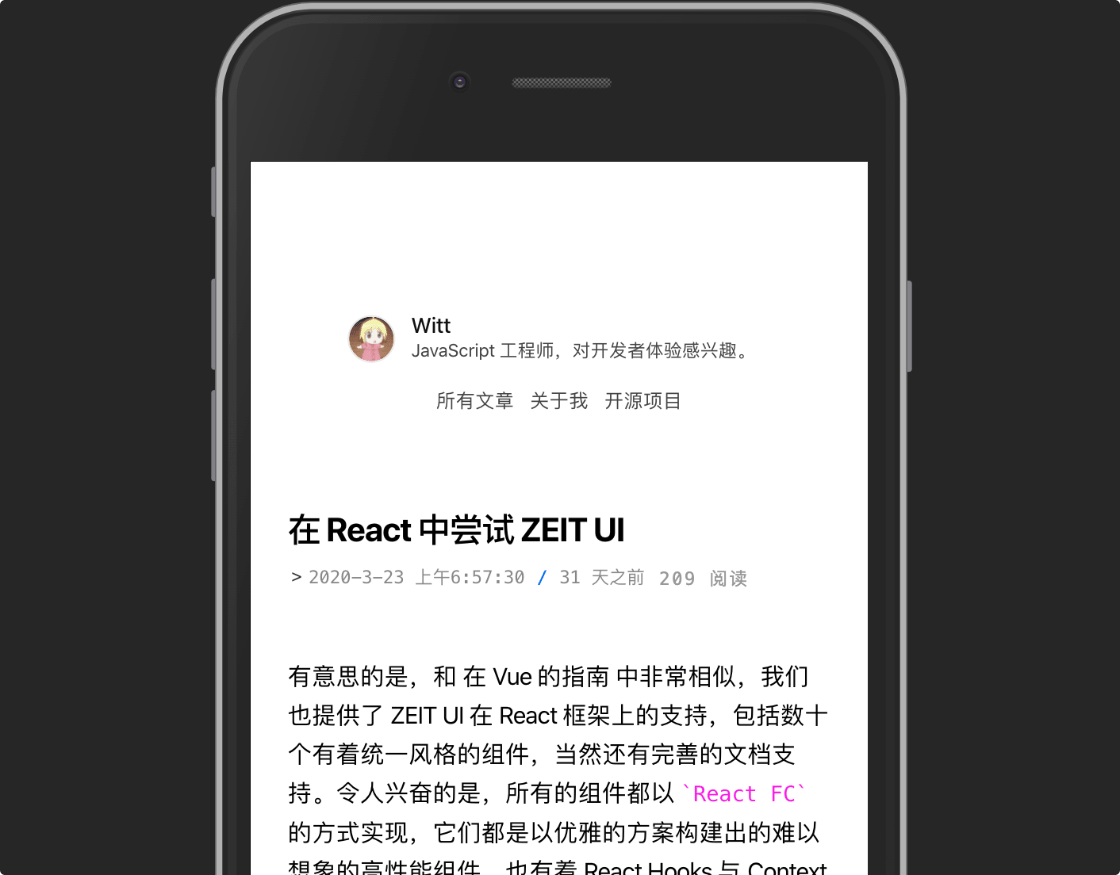
- High readability
- Your just need to
write
You can switch languages in the configuration file
- Full markdown support
- React Components support
- More customization possibilities


First, do not rename any directories! You can start your writing in the posts folder.
In the root directory of the project, you can change the configuration for your blog:
const BLOG = {
  author: 'Witt',               // article author, used on `Meta`
  title: 'Witt - unix.bio',     // website title
  description: 'Witt\'s blog',  // used on `Meta`
  summary: '',                  // one sentence introduction, show on home page
  language: 'en-us',            // 'en-us' or 'zh-cn'
  latestLimit: 5,               // number of home display lists

  labels: {                     // label text
    default: 'default',
    latest: 'latest',
    list: 'all list',
  },

  email: '',                    // about social
  github: 'unix',
  twitter: 'echo_witt',
  domain: 'unix.bio',           // your domain name

  googleAnalytics: 'UA-x',
  cn: true,                     // chinese translation of some characters
  enableViews: false,           // refer to https://docs.views.show
}Timely migration can help you get the latest source code, this includes bug fixes and new features.
Fortunately, we have a easy to use migrate tool, just run:
npx unix-bio migrateIn a few scenarios, you may want to deploy your blog on a CDN or other static server. Use the following commands to deploy:
npm run exportAfter running the command, the generated static file will be in the /out directory.


