Welcome to the Retail Data Pipeline Project! This project is designed to help you learn the ins and outs of creating a robust data pipeline for retail analytics using Apache Airflow. By the end of this project, you will have hands-on experience in setting up and managing a data pipeline, handling data quality checks, integrating dbt for modeling, and leveraging cloud services like Google Cloud Storage and BigQuery.

- Introduction
- Prerequisites
- Getting Started
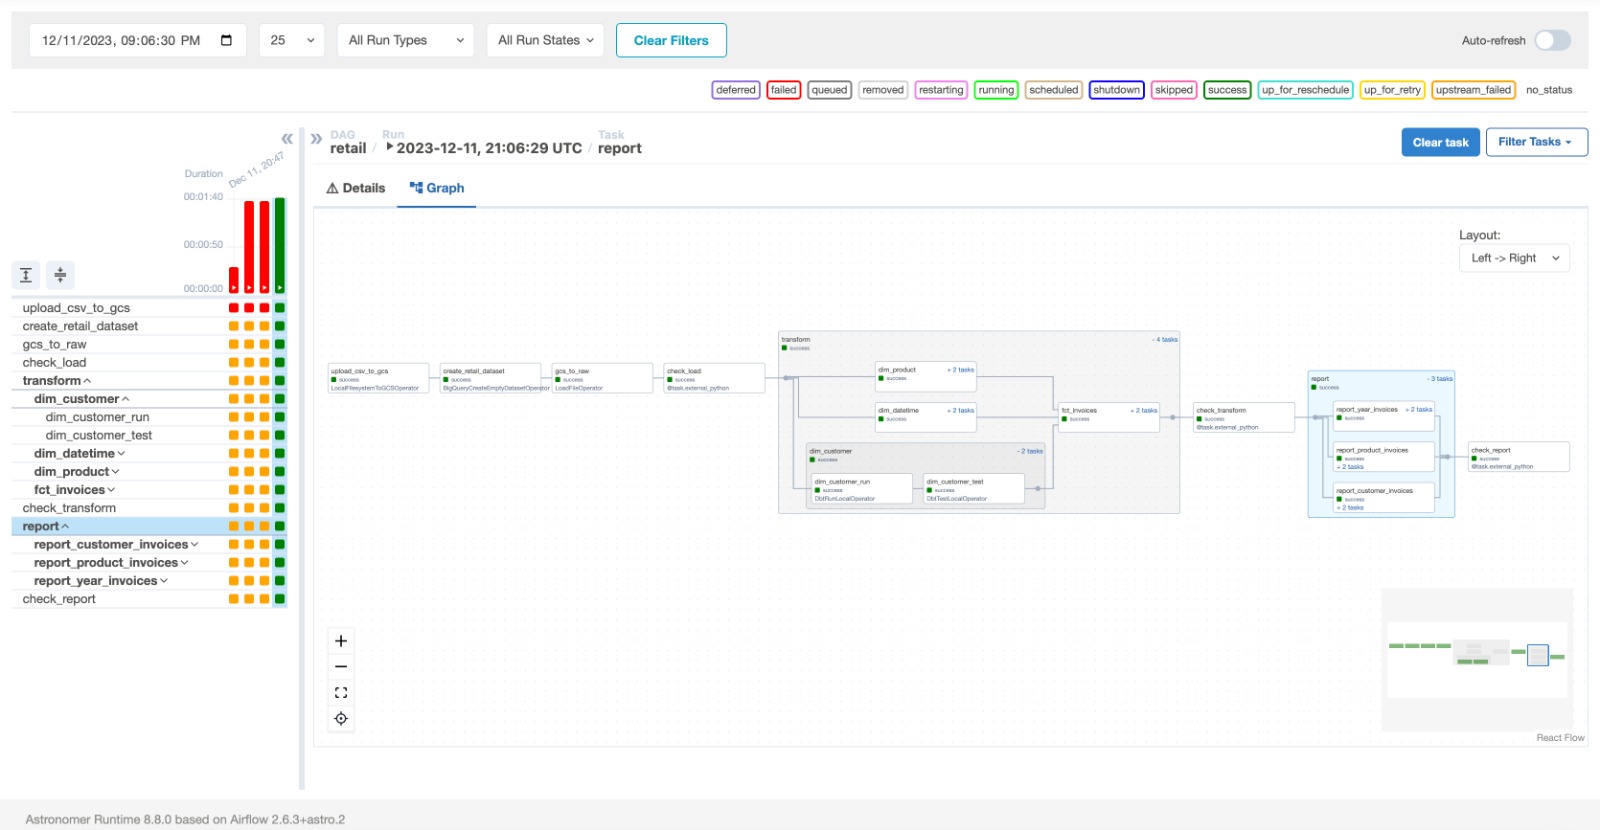
- Creating a Data Pipeline with Airflow
- Setting up the Local Environment with Astro CLI
- Running Data Quality Checks with Soda
- Integrating dbt and Running Models with Airflow and Comos
- Isolating Tasks to Avoid Dependency Conflicts
- Uploading a CSV File into Google Cloud Storage
- Ingesting Data into a BigQuery Table using the Astro SDK
- Additional Resources
- Contributing
- License
In this Retail Data Pipeline Project, you will gain practical knowledge in building a data pipeline that addresses the specific needs of retail analytics. The project covers various aspects such as creating workflows in Apache Airflow, conducting data quality checks, integrating dbt for modeling, and utilizing cloud services like Google Cloud Storage and BigQuery.
Before diving into the project, make sure you have the following prerequisites in place:
- Basic understanding of data pipelines and ETL processes
- Familiarity with Apache Airflow
- Access to a Google Cloud Platform (GCP) account
- Installation of necessary tools like Astro CLI, Soda, and Comos
Clone this repository to get started with the Retail Data Pipeline Project.
git clone https://github.com/your-username/retail-data-pipeline
cd retail-data-pipelineLearn how to design and implement a data pipeline in Airflow from scratch. Understand the concepts of DAGs (Directed Acyclic Graphs) and tasks to orchestrate your workflow efficiently.
Explore the Astro CLI to set up your local development environment for Airflow. Manage configurations, connections, and environment variables seamlessly.
Implement data quality checks in your pipeline using Soda. Ensure the integrity and reliability of your data by validating against predefined rules.
Discover how to integrate dbt into your Airflow workflow for managing analytics models. Use Comos to streamline the execution of dbt models within your data pipeline.
Learn techniques to isolate tasks within your data pipeline, minimizing dependency conflicts and ensuring a smooth and reliable execution flow.
Understand the process of uploading a CSV file into Google Cloud Storage. Utilize GCS as a scalable and reliable storage solution for your data.
Explore the Astro SDK to ingest data into a BigQuery table. Leverage the power of BigQuery for efficient data warehousing and analytics.

Find additional resources, documentation, and tutorials to enhance your understanding of data pipelines, Airflow, and related technologies.
If you have suggestions, improvements, or would like to contribute to this project, please check the contribution guidelines.
This project is licensed under the MIT License.
Happy coding!
Welcome to Astronomer! This project was generated after you ran 'astro dev init' using the Astronomer CLI. This readme describes the contents of the project, as well as how to run Apache Airflow on your local machine.
Your Astro project contains the following files and folders:
- dags: This folder contains the Python files for your Airflow DAGs. By default, this directory includes two example DAGs:
example_dag_basic: This DAG shows a simple ETL data pipeline example with three TaskFlow API tasks that run daily.example_dag_advanced: This advanced DAG showcases a variety of Airflow features like branching, Jinja templates, task groups and several Airflow operators.
- Dockerfile: This file contains a versioned Astro Runtime Docker image that provides a differentiated Airflow experience. If you want to execute other commands or overrides at runtime, specify them here.
- include: This folder contains any additional files that you want to include as part of your project. It is empty by default.
- packages.txt: Install OS-level packages needed for your project by adding them to this file. It is empty by default.
- requirements.txt: Install Python packages needed for your project by adding them to this file. It is empty by default.
- plugins: Add custom or community plugins for your project to this file. It is empty by default.
- airflow_settings.yaml: Use this local-only file to specify Airflow Connections, Variables, and Pools instead of entering them in the Airflow UI as you develop DAGs in this project.
- Start Airflow on your local machine by running 'astro dev start'.
This command will spin up 4 Docker containers on your machine, each for a different Airflow component:
- Postgres: Airflow's Metadata Database
- Webserver: The Airflow component responsible for rendering the Airflow UI
- Scheduler: The Airflow component responsible for monitoring and triggering tasks
- Triggerer: The Airflow component responsible for triggering deferred tasks
- Verify that all 4 Docker containers were created by running 'docker ps'.
Note: Running 'astro dev start' will start your project with the Airflow Webserver exposed at port 8080 and Postgres exposed at port 5432. If you already have either of those ports allocated, you can either stop your existing Docker containers or change the port.
- Access the Airflow UI for your local Airflow project. To do so, go to http://localhost:8080/ and log in with 'admin' for both your Username and Password.
You should also be able to access your Postgres Database at 'localhost:5432/postgres'.
If you have an Astronomer account, pushing code to a Deployment on Astronomer is simple. For deploying instructions, refer to Astronomer documentation: https://docs.astronomer.io/cloud/deploy-code/
The Astronomer CLI is maintained with love by the Astronomer team. To report a bug or suggest a change, reach out to our support.

