
We must accept finite disappointment, but never lose infinite hope. -Martin Luther King, Jr.
In this lab, you'll lay out your own custom cells in an iOS app.
In this lab, you are going to implement a table view-backed app. Each row (or cell) of the table view will display four numbers. Tapping on a cell will take you to another view, where you can select various math operations (addition, subtraction, multiplication, and division) and see the results of those operations on the numbers.
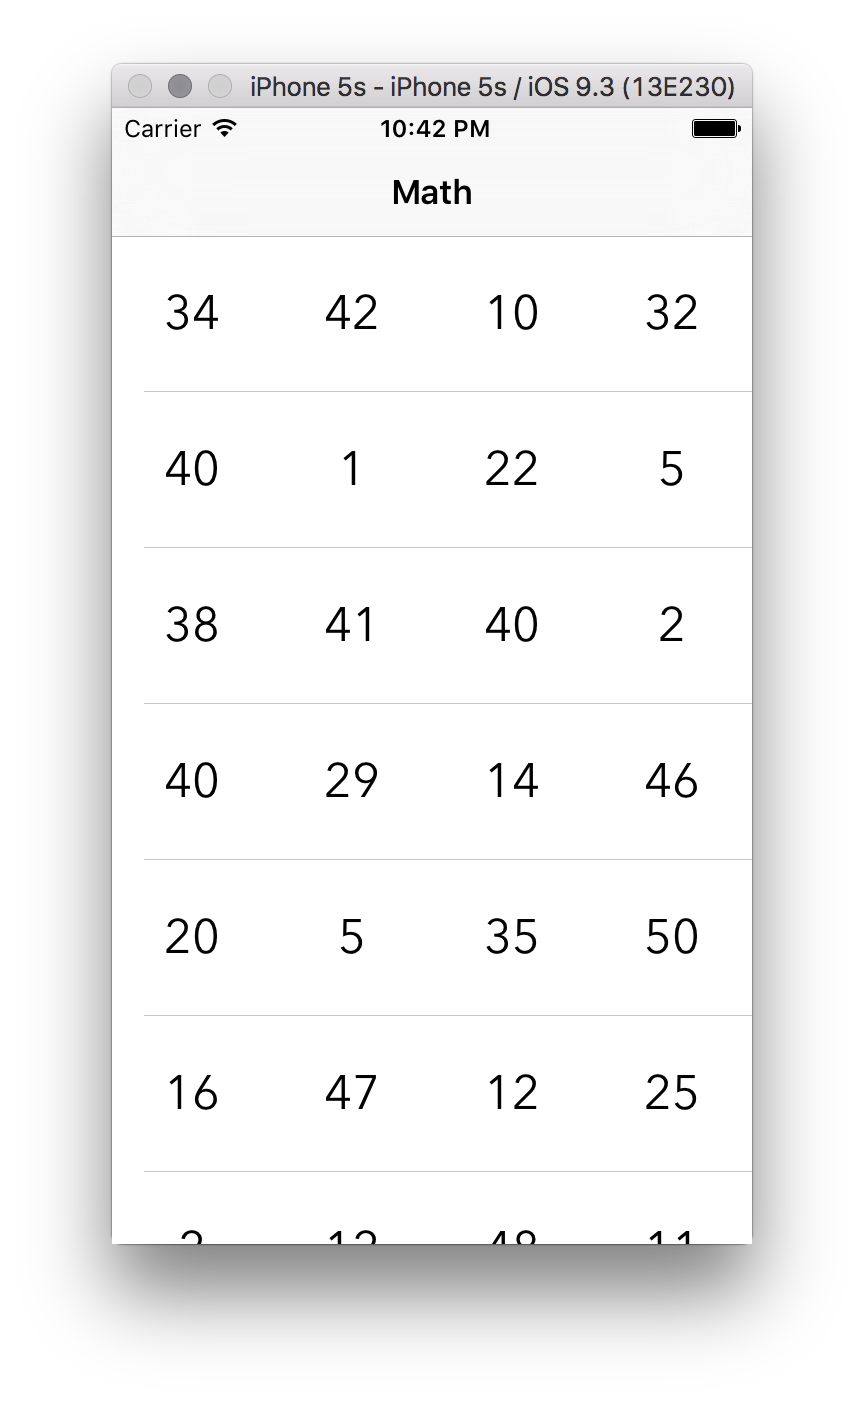
Here's what the initial view of your app should look like:
And here's an example of a detailed view:
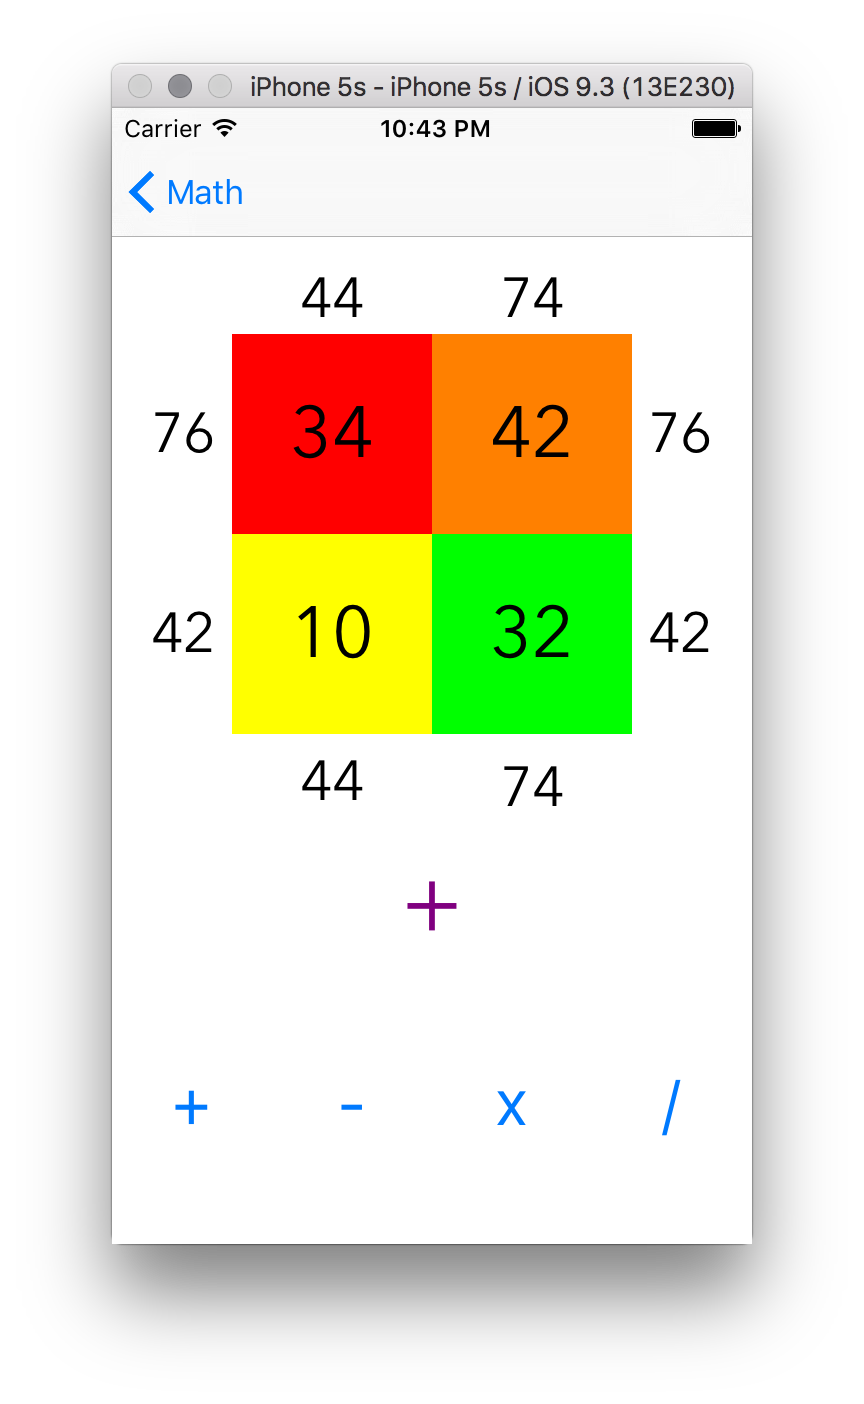
You don't have to worry about the detailed view in this lab, as the view and code for that view have been given to you. In this lab, you'll be focusing on the implementation of the table view and, more importantly, the custom cells that make up that table view.
Here are the steps necessary to complete this lab:
- Open up
Main.storyboard. - Drag a new table view controller from the object library into the storyboard. Drop it in to the left of the detailed view controller. Make sure you set this view controller to be the initial view controller in the Attributes Inspector.
- Embed a navigation controller in the table view controller scene.
- Set the nav bar title of the table view to "Math". (Hint: Use the table view controller's navigation item.)
- Create a segue from the table view's prototype cell to the detail view. (Hint: Select Table View Cell in the object listing. Then Control-drag from the table view cell to the Display Math View Controller scene. Select Show under Selection Segue from the popup menu.)
- Set the table view cell's reuse identifier to "mathCell" using the Attributes Inspector.
- Set the class of the table view controller to
TableViewController. - Set the class of the prototype cell to
MathTableViewCell. - Time to lay out the table view's cells! First, make sure the prototype cell is selected in the object listing (it will be listed as mathCell). Then, in the Size Inspector, change its height to 78. (You should see it grow a little taller in the storyboard.)
- Add four labels to the prototype cell. (Adding views to the prototype cell can be tricky—make sure you still have it selected in the object library!) Change their font to Avenir 24.0, and the text alignment to center.
- Now the fun part: You're going to add these labels to a stack view. This may sound hard, but it's actually pretty easy:
- Select all four labels in the prototype cell.
- Click the Stack button at the bottom of your Interface Builder editor. (It looks like this:
)
- The labels will now be arranged in a row, evenly spaced...allegedly. For that to happen, though, you have to add some constraints to the stack view. Make sure the stack view is selected in the object listing, then click the Constraints button at the bottom of Interface Builder. (It looks like this:
)
- Enter 0 in all four text boxes in the Constraints popup, and press Add 4 Constraints.
- One more thing: With the stack view still selected, open up the Attributes Inspector and set the Alignment to Center and the Distribution to Equal Spacing.
- Now you must hook up the labels you created in the prototype cell to their IB outlets in
MathTableViewCell. Open upMathTableViewCell.swiftin an assistant editor, then Control-drag a connection from each label to its associated IB outlet inMathTableViewCell. - Almost there! Now you just have to implement the code that will power the table view. Open up
TableViewController.swiftin Xcode's code editor. - Do you remember what methods you need to implement to make the table view controller work? The first method you need to override is
numberOfSections(in:), which should return1, because this table view only has one section. - Next, you need to override
tableView(_:numberOfRowsInSection:)to return the number of rows in this table view. How many rows should you return? (Hint: the table view'snumbersproperty contains all the data that should be displayed by this table view.) - Thirdly, you need to override
tableView(_:cellForRowAt:). This method should return a cell for the given row, fully configured with the appropriate labels set. Don't forget to dequeue a reusable cell first! Remember, the index innumberscorresponding to the desired row contains anArrayof fourInts, representing the numbers that should be displayed. You can get thatArrayusingindexPath.row, then set the appropriate label in the cell to that number. - One final thing: You have to prepare the segue from the main table view to the detailed view when a cell is tapped. You should do this by overriding
prepare(for:sender:). Implementing this method may be a bit tricky. Look back over the previous lessons on segues to see how you might go about doing this. Remember: the destination view controller is of typeDisplayMathViewController.DisplayMathViewControllerhas anumbersproperty that allows you to set what numbers should appear in the colored grid.


You're done! When you've completed the above steps, you should have a fully-functional version of this app. Build and run it, then play around with it in the simulator. Tapping a table cell should take you to the detailed view, where you can the buttons at the bottom of the detailed view to see the results of math operations performed on the numbers in the grid.
Good luck!


