Created on: 11-04-2020
Last updated on: 10-09-2021 by Jordy Coder
Contributors:
Jeffrey Spaan (Full Stack Developer @ CodeBean)
Jordy Hamwijk (Full Stack Developer @ CodeBean)
Welcome developer. This is the first tutorial in developing your first Web Application with React and Spring Boot.
Moving forward, we will use this repository as starting point for any further repositories which we will post here on GitHub.
In this tutorial we will cover the basics and setup a React frontend with a Spring Boot backend.
React is an open-source JavaScript library that is used for building user interfaces specifically for single-page applications.
It's used for handling the view layer for web and mobile apps. React also allows us to create reusable UI components.
The use of UI components eases the development and reduces the development time of your application.
Spring Boot is a Java-Based framework used to create a micro service.
Configuring the backend of your application is simplified with the use of Spring Boot dependencies which enables you to simply select the required dependencies to quickly setup the backend of your application.
Speaking of which, let's start with creating our backend right away.
In your browser, open: https://start.spring.io
- Project:
Maven Project - Language:
Java - Spring Boot (version): We will use the latest stable version:
2.2.6 - Group: this is your internet domain, backwards. For CodeBean we will use:
nl.codebean - Artifact: this is the name of your project. For this project we will use:
react-spring-boot - Description: this is a short description about your project. For this project we will use:
React and Spring Boot Tutorial - Packaging:
JAR - Java: version
8 - Dependencies:
Spring Web
To create the pre-generated Spring Boot application, click: GENERATE

A ZIP file is downloaded on your hard-drive. Open the ZIP file and extract the project folder.
Open the project folder in your favorite IDE.
A Project Object Model or POM is the fundamental unit of work in Maven.
It is an XML file that contains information about the project and configuration details used by Maven to build the project.
The following listing shows the POM.xml file that is created when you choose a Maven project:
<?xml version="1.0" encoding="UTF-8"?>
<project xmlns="http://maven.apache.org/POM/4.0.0" xmlns:xsi="http://www.w3.org/2001/XMLSchema-instance"
  xsi:schemaLocation="http://maven.apache.org/POM/4.0.0 https://maven.apache.org/xsd/maven-4.0.0.xsd">
  <modelVersion>4.0.0</modelVersion>
  <parent>
    <groupId>org.springframework.boot</groupId>
    <artifactId>spring-boot-starter-parent</artifactId>
    <version>2.2.6.RELEASE</version>
    <relativePath/> <!-- lookup parent from repository -->
  </parent>
  <groupId>nl.codebean</groupId>
  <artifactId>react-spring-boot</artifactId>
  <version>0.0.1-SNAPSHOT</version>
  <name>react-spring-boot</name>
  <description>React and Spring Boot Tutorial</description>

  <properties>
    <java.version>1.8</java.version>
  </properties>

  <dependencies>
    <dependency>
      <groupId>org.springframework.boot</groupId>
      <artifactId>spring-boot-starter-web</artifactId>
    </dependency>

    <dependency>
      <groupId>org.springframework.boot</groupId>
      <artifactId>spring-boot-starter-test</artifactId>
      <scope>test</scope>
      <exclusions>
        <exclusion>
          <groupId>org.junit.vintage</groupId>
          <artifactId>junit-vintage-engine</artifactId>
        </exclusion>
      </exclusions>
    </dependency>
  </dependencies>

  <build>
    <plugins>
      <plugin>
        <groupId>org.springframework.boot</groupId>
         <artifactId>spring-boot-maven-plugin</artifactId>
      </plugin>
    </plugins>
  </build>

</project>Let's add a service to make the application output some data.
To do so, add a controller named: GreetController.java
Save the Controller in src/main/java/nl/codebean/reactspringboot/GreetController.java
package nl.codebean.reactspringboot;

import org.springframework.web.bind.annotation.RequestMapping;
import org.springframework.web.bind.annotation.RestController;

@RestController
public class GreetController {

  @RequestMapping("/api/greet")
  public String greet() {
    return "Greetings from CodeBean!";
  }
}@RestController: This is a Spring Boot annotation which marks the class as a Controller;
@RequestMapping: This is a Spring Boot annotation which maps "/api/greet" to the greet() method;
When invoked from a browser or by using curl on the command line, the method returns text only. That is because @RestController combines @Controller and @ResponseBody, two annotations that results in web requests returning data rather than a view.
Now let's run the application in the terminal.
To start the application, open the command terminal and execute following task (shown with its output):
In this tutorial, terminal commands are marked with > in front of the original command.
> mvn spring-boot:run

2020-04-12 10:42:20.303  INFO 2232 --- [           main] o.s.b.w.embedded.tomcat.TomcatWebServer  : Tomcat initialized with port(s): 8080 (http)
2020-04-12 10:42:20.311  INFO 2232 --- [           main] o.apache.catalina.core.StandardService   : Starting service [Tomcat]
2020-04-12 10:42:20.312  INFO 2232 --- [           main] org.apache.catalina.core.StandardEngine  : Starting Servlet engine: [Apache Tomcat/9.0.33]
2020-04-12 10:42:20.378  INFO 2232 --- [           main] o.a.c.c.C.[Tomcat].[localhost].[/]       : Initializing Spring embedded WebApplicationContext
2020-04-12 10:42:20.378  INFO 2232 --- [           main] o.s.web.context.ContextLoader            : Root WebApplicationContext: initialization completed in 896 ms
2020-04-12 10:42:20.503  INFO 2232 --- [           main] o.s.s.concurrent.ThreadPoolTaskExecutor  : Initializing ExecutorService 'applicationTaskExecutor'
2020-04-12 10:42:20.610  INFO 2232 --- [           main] o.s.b.w.embedded.tomcat.TomcatWebServer  : Tomcat started on port(s): 8080 (http) with context path ''
2020-04-12 10:42:20.612  INFO 2232 --- [           main] n.c.r.ReactSpringBootApplication         : Started ReactSpringBootApplication in 1.444 seconds (JVM running for 1.78)
Once the application is started, let's run the service (in a separate command terminal).
Execute the following task (shown with its output):
> curl http://localhost:8080/api/greet
Greetings from CodeBean!
Great work! The Spring Boot REST service is now up and running.
Let's continue with getting the backend data to the frontend.
Now we will build the frontend using the JavaScript library called React.
In the frontend we are able to fetch the data which is generated by the backend. Let's get started!
> npx create-react-app frontend

Creating a new React app in ../react-spring-boot/frontend

Installing packages. This might take a couple of minutes.
Installing react, react-dom, and react-scripts with cra-template...
Installing template dependencies using npm...
Removing template package using npm...

Success! Created frontend at ../react-spring-boot/frontend

We suggest that you begin by typing:

  cd frontend
  npm start
The instructions are clear, let's continue doing so (shown with its output):
> cd frontend
> npm start

Compiled successfully!

You can now view frontend in the browser.

  Local:            http://localhost:3000
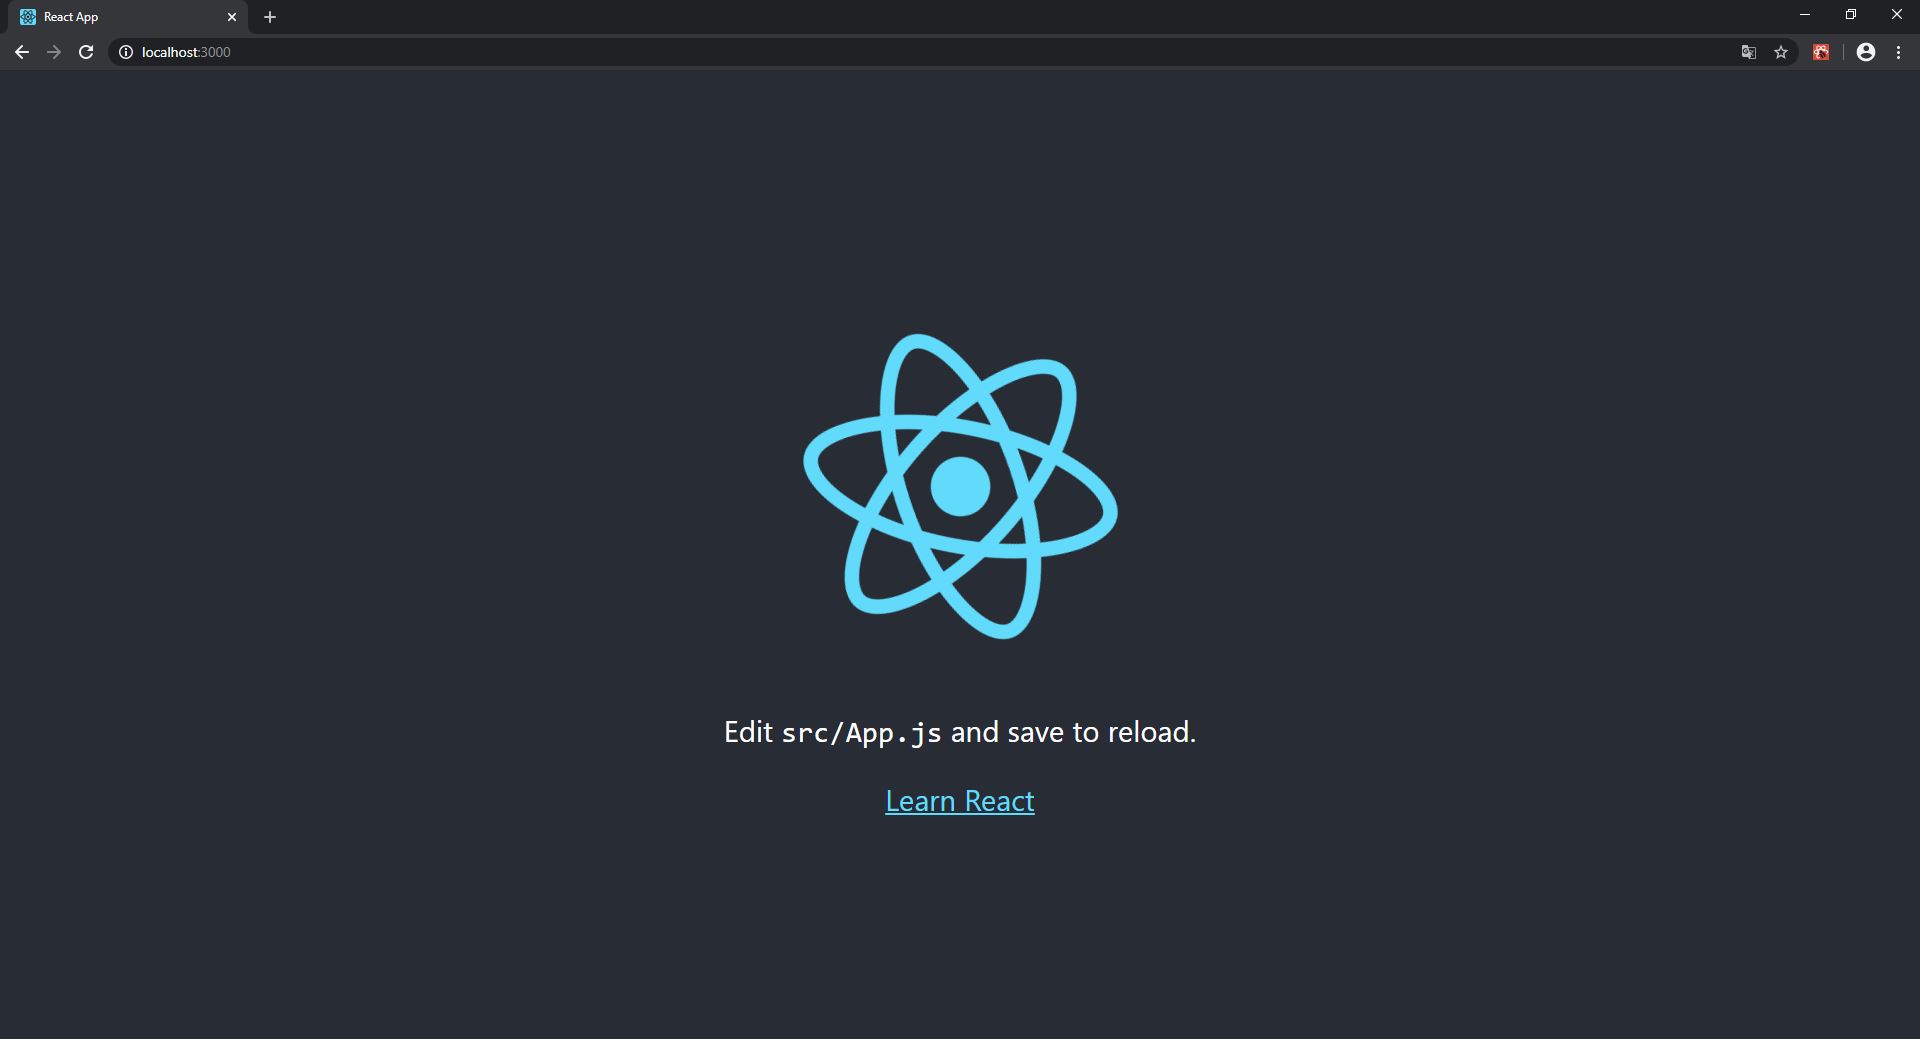
Open your browser and go to http://localhost:3000 to view the React application.
It should look something like this:
Our next task is to show the API data from the backend (server-side) in the frontend (client-side).
The backend is running on port 8080 http://localhost:8080
The frontend is running on port 3000 http://localhost:3000
Both ports are now running alongside eachother without any interconnectivity. To allow read and write access from the frontend port to the backend port, we need to setup a proxy which allows data transfer.
This is solved by adding a proxy field to your frontend/package.json file which allows port 3000 to transfer data from/to port 8080.
"proxy": "http://localhost:8080",Your frontend/package.json file should now look something like this:
{
  "name": "frontend",
  "version": "0.1.0",
  "private": true,
  "dependencies": {
    "@testing-library/jest-dom": "^4.2.4",
    "@testing-library/react": "^9.5.0",
    "@testing-library/user-event": "^7.2.1",
    "react": "^16.13.1",
    "react-dom": "^16.13.1",
    "react-scripts": "3.4.1"
  },
  "scripts": {
    "start": "react-scripts start",
    "build": "react-scripts build",
    "test": "react-scripts test",
    "eject": "react-scripts eject"
  },
  "proxy": "http://localhost:8080",
  "eslintConfig": {
    "extends": "react-app"
  },
  "browserslist": {
    "production": [
      ">0.2%",
      "not dead",
      "not op_mini all"
    ],
    "development": [
      "last 1 chrome version",
      "last 1 firefox version",
      "last 1 safari version"
    ]
  }
}
To learn more about proxying API requests, see Create React App's documentation.
Let's test if we are now able to access the data from the frontend also.
First, restart your frontend. To stop the current session, type CTRL + C in your IDE terminal window.
Once the frontend is restarted, open a new terminal window and type following command (shown with its output):
> curl http://localhost:3000/api/greet
Greetings from CodeBean!We're almost there. We will now fetch the data from the backend to show in the frontend.
Open your /frontend/src folder. Add a folder named components.
In the components folder, add a file named Greet.js
According the React best practices, the components folder will contain all files which act as a component.
According the React best practices, the component names will start with a capital letter.
Your /src folder structure will now look like this:
.
├─ ...
├─ components
│   └─ Greet.js
└─ ...
Add the following code to your Greet.js file.
import React, { useState, useEffect } from 'react';

const Greet = () => {
  const [greet, setGreet] = useState("");

  async function fetchData() {
    let res = await fetch('/api/greet');
    let greet = await res.text()
    setGreet(greet);
  }

  useEffect(() => {
    fetchData();
  }, []);

  return (
  <div>
    <h4>{greet}</h4>
  </div>
  )
}

export default Greet;
Now open your App.js file, located in the /frontend/src folder.
Here we will import the Greet.js component by adding import Greet from './components/Greet'; and <Greet /> to the App.js file.
Your code should look like this:
import React from 'react';
import logo from './logo.svg';
import './App.css';

import Greet from './components/Greet';

function App() {
  return (
    <div className="App">
      <header className="App-header">
        <img src={logo} className="App-logo" alt="logo" />
        <p>
          Edit <code>src/App.js</code> and save to reload.
        </p>
        <Greet />
        <a
          className="App-link"
          href="https://reactjs.org"
          target="_blank"
          rel="noopener noreferrer"
        >
          Learn React
        </a>
      </header>
    </div>
  );
}

export default App;
Your React frontend should now display the text from your backend API.
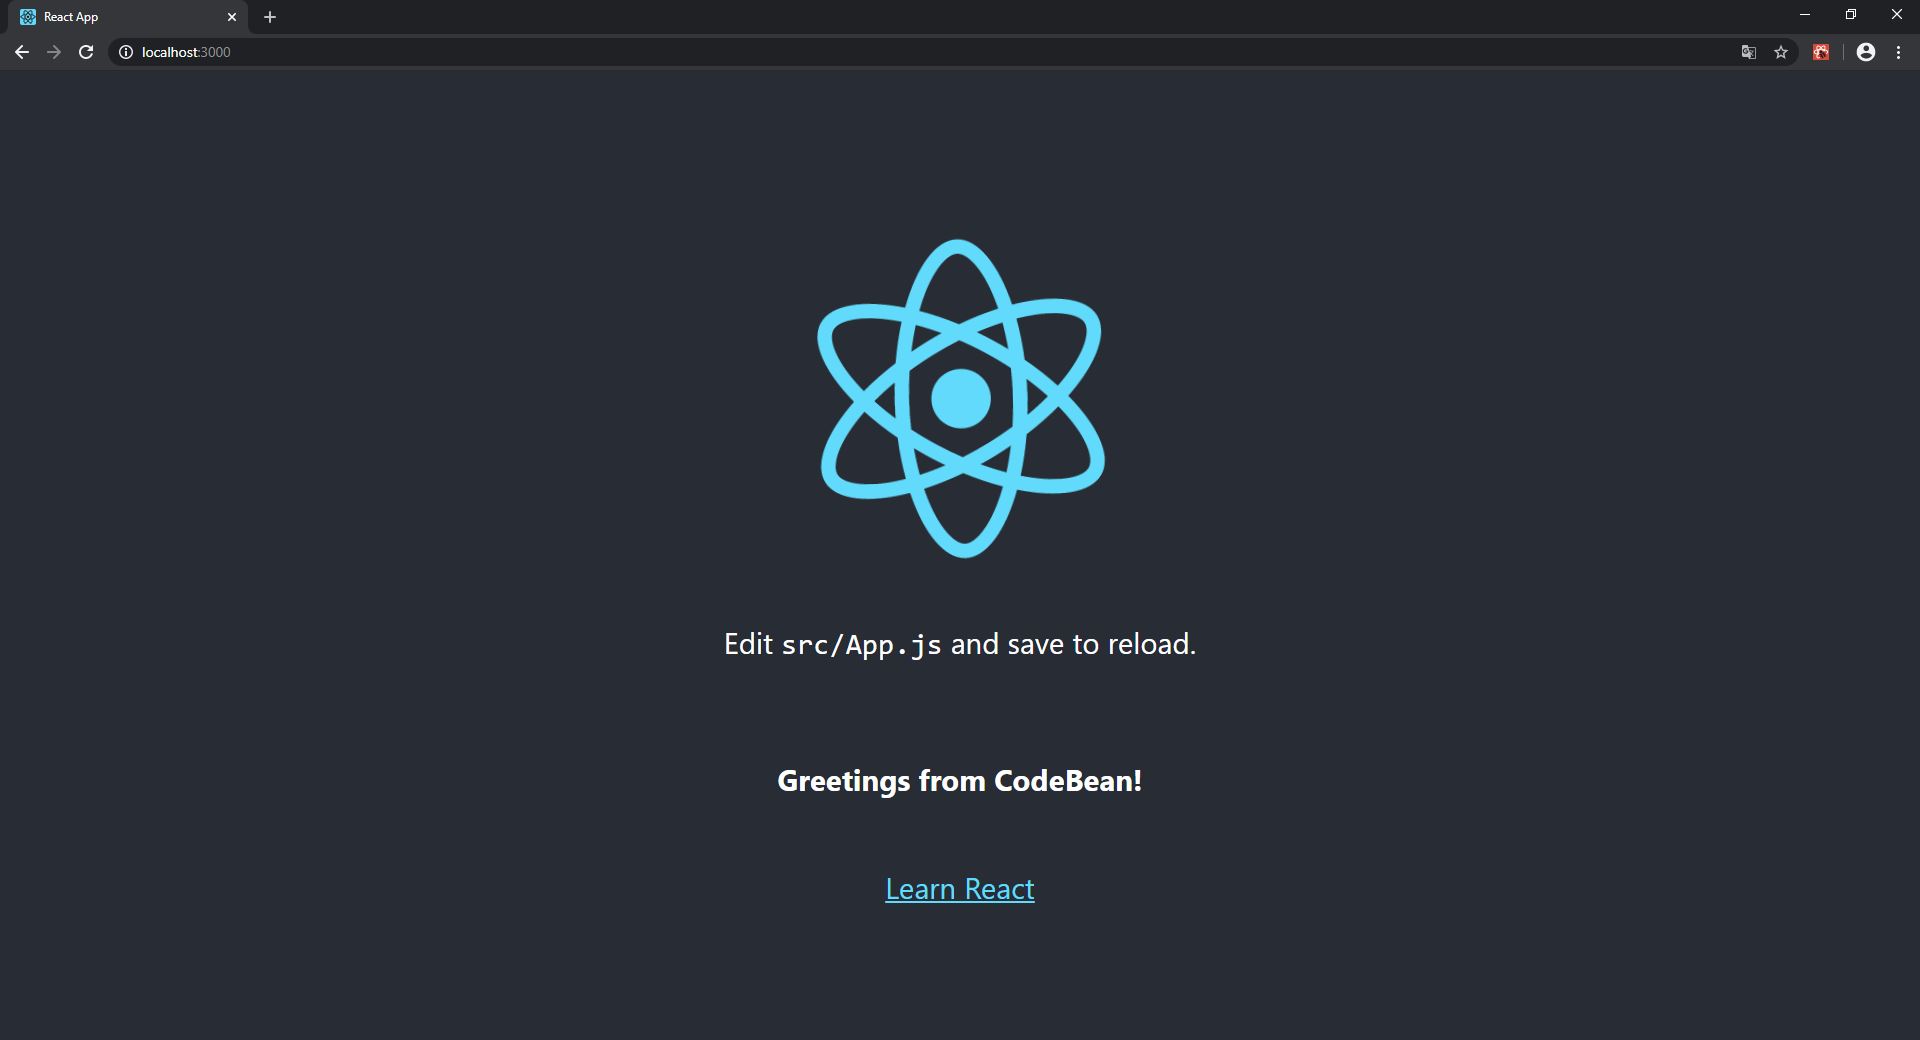
Your React frontend is now connected with your Spring Boot backend which enables your application to fetch and write data from/to your server.
I hope you enjoyed following this tutorial, don't forget to give this repository a star.
Follow CodeBean University on GitHub and get updated with new interesting tutorials.
In our next tutorial we will make a Spring Boot RESTful API application which we will connect with a PostgresQL database.


![dependabot[bot] avatar](https://avatars.githubusercontent.com/in/29110?v=4 "dependabot[bot]")
