- Run Mocha Tests
- Read Mocha Tests

Let's take a minute to think about how we'd organize our tests. We'd naturally have the tests themselves - but bunching them all together would get real messy real quick. Instead, we can group them together in so-called suites. These suites can contain both other suites as well as tests, allowing us to organize things rather neatly.
Mocha exposes a couple of methods to write our tests with. The ones you're going to use most often are describe() and it(). describe() allows us to define a suite. The first argument of describe() is the name of our suite. This keeps things grouped together in our testing output.
The it() function is an actual test; it takes a string as the first argument about what it is testing and a function that contains an assertion (we're using the expect library here) that compares your code to the expected outcome.
If we need to run certain code before or after our tests run, we can use the before() and after() functions. Similarly, if we want to do something before or after every test, we can make use of beforeEach() and afterEach().
For example, in our test file, we're writing browser-based tests. We need to simulate a browser in our testing environment. To do so, we use jsdom, which mocks out objects and behaviors as if we were in a browser without actually forcing us to render anything in a browser window. This setup makes our tests portable — that is, it makes it so that they can run just about anywhere.
We set up our fake "browser" in a call to before():
global.expect = require('expect');

const jsdom = require('jsdom');
const path = require('path');

before(function(done) {
  const src = path.resolve(__dirname, '..', 'index.js');
  const babelResult = require('babel-core').transformFileSync(src, {
    presets: ['es2015']
  });
  const html = path.resolve(__dirname, '..', 'index.html');

  jsdom.env(html, [], { src: babelResult.code }, (err, window) => {
    if (err) {
      return done(err);
    }

    Object.keys(window).forEach(key => {
      global[key] = window[key];
    });

    return done();
  });
});
This looks a little intimidating, but don't worry, we'll walk you through it.
The stuff at the top is all just setup — require is built into our test environment (running in Node.js; it will not work in your browser). Don't sweat it too much.
The first thing to notice is done. The before(), after(), beforeEach() and afterEach(), as well as our test functions, can have an optional first argument. This argument is a function, and is usually called done by convention. This signals to Mocha that what we're doing inside of before() runs asynchronously, and tells it to wait until we call done() to start running the tests. Notice where we call done() inside of the callback that gets err, window as its arguments.
Then we assign the location of the code we want to test to the variable src — pretty basic. (Don't worry too much about path.resolve — it's a part of the Node.js path library for determining the path of something. In this case, it's figuring out where code.js lives.)
Then we compile our code. Don't worry too much about this — these days, it's not changing much — but know that this helps make our code run easily in multiple environments. It's pretty sweet.
Then we call jsdom.env(). This function receives four arguments:
- An HTML string. This string sets up the DOM — it can be arbitrarily long (we could even read in a full HTML file), but in this case, we just need something basic, since our tests don't really use the DOM.
- An array of paths to source files. We only have one file to test, so it's the only element in the array.
- A callback. This function, in typical Node.js fashion, receives an error first. The
errwill most likely benull, but if it's defined, we calldone(err)to tell Mocha to stop and show us what went wrong. Assuming things are going as expected, we then take all of the things defined onwindow(including, in this lab, the functions we've written) and add them toglobalso that we can call them in our tests.
Finally, we call done() with no arguments to tell Mocha that we're finished with this before(). The tests start running here.
describe('favoriteIceCream', () => {
  it('should return the correct sentence when passed an icecream flavor', () => {
    const result = favoriteIceCream('mint chocolate chip');
    const expectedResult = 'I love mint chocolate chip';
    expect(result).toBe(expectedResult);
  });
});
The test above tests a function named favoriteIceCream. The it block declares in plain English the expectation being tested. In this case, we're testing that the function returns a sentence about the favorite ice cream. The expect block calls the function behind tests, and uses a matcher (in this case toBe) to test what the return value of the function should be. Note that we don't need to assign our result and expected result to a variable; we could also do this in-line. We're doing it this way here to more easily showcase the expect syntax.
The expect is calling the function favoriteIceCream() and passing in the parameter 'mint chocolate chip'. It's just as if favoriteIceCream() were running in a "real" application, but we can make assertions about what it returns.
Before you get started, make sure you run learn to see the test output in your terminal. Take each test step by step, and remember that you can use debugger if you get stuck.
Flat fact: Running learn for a Mocha-based lab picks up on the script assigned to npm test. That means to run our tests more quickly, we can also simply run npm test. And if we'd like to pass options to Mocha — say, for instance, that we'd like to stop running tests after the first failure — we can pass an option like npm test -- --bail. The -- is necessary so that the npm passes the --bail option to the right process (in this case, to mocha (which is in the test script) and not npm itself). If we'd like to avoid passing arguments at the command line, we can also add them to a mocha.opts file in the test/ directory. For example, --bail in mocha.opts will use the bail option.
In our function favoriteIceCream(), you might want to see what the arguments look like. You can add a debugger statement like so:
function favoriteIceCream(flavor) {
  debugger
}
Then, if you open up index.html in your browser (if you're using the IDE, follow these steps) and call favoriteIceCream('chocolate') in the browser's terminal, you can inspect the flavor argument simply by hovering over it. Pretty cool, right?
We can also use index.html to use the browser-based debugger while running the tests. (NOTE: We'll need to have our console open for the debugger's break points to be triggered.) We'll still need to submit tests with learn, but this way we can get instant feedback.
For example, when we open index.html, we'll see — well, nothing at first. Open up the console (command + option + j in macOS), and type mocha.run(). You will use this command to run tests in any lab that supports them in this file. Now you should see something like:

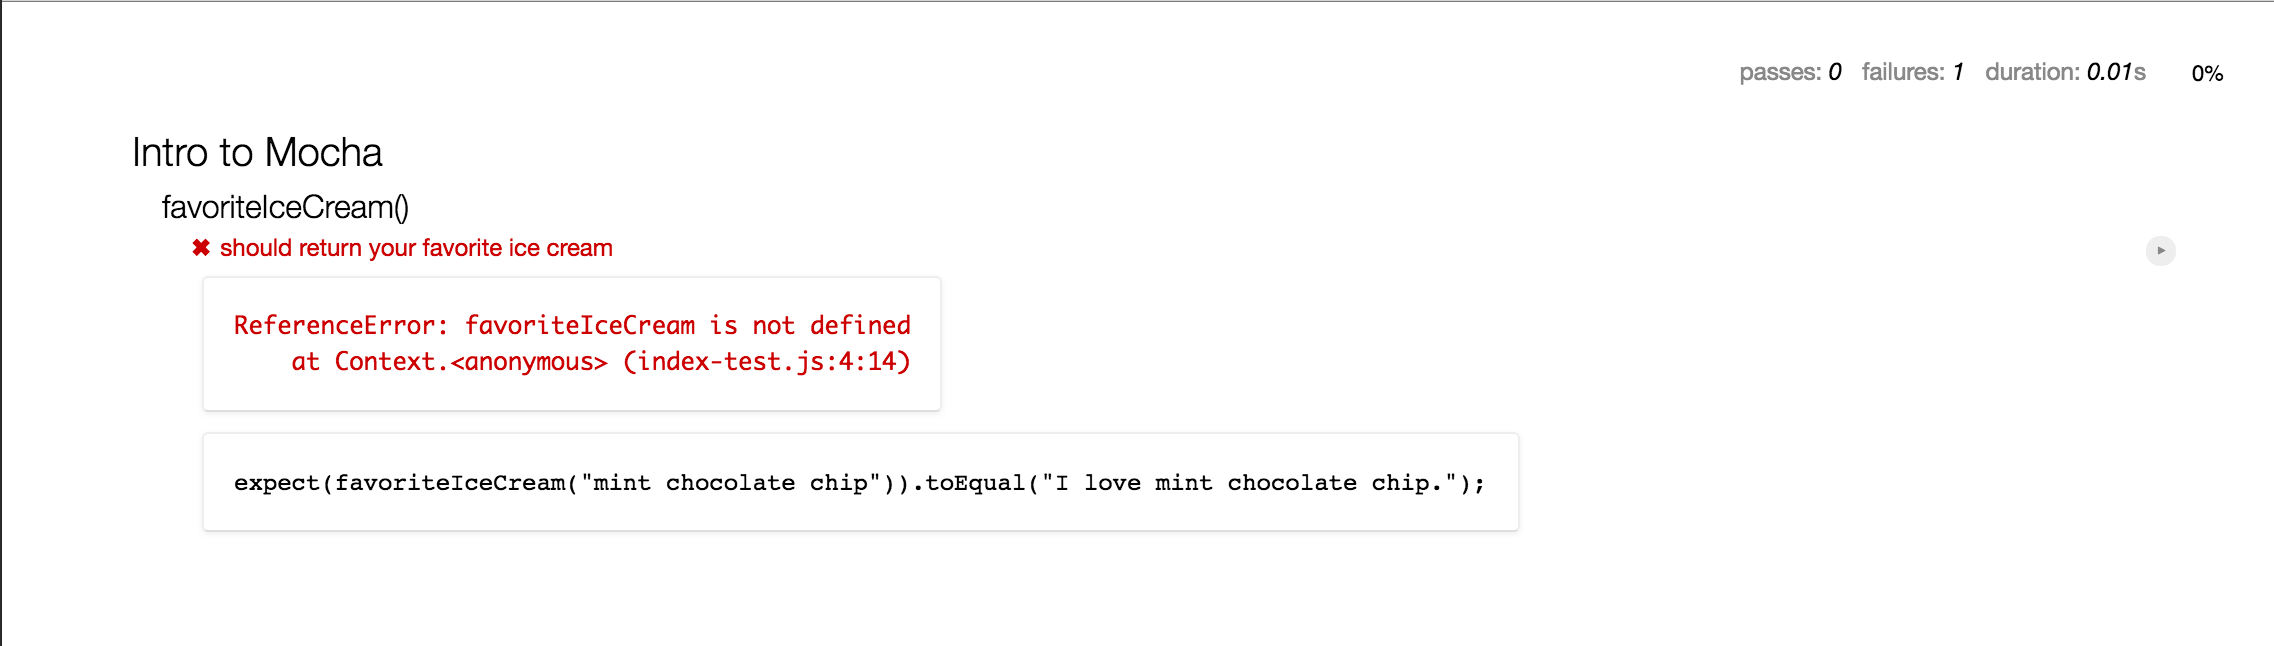
And if we click on the first test we'll see
Then, if we start writing in index.js
function favoriteIceCream(flavor) {
  debugger
}
Open the console, and refresh the page, we'll see

Finally, once we pass the test, we'll see

At which point we go back to the all tests view and work on the next test.
This lab is designed to get you comfortable with the syntax of Mocha as well as JavaScript. All you need to do to complete it is make all the tests pass in the test/index-test.js. You'll be coding your solution in index.js.
- Write a function called
theTruth, which returns the booleantrue. - Write a function called
sayHey, which returns the string'Hey!'. - Write a function called
sayHeyFriend, that takes one argument (the name of the friend). The function returns the string'Hey <NAME>!'(e.g.,'Hey, Johnny!'). - Write a function called
favoriteIceCream, which accepts a parameter and returns the string"I love <NAME_OF_ICECREAM>". - Write a function called
shouting, which accepts a string as a parameter and returns the string in all caps. - Write a function called
roundDown, which accepts a number as parameter and returns the number rounded down the closest whole number.
View JavaScript Intro to Mocha on Learn.co and start learning to code for free.


