- Clone the project repo.
- Modify the html file as per requirements.
- Modify the css file as per requirements.
- Modify the javascript file as per requirements.
- Verify if the app is working properly.
- Upload to GitHub and submit the github pages URL for peer review.
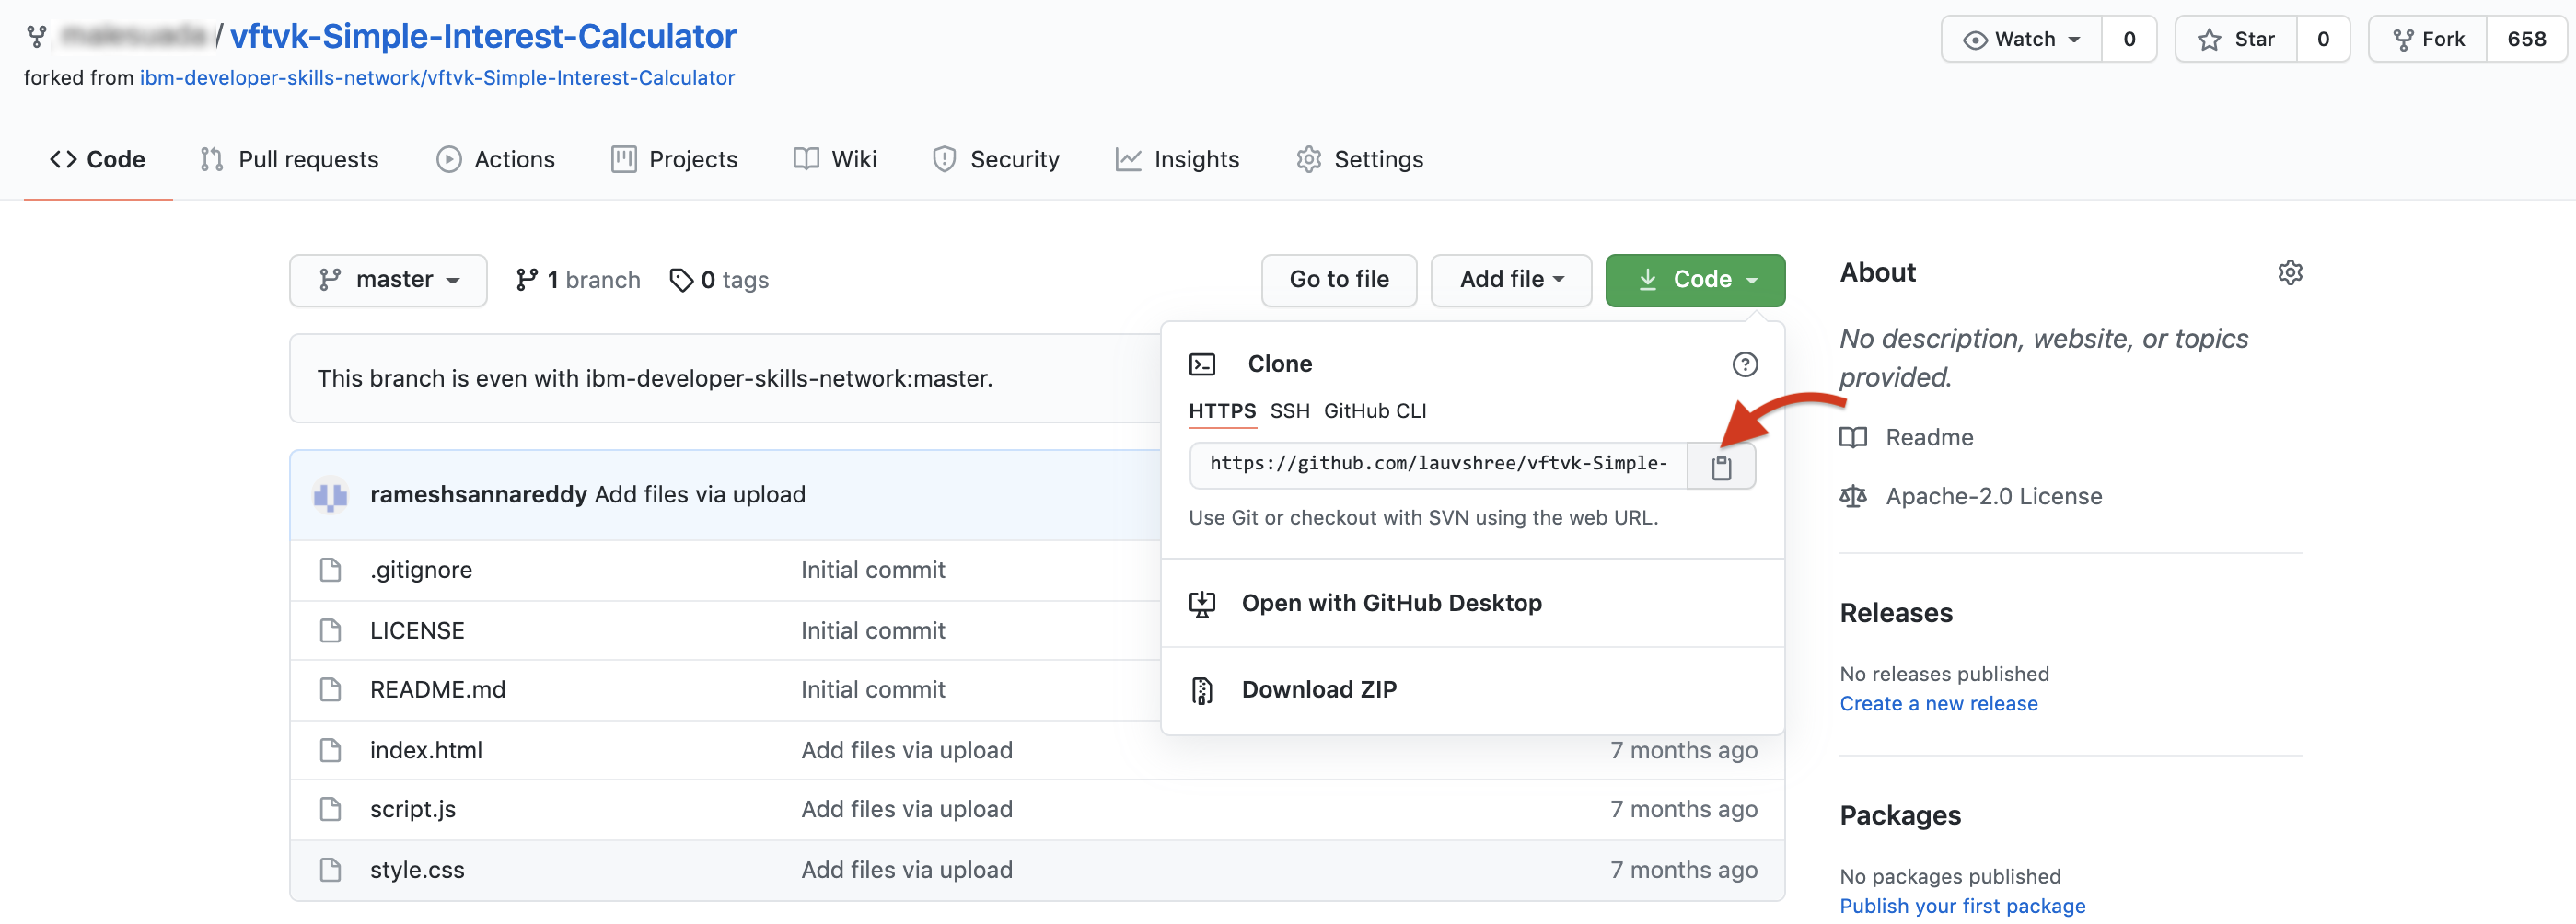
- In the project prepration phase you have forked the project into your GitHub Account. Copy the URL from your repository.
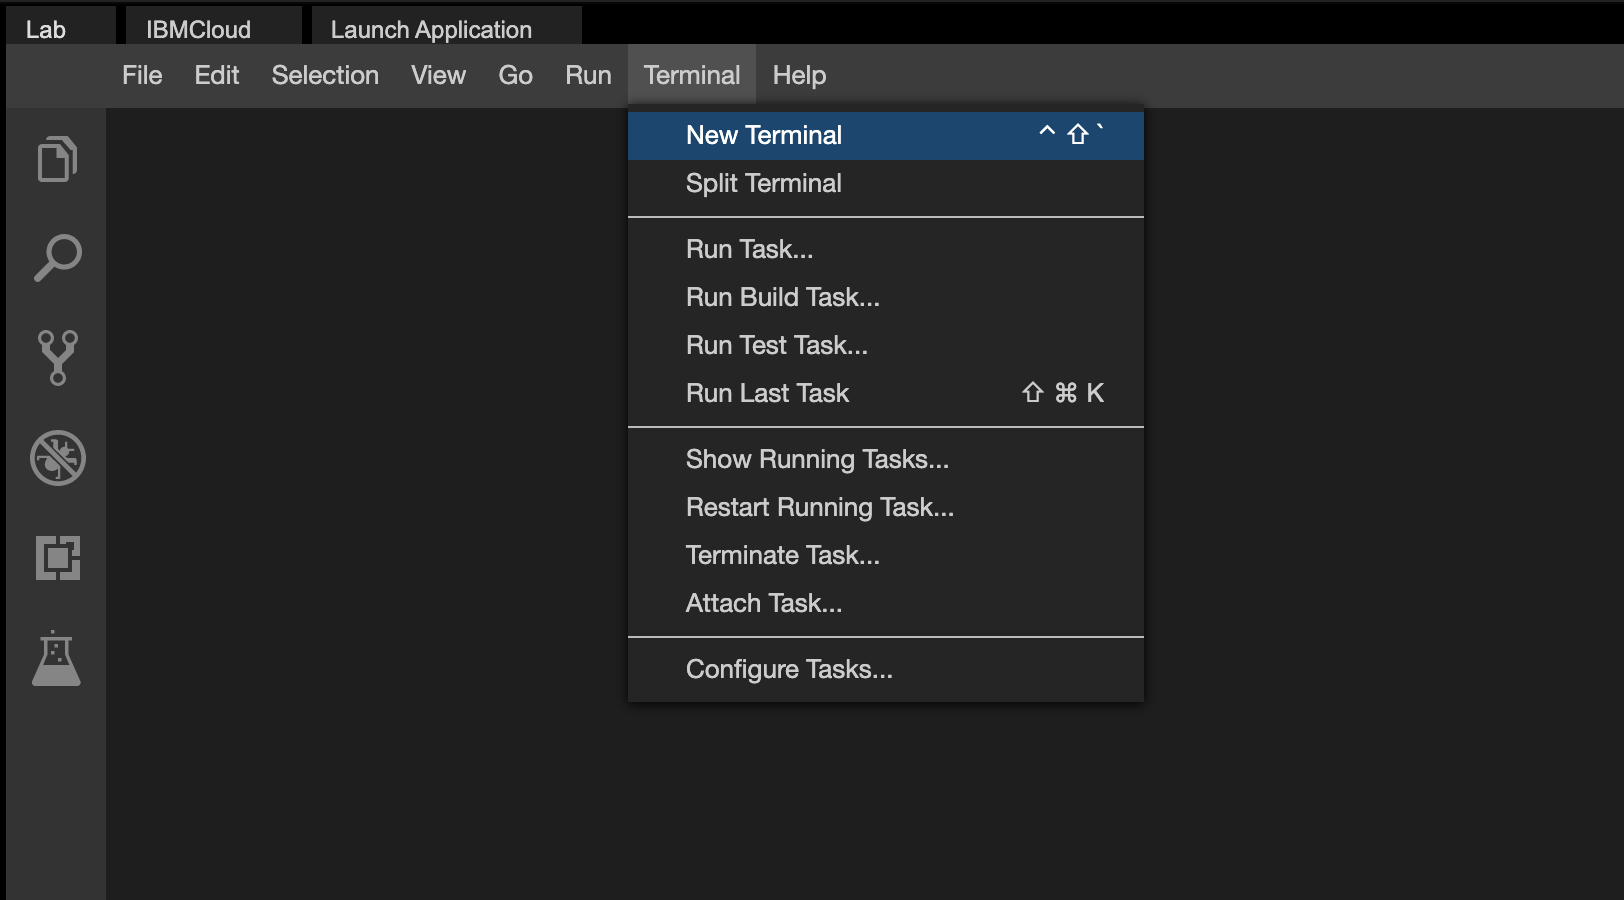
- Open a new terminal.
- Clone the project repository onto your local machine or the Theia environment from the github fork, using the URL you copied in step 1.
git clone <paste your repo clone url here>

In this exercise, you will correct any mistakes in the existing code and also add any missing tags.
- On the file explorer navigate to the
index.html.

- Doctype is missing. Add the doctype.
<!DOCTYPE html>- Add "Simple Interest Calculator" as title.
<title>Any relevant title you want to give</title>-
Move all the content which currently is in the
<body>to a<div>tag. -
Set the class attribute of this div to 'maindiv'.
<div class="maindiv">. . . .</div>- Modify the input text box for interest rate to a slider using the
<input type="range">tag.
<input type="range" id="rate" min="minval" max="maxval" value="default_val" />- For the rate input, set the attributes min to 1, max to 20 and step to 0.25 and the default value to 10.25.
Range is an elegant way to input numeric input. But the drawback is that it does not visually show value the user has selected.
- To show the value selected by the
range, create a<span>element right after the range.
<span id="rate_val"> </span>- Inside the '` tag add the text "10.25 %".
<span id="rate_val"> 10.25% </span>- Modify the input text box for "No of years" into a dropdown box with options 1 to 10.
<select id="years">
  <option value="1">1</option>
  <!-- fill in the rest of the values-->
</select>-
Change the name of "Compute" button to "Compute Interest".
-
Below the "Compute Interest" button create an empty
<span>and set its id to 'result'.
<span id="result"> </span>- Add a copyright message using the
<footer>tag.
<footer>
© This Calculator belongs to --your name--
</footer>
In this exercise, you will correct the look and feel of the web page.
- On the file explorer navigate to the style sheet.
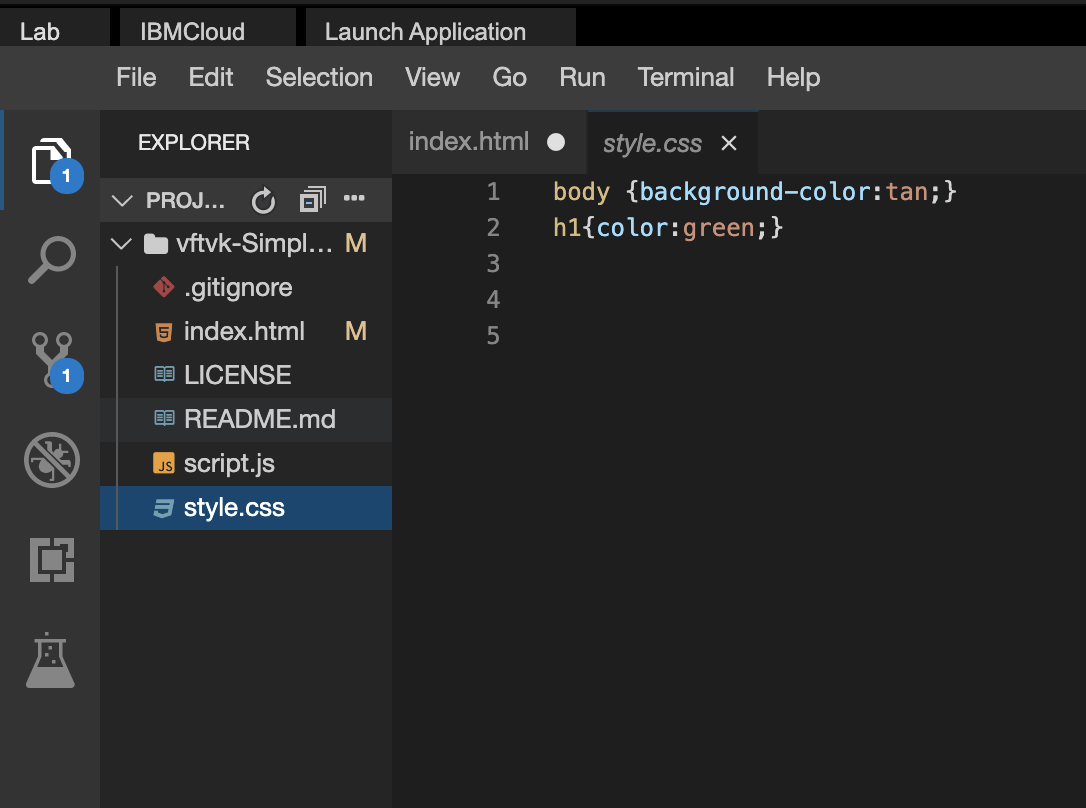
- Set the body color to 'black', font to arial and font color to white.
body {
  background-color: black;
  font-family: arial;
  color: white;
}- Set the
<h1>color to 'grey' and font to verdana.
h1 {
  color: grey;
  font-family: verdana;
}- Create an entry for class 'maindiv'.
.maindiv {
}-
Set the background color to white, font color to black, width to 300 pixels, and padding to 20px in the newly created maindiv class.
-
Set the border radius to 25 px.
-
Align the div to the center of the page.
Click to see how the new class should look like
.maindiv {
  background-color: white;
  color: black;
  width: 300px;
  padding: 20px;
  border-radius: 25px;
  align: center;
}- Visualize your html file in the browser and make sure that you have not missed anything.
In this exercise, you will write the javascript code in the file script.js to implement the simple interest calculation logic.
-
Before we start writing any javascript, make sure that the button in html file has the onclick attribute set to "compute()"
-
Create a variable called 'principal' and assign to it the value of the input element "principal"
var principal = document.getElementById("principal").value;- Create a variable called rate and assign to it the value of the input element "rate"
var rate = document.getElementById("rate").value;- Create a variable called years and assign to it the value of the input element "years"
var years = document.getElementById("years").value;- Create a variable called interest and assign to it the value of
principal * years * rate / 100
var interest = (principal * years * rate) / 100;- Write the logic to convert the 'No of Years' into the actual year in the future.
var year = new Date().getFullYear() + parseInt(years);- Write a function that reads the value of the range slider and displays it
the
<span>adjacent to the slider.
function updateRate() {
  var rateval = document.getElementById("rate").value;
  document.getElementById("rate_val").innerText = rateval;
}-
Link this function with an "onchange" event on the range input.
-
Change the slider, and test if the display in the span is being updated dynamically.
-
Get the reference to the element named 'result'
-
When "Compute Interest" is clicked, set its inner html property to the below text.
If you deposit 1000000,
at an interest rate of 3.5%.
You will receive an amount of 175000,
in the year 2025
The number above are for indication only. Make sure the output contains the relevant values by using the correct variables
Click here for a sample
document.getElementById("result").innerHTML =
  "If you deposit " +
  principal +
  ",<br>at an interest rate of " +
  rate +
  "%<br>You will receive an amount of " +
  amount +
  ",<br>in the year " +
  year +
"<br>";-
Make sure that the input you have taken as "No of Years" is converted into an actual year.
-
Make sure the numbers in the result are highlighted.
-
Add validation for "Principal" input box. If the user enters zero or negative values, show an alert "Enter a positive number"
-
Once the user clicks on the alert "OK" button, take the user back to the "Principal" input box, by setting the focus on this box. You can refer to the Javascript Form Validation lab.
-
You are done with the coding. Let us proceed to next exercise where we test the code.
-
Write comments in your code. They not only help you score more marks in the project, but also help you to debug and maintain the code in the long term.
Now that you have finished coding your app. Let us do some basic testing, before we release it.
-
Enter these values in the form.
Amount = 0
Rate = 1
No. of Years = 1
Click on Compute button.
You should see an alert "Enter a positive number".
-
Enter these values in the form.
Amount = 99999
Rate = 9
No. of Years = 9
Click on Compute button. You should see the following output.
If you deposit 99999,<br>
at an interest rate of 9.<br>
You will receive an amount of 80999.19,<br>
in the year 2029<br>
As I write this, the year is 2020, so 2029 is correct.
If you app has passed both the test cases, it is time to go to the next excercise.
Otherwise, start debugging your code to see where you went wrong.
When you are done with all the changes in the project, commit and push to GitHub. You do not have to create a Push Request back to the original IBM repository.
If you need to refresh your memory on how to commit and push to GitHub in Theia lab environment, please refer to this lab Working with git in the Theia lab environment
Open the URL of your project in a browser. (You created this URL in Exercise 1)
You should see your completed project.
Submit this URL for peer review.
Rav Ahuja
| Date | Version | Changed by | Change Description |
|---|---|---|---|
| 2020-09-09 | 1.2 | Lavanya | Added some pics and explicit instructions |
| 2020-09-09 | 1.1 | Ramesh Sannareddy | Added 'publishing to gitpages' |
| 2020-08-23 | 1.0 | Ramesh Sannareddy | Initial version created |


