| title | category | bzurl | oldwikiname | prodimagename | surveyurl | sku |
|---|---|---|---|---|---|---|
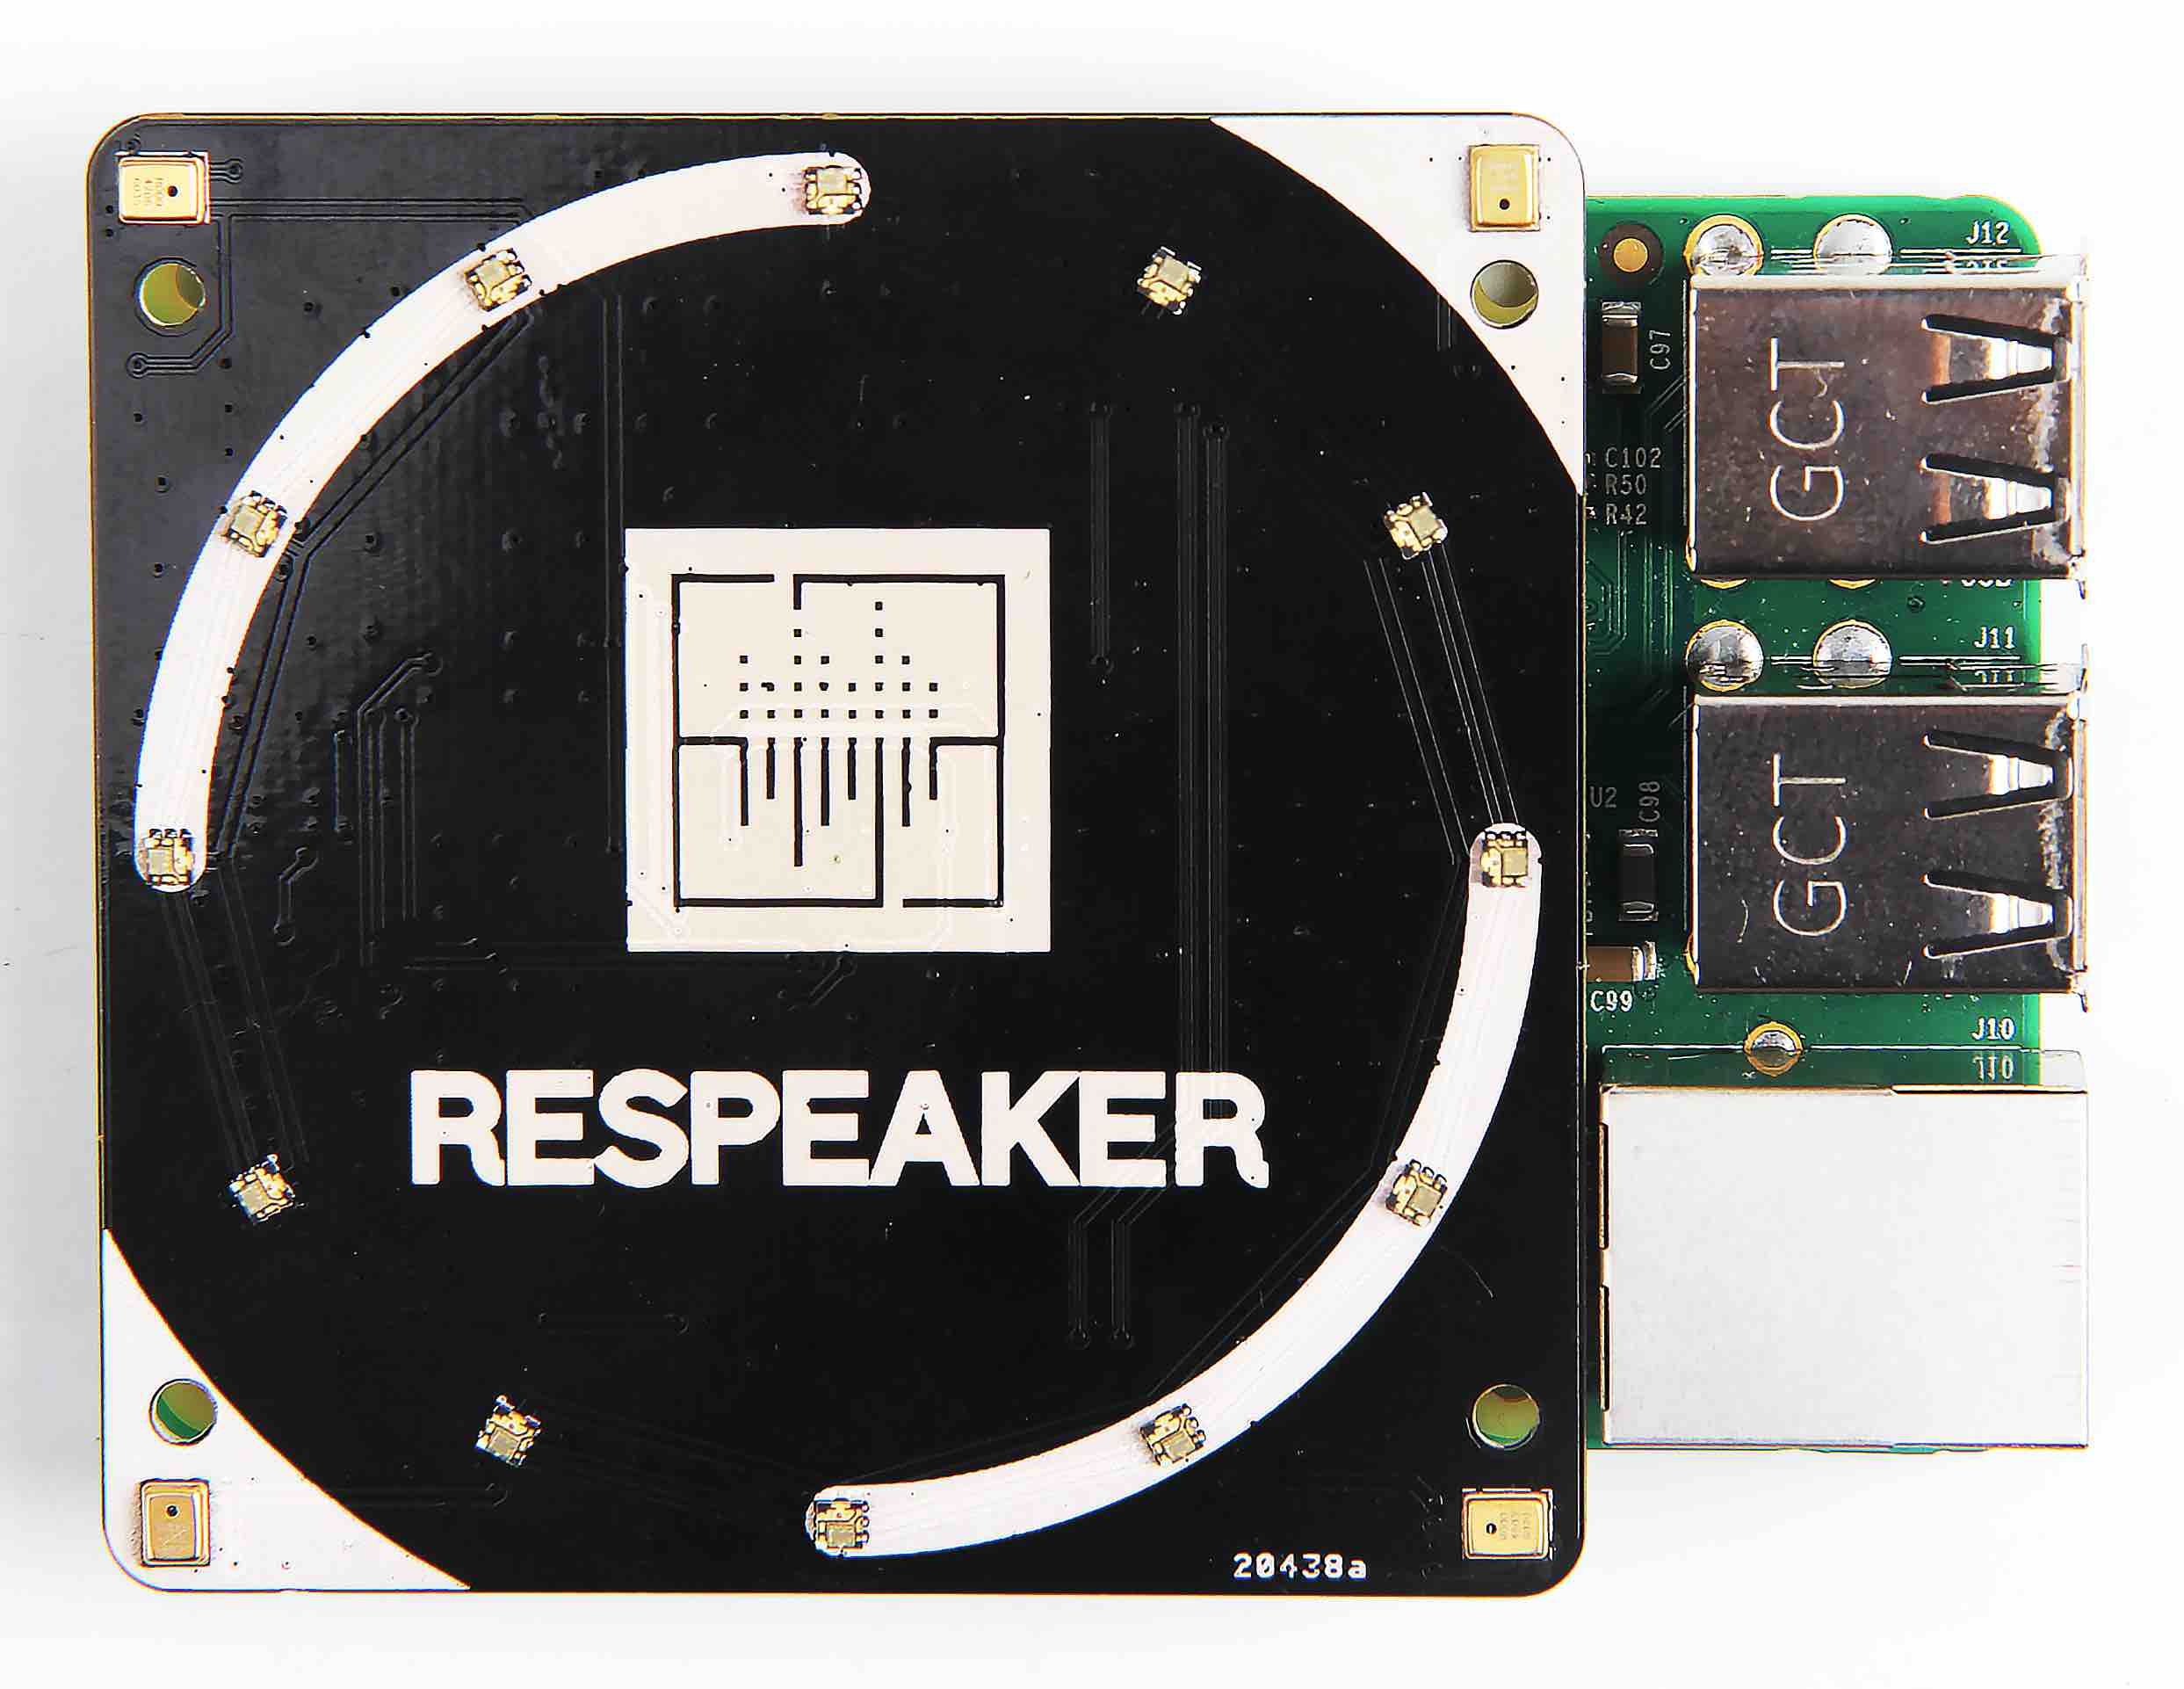
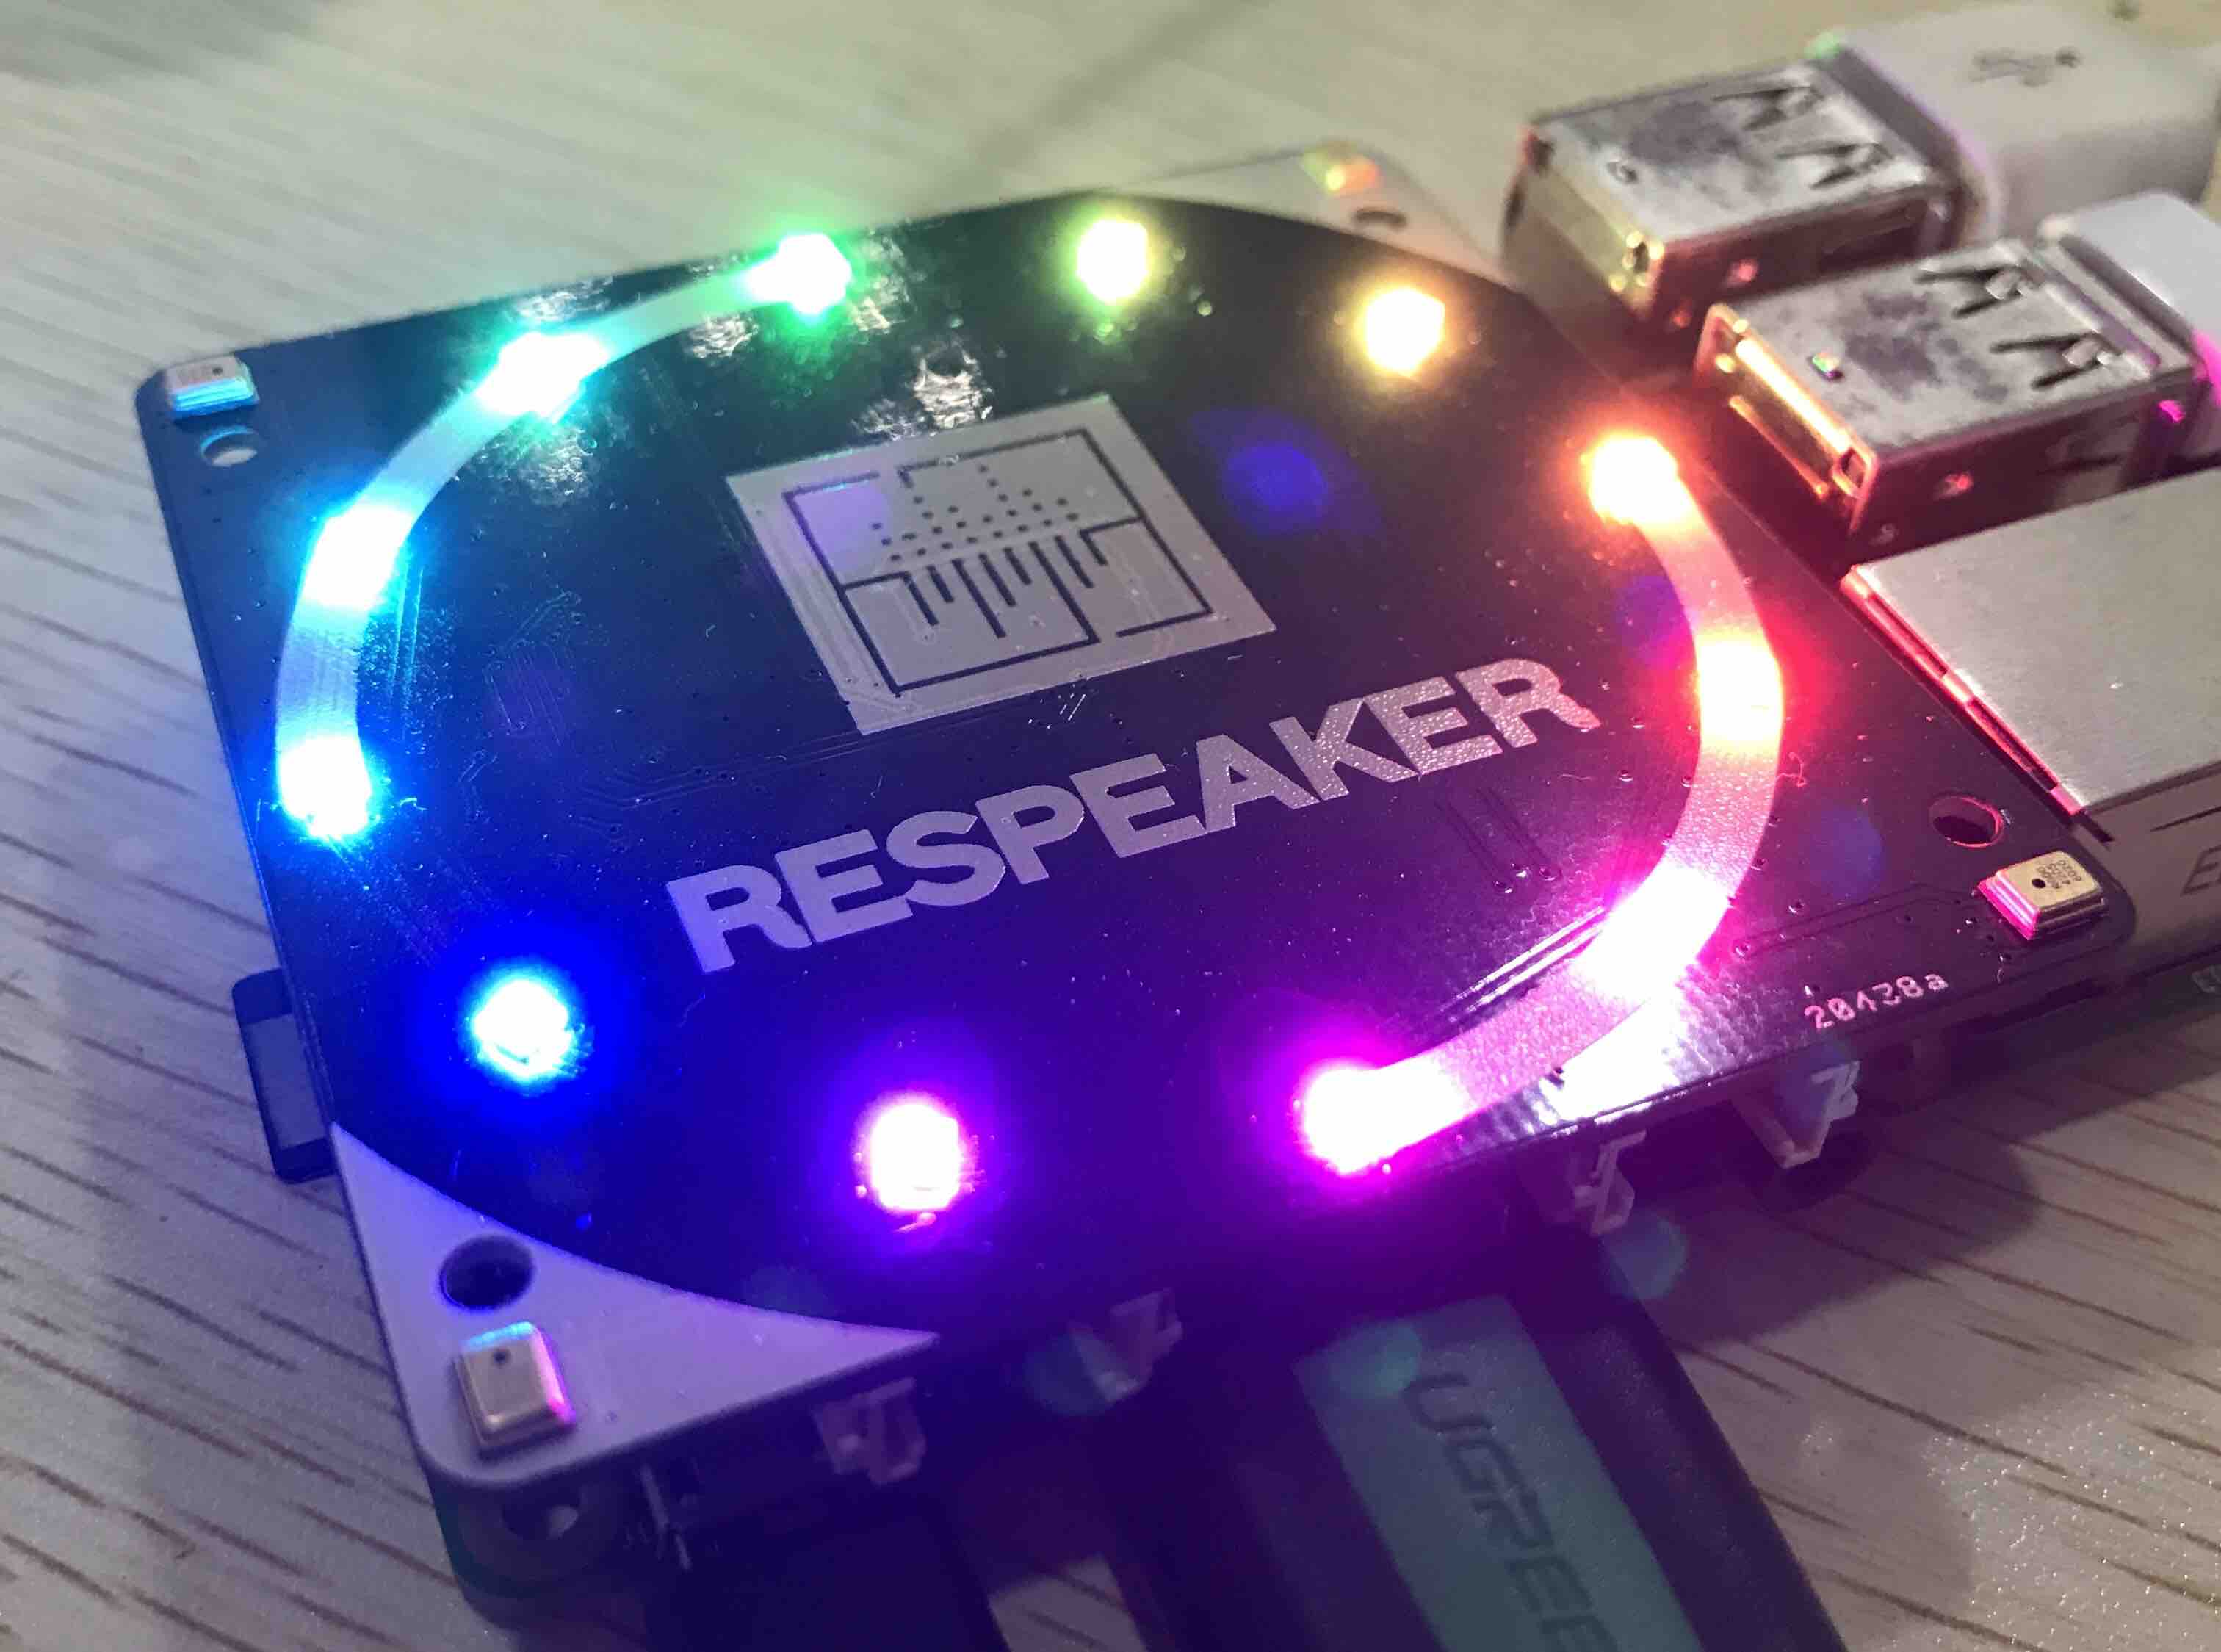
ReSpeaker 4-Mic Array for Raspberry Pi |
103030216 |
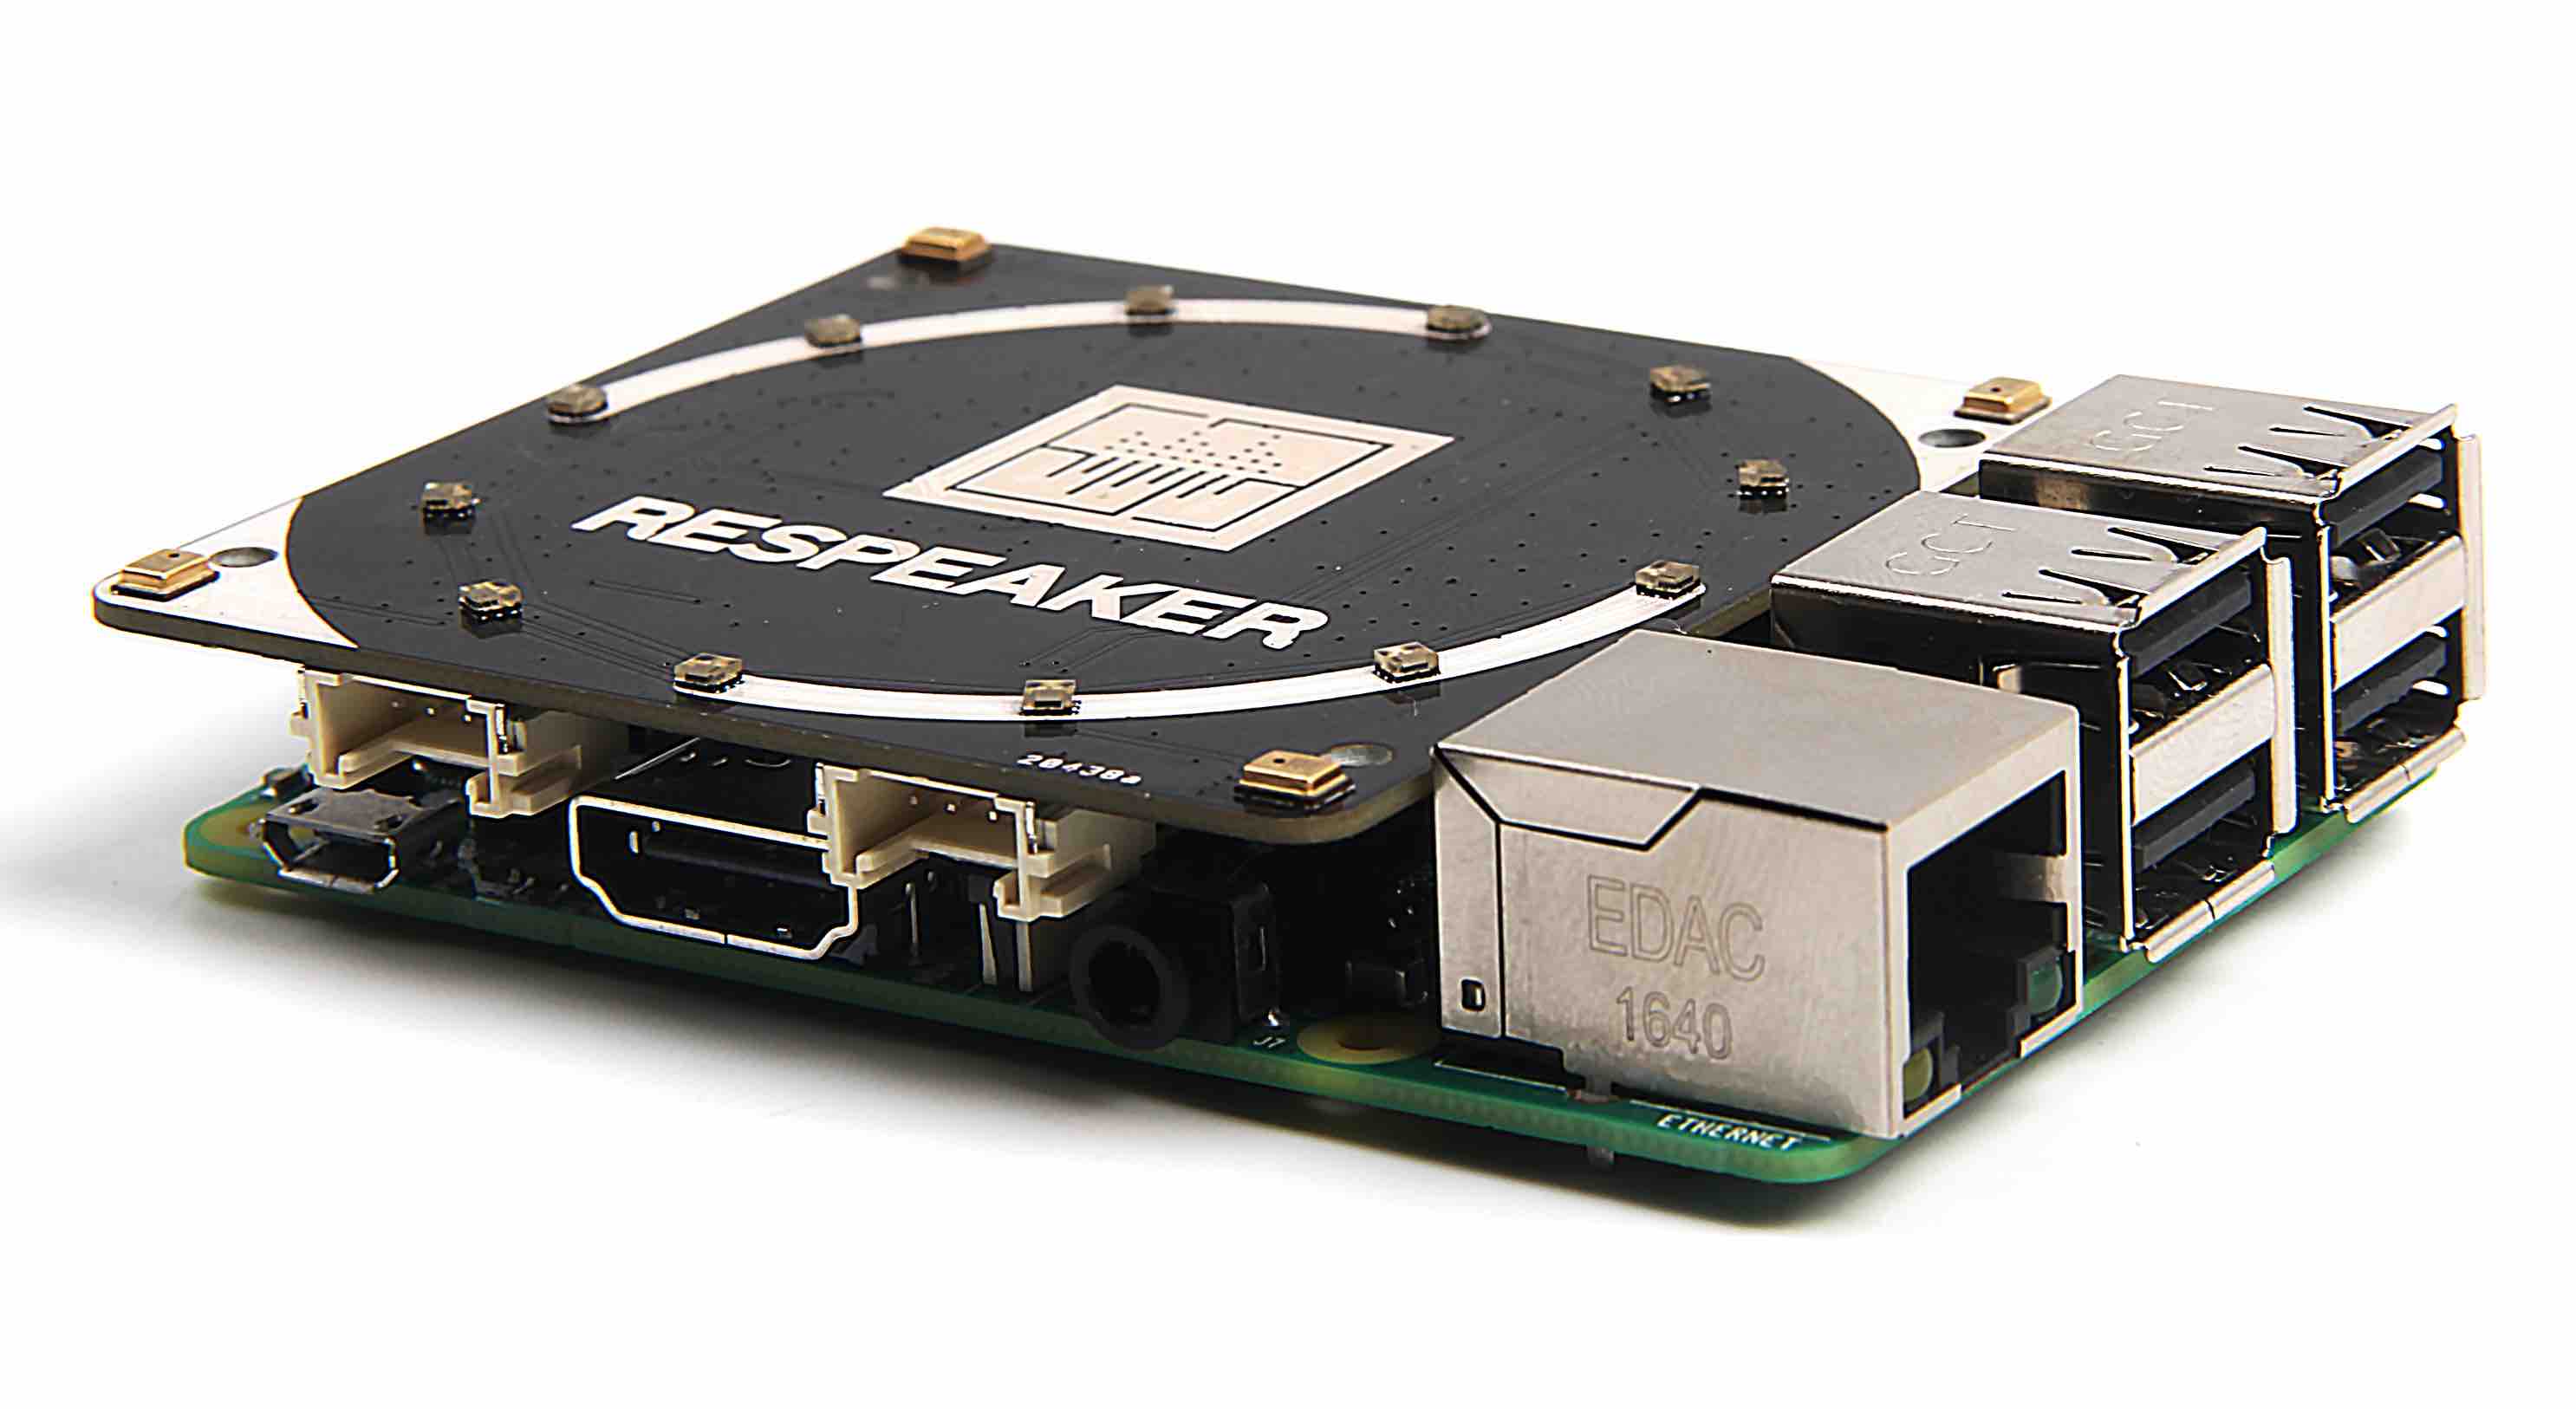
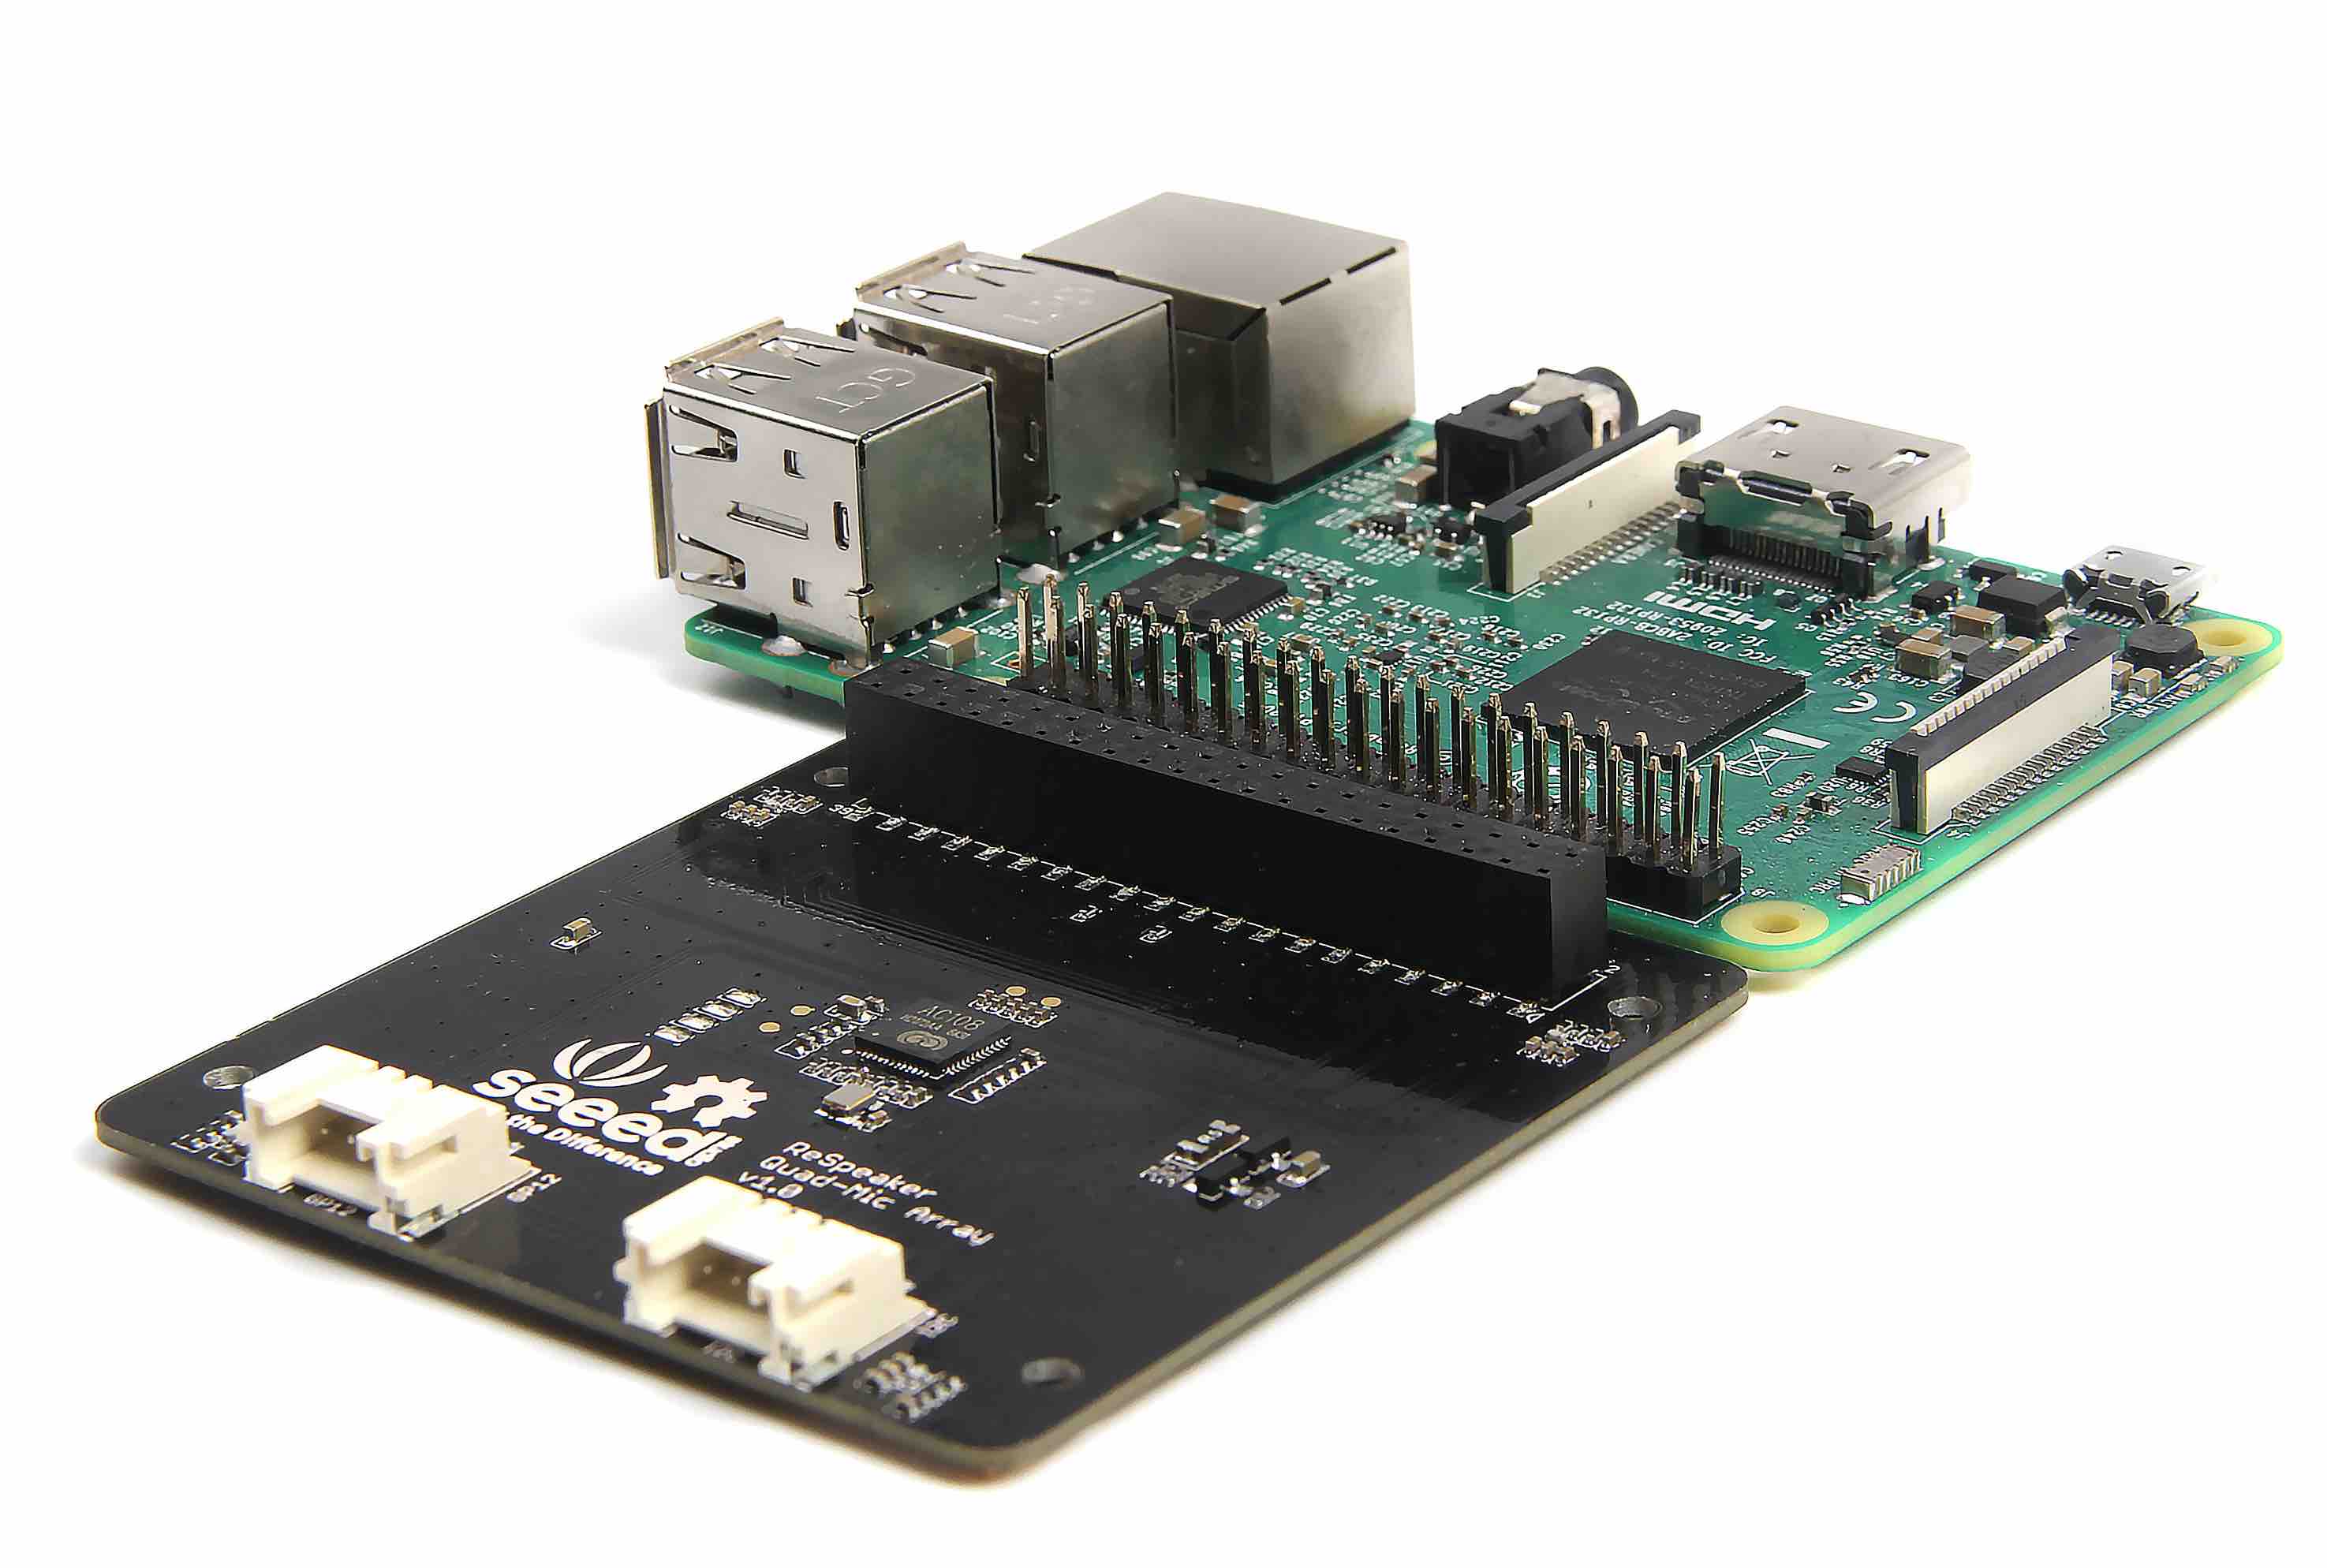
ReSpeaker 4-Mic Array for Raspberry Pi is a quad-microphone expansion board for Raspberry Pi designed for AI and voice applications. This means that you can build a more powerful and flexible voice product that integrates Amazon Alexa Voice Service, Google Assistant, and so on.
Different from ReSpeaker 2-Mics Pi HAT, this board is developed based on AC108, a highly integrated quad-channel ADC with I2S/TDM output transition for high definition voice capture, which allows the device to pick up sounds in a 3 meters radius. Besides, this 4-Mics version provides a super cool LED ring, which contains 12 APA102 programable LEDs. With that 4 microphones and the LED ring, Raspberry Pi would have ability to do VAD(Voice Activity Detection), estimate DOA(Direction of Arrival), do KWS(Keyword Search) and show the direction via LED ring, just like Amazon Echo or Google Home.
- Raspberry Pi compatible(Support Raspberry Pi Zero and Zero W, Raspberry Pi B+, Raspberry Pi 2 B and Raspberry Pi 3 B)
- 4 Microphones
- 3 meters radius voice capture
- 2 Grove Interfaces
- 12 APA102 User LEDs
- Software Algorithm: VAD(Voice Activity Detection), DOA(Direction of Arrival) and KWS(Keyword Search)
Note that there are no any audio output interfaces on ReSpeaker 4-Mic Array for Raspberry Pi. It is only for voice capture. And you could use the headphone jack on Raspberry Pi for audio output.
- Voice Interaction Application
- AI Assistant

- MIC: 4 analog microphones
- LED: 12 APA102 programable RGB LEDs, connected to SPI interface
- Raspberry Pi 40-Pin Headers: support Raspberry Pi Zero, Raspberry Pi 1 B+, Raspberry Pi 2 B and Raspberry Pi 3 B
- AC108: highly integrated quad-channel ADC with I2S/TDM output transition
- I2C: Grove I2C port, connected to I2C-1
- GPIO12: Grove digital port, connected to GPIO12 & GPIO13
Note that if you want to use the APA102 RGB LEDs, please write HIGH to GPIO5 first to enable VCC of the LEDs.
Mount ReSpeaker 4-Mic Array on your Raspberry Pi, make sure that the pins are properly aligned when stacking the ReSpeaker 4-Mic Array for Raspberry Pi.
Note: Try not to hot-plugging ReSpeaker 4-Mic Array
While the AC108 codec is not currently supported by current Pi kernel builds, we must it build manually.
Make sure that you are running the lastest Raspbian Operating System(debian 9) on your Pi. (updated at 2017.09.15)
Get the seeed voice card source code.
git clone https://github.com/respeaker/seeed-voicecard.git
cd seeed-voicecard
sudo ./install.sh 4mic
reboot
Then select the headphone jack on Raspberry Pi for audio output:
sudo raspi-config
# Select 7 Advanced Options
# Select A4 Audio
# Select 1 Force 3.5mm ('headphone') jack
# Select Finish
Check that the sound card name looks like this:
pi@raspberrypi:~/seeed-voicecard $ arecord -L
null
    Discard all samples (playback) or generate zero samples (capture)
playback
capture
dmixed
array
ac108
default:CARD=seeed4micvoicec
    seeed-4mic-voicecard,
    Default Audio Device
sysdefault:CARD=seeed4micvoicec
    seeed-4mic-voicecard,
    Default Audio Device
dmix:CARD=seeed4micvoicec,DEV=0
    seeed-4mic-voicecard,
    Direct sample mixing device
dsnoop:CARD=seeed4micvoicec,DEV=0
    seeed-4mic-voicecard,
    Direct sample snooping device
hw:CARD=seeed4micvoicec,DEV=0
    seeed-4mic-voicecard,
    Direct hardware device without any conversions
plughw:CARD=seeed4micvoicec,DEV=0
    seeed-4mic-voicecard,
    Hardware device with all software conversions
If you want to change the alsa settings, You can use sudo alsactl --file=ac108_asound.state store to save it. And when you need to use the settings again, copy it to: sudo cp ./ac108_asound.state /var/lib/alsa/asound.state
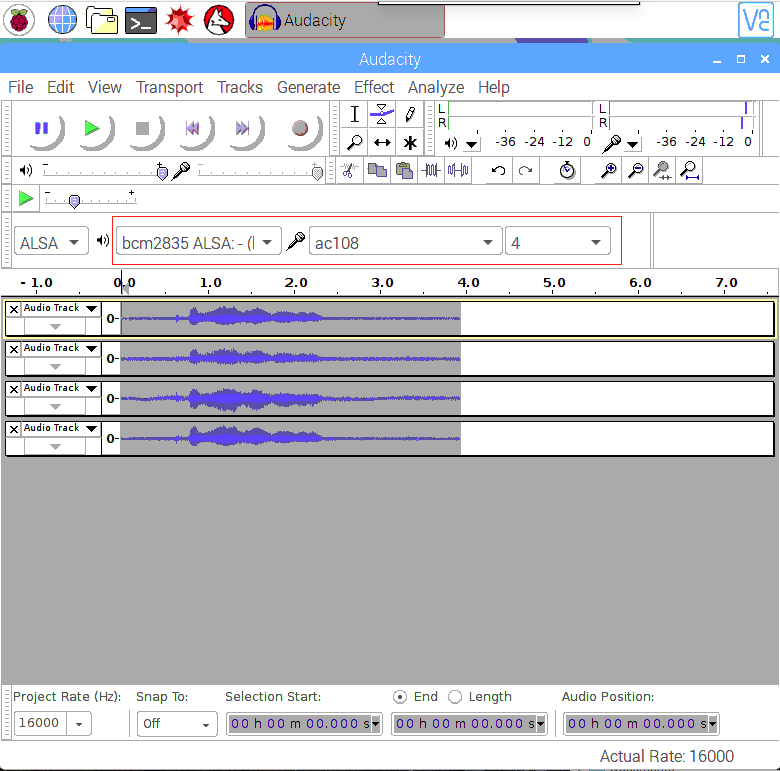
Open Audacity and select AC108 to test:
$ sudo apt update
$ sudo apt install audacity
$ audacity                      // run audacity
Or you could record with arecord and play with aplay:
arecord -Dac108 -f S32_LE -r 16000 -c 4 hello.wav    // only support 4 channels
aplay hello.wav                                      // make sure default device
                                                     // Audio will come out via audio jack of Raspberry Pi
Each on-board APA102 LED has an additional driver chip. The driver chip takes care of receiving the desired color via its input lines, and then holding this color until a new command is received.
- Activate SPI:
sudo raspi-config; Go to "Interfacing Options"; Go to "SPI"; Enable SPI; Exit the tool - Get APA102 LEDs Library and examples
pi@raspberrypi:~ $ cd /home/pi
pi@raspberrypi:~ $ git clone https://github.com/respeaker/4mics_hat.git
pi@raspberrypi:~ $ cd /home/pi/4mics_hat
pi@raspberrypi:~/4mics_hat $ sudo apt install python-virtualenv          # install python virtualenv tool
pi@raspberrypi:~/4mics_hat $ virtualenv --system-site-packages ~/env     # create a virtual python environment
pi@raspberrypi:~/4mics_hat $ source ~/env/bin/activate                   # activate the virtual environment
(env) pi@raspberrypi:~/4mics_hat $ pip install spidev gpiozero           # install spidev and gpiozero
- Then run the example code
python pixels.py, now you can see the LEDs blink like Google Assistant.
With DoA(Direction of Arrial), ReSpeaker 4-Mic Array is able to find the direction where the sound source is located.
pi@raspberrypi:~ $ source ~/env/bin/activate                    # activate the virtual, if you have already activated, skip this step
(env) pi@raspberrypi:~ $ cd ~/4mics_hat
(env) pi@raspberrypi:~/4mics_hat $ sudo apt install libatlas-base-dev     # install snowboy dependencies
(env) pi@raspberrypi:~/4mics_hat $ sudo apt install python-pyaudio        # install pyaudio
(env) pi@raspberrypi:~/4mics_hat $ pip install ./snowboy*.whl             # install snowboy for KWS
(env) pi@raspberrypi:~/4mics_hat $ pip install ./webrtc*.whl              # install webrtc for DoA
(env) pi@raspberrypi:~/4mics_hat $ cd ~/
(env) pi@raspberrypi:~ $ git clone https://github.com/voice-engine/voice-engine
(env) pi@raspberrypi:~ $ cd voice-engine/
(env) pi@raspberrypi:~/voice-engine $ python setup.py install
(env) pi@raspberrypi:~/voice-engine $ cd ~/4mics_hat
(env) pi@raspberrypi:~/4mics_hat $ python kws_doa.py
After run python kws_doa.py, just say snowboy to test DoA. When it detects the keyword, the LEDs will light up and show the direction.
- Get Alexa or Baidu authorization
pi@raspberrypi:~ $ source ~/env/bin/activate                    # activate the virtual, if you have already activated, skip this step
(env) pi@raspberrypi:~ $ cd ~/
(env) pi@raspberrypi:~ $ git clone https://github.com/respeaker/avs
(env) pi@raspberrypi:~ $ cd avs                                 # install Requirements
(env) pi@raspberrypi:~/avs $ sudo apt install gstreamer1.0 gstreamer1.0-plugins-good gstreamer1.0-plugins-ugly
(env) pi@raspberrypi:~/avs $ sudo apt install python-gi gir1.2-gstreamer-1.0
(env) pi@raspberrypi:~/avs $ pip install tornado
(env) pi@raspberrypi:~/avs $ python setup.py install
Then open a terminal at VNC, switch to the python virtual env with
# note: this is in the VNC terminal
pi@raspberrypi:~ $ source ~/env/bin/activate
(env) pi@raspberrypi:~ $ alexa-auth
Run alexa-auth in the terminal to get Alexa authorization or run dueros-auth to get Baidu authorization. The authorization file will be saved in /home/pi/.avs.json.

- Configuration
(env) pi@raspberrypi:~ $ cd /home/pi
(env) pi@raspberrypi:~ $ git clone https://github.com/respeaker/respeaker_v2_eval.git
(env) pi@raspberrypi:~ $ cd respeaker_v2_eval/alexa
(env) pi@raspberrypi:~/respeaker_v2_eval/alexa $ cp ~/4mics_hat/pixels.py ./pixels.py
(env) pi@raspberrypi:~/respeaker_v2_eval/alexa $ nano ns_kws_doa_alexa.py
Modify L15-L50 to:
    from voice_engine.kws import KWS
    #from voice_engine.ns import NS
    #from voice_engine.doa_respeaker_4mic_array import DOA
    from avs.alexa import Alexa
    from pixels import pixels

    def main():
        logging.basicConfig(level=logging.DEBUG)

        src = Source(rate=16000, channels=4, frames_size=800)
        ch1 = ChannelPicker(channels=4, pick=1)
        #ns = NS(rate=16000, channels=1)
        kws = KWS(model='snowboy')
        #doa = DOA(rate=16000)
        alexa = Alexa()

        alexa.state_listener.on_listening = pixels.listen
        alexa.state_listener.on_thinking = pixels.think
        alexa.state_listener.on_speaking = pixels.speak
        alexa.state_listener.on_finished = pixels.off

        src.link(ch1)
        ch1.link(kws)
        #ch1.link(ns)
        #ns.link(kws)
        kws.link(alexa)

        #src.link(doa)
        def on_detected(keyword):
            #logging.info('detected {} at direction {}'.format(keyword, doa.get_direction()))
            logging.info('detected {}'.format(keyword))
            alexa.listen()

        kws.set_callback(on_detected)

-
Get started!
Now run
python ns_kws_doa_alexa.py, you will see lots of debug message rasing in the terminal. When you seestatus code: 204, try to wake up respeaker with sayingsnowboy. Then the leds will light up, and now you can speak to it, for example, asking "who is the most handsome guy in the world?" or "Do you know how to beat-box?". Just enjoy it!


