![]()
Create scalable Figma plugins with ease, using the power of React + Vite!
![]()


![]()

-
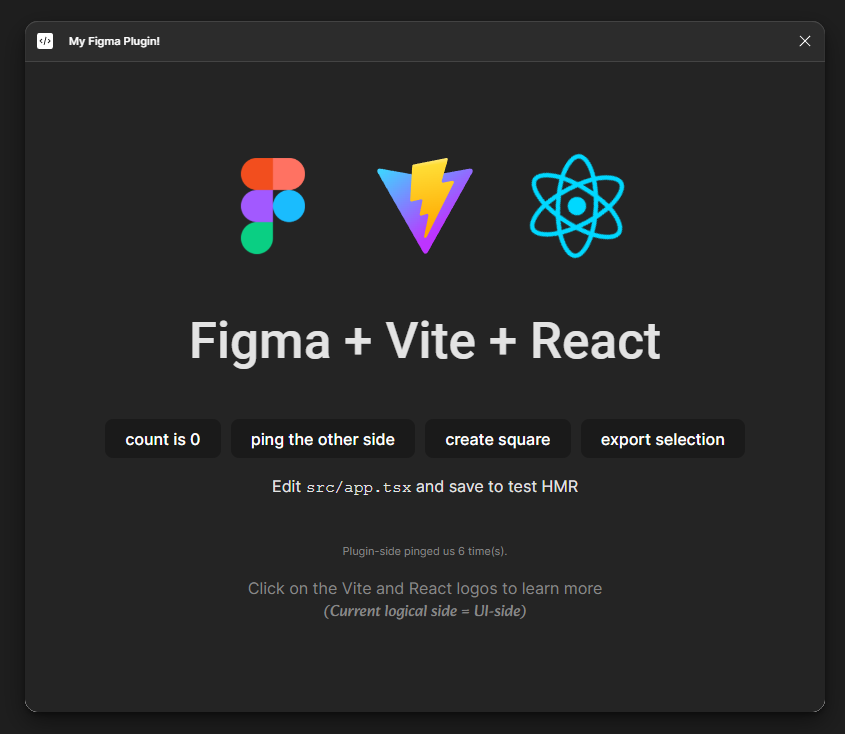
Logical Sides in Mind: Figma plugins that render a UI work on two different processes (split into code.js and index.html in Figma docs). This boilerplate keeps the sides separated by allowing them to share code (under ./src/common/).
-
Intercommunitive: Logical sides should be able to communicate with each other without creating huge and unscalable nested if statements. This boilerplate solves it by declaring isolated messages and handlers (under
./src/common/network/messages/)! (Using the Monorepo Networker library) -
Easy to Build: Configure the
figma.manifest.tsconfig with your plugin credentials once, then just build with your everydaynpm run buildcommand! The/distfolder will be ready to publish already! -
Bundled into One File: Figma plugins only accept a single file for
main(js) andui(html), which makes deployment of multiple files linked to each other impossible. This boilerplate is configured to bundle/inline most of the things you need like rasterize/vector image asset imports, CSS URL statements, and of course, source code imports. -
SVG as Component: Yes, you can import SVGs as inlined sources with
*.svg?inline, but what about actually importing them as React components? Easy! You can import an SVG file as a React component with*.svg?component!(See/src/ui/app.tsxfor examples) -
Sassy: A classic, this boilerplate supports Sass/Scss/Less and modules! Check out
/src/ui/styles/for 7-1 Sass Template and/src/ui/components/Button.module.scssfor module examples.
- First thing after you clone should be to install the dependencies by executing:
npm i
- Create a figma plugin. In Figma, right click while you're in a design file. Follow
Plugins > Development > New Plugin.... You can also type"New Plugin...to the global search (Windows: CTRL + P, Mac: ⌘ Command + P) - Follow the steps on opened window. I recommend using
DefaultorRun oncelayout, because you'll only need to save the manifest (for the plugin id it generates). Click "Save as", and save it to a temporary place. Then click "Open folder" to navigate to the folder it generated - Note down the
idfield from themanifest.jsonit generated. - Go to
figma.manifest.ts, and replace theidwith the id you noted down. Then configure the manifest there as you like. (See Official Figma Plugin Manifest doc)
Since UI is powered by Vite + React, you can use your browser to code the UI with HMR but without the figma context. Just run the following command line:
npm run dev
Building with the following command line will yield with a dist folder, which is ready to be used by Figma:
npm run build
dist/manifest.json then can be used to load the plugin. In Figma, right click while you're in a design file. Follow Plugins > Development > Import plugin from manifest.... You can also type "Import plugin from manifest... to the global search (Windows: CTRL + P, Mac: ⌘ Command + P). Then select dist/manifest.json
After building, built dist folder is going to contain every artifact you need in order to publish your plugin. Just build, and follow Figma's Official Post on Publishing Plugins.
srcsrc/common/: Sources that are intended to be used both by plugin and ui logical sides.src/common/network/: Networking logic & message declarations used by Plugin - UI logical sides' intercommunication. Whenever a new message type is needed, declare and register here.
src/plugin/: Sources of the plugin logical side. Place everything that interracts with figma here.src/ui/: Sources of the ui logical side, a classical Vite + React source base.
scriptsscripts/vite/: Some custom vite plugins to assist inlining assets
figma.manifest.ts- A module that exports Figma Plugin Manifest for the build scripts
Importing image assets other than .svg is easy. However, when you are importing .svg you MUST make sure it is imported using either one of the suffixes ?inline or ?component.
// ❌ WRONG! Won't be visible in Figma
import myImage from "@ui/assets/my_image.svg";

// ✔️ Correct!
import MyImage from "@ui/assets/my_image.svg?component";
import myImage from "@ui/assets/my_image.svg?inline";

...

<MyImage className="something" />
<img src={myImage} />