forge-dataviz-2d
This sample demonstrates how to add/remove sprites of Autodesk Forge Data Visualization extension.
Just navigate to any of the html files in the public subfolder.
Demo Video
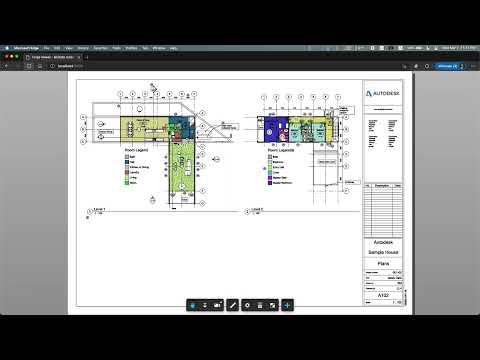
Click here or click on the above picture to view the video
Running locally
- Get your Forge app client ID and client secret (see how to create an app)
- Clone this repository, and navigate to the project's folder in your terminal
- Install npm dependencies
npm install
- Specify env. variables
FORGE_CLIENT_ID,FORGE_CLIENT_SECRET, andPORTexport FORGE_CLIENT_ID=<your client id>export FORGE_CLIENT_SECRET=<your client secret>export PORT=3000
- Run the app
npm start
If you're using Visual Studio Code, skip the steps 4 and 5, and instead create a .vscode/launch.json in the project's folder with the following JSON:
{
    "version": "0.2.0",
    "configurations": [
        {
            "type": "node",
            "request": "launch",
            "name": "Launch Program",
            "skipFiles": [
                "<node_internals>/**"
            ],
            "program": "${workspaceFolder}/server.js",
            "env": {
                "FORGE_CLIENT_ID": "<your client id>",
                "FORGE_CLIENT_SECRET": "<your client secret>",
                "PORT": 3000
            }
        }
    ]
}
Then you can run and debug the application with F5, or by going to Run > Start Debugging.
License
This sample is licensed under the terms of the MIT License. Please see the LICENSE file for full details.
Written by
Eason Kang @yiskang, Forge Partner Development


