Hello everyone. This repository contains the RAW macOS image and global EFI needed to install macOS on your compatible computer. I am going to share with you my own OpenCore bootloader folder and macOS images. If you send me the problems you encounter, we can work together to solve them. I will update it externally with the image every month as there is no EFI folder in the image. What you need to do is to place the EFI folder in the EFI partition that will be created after you have written the image to your USB flash drive. I hope you all have a smooth hackintosh.
- Find Hardware Information
- Check Compability
- Download macOS Image
- Write macOS Image
- Set the EFI folder
- Adjust BIOS settings
- Editing EFI
- macOS Installation Steps
- Download and install AIDA64 Extreme.
- Open
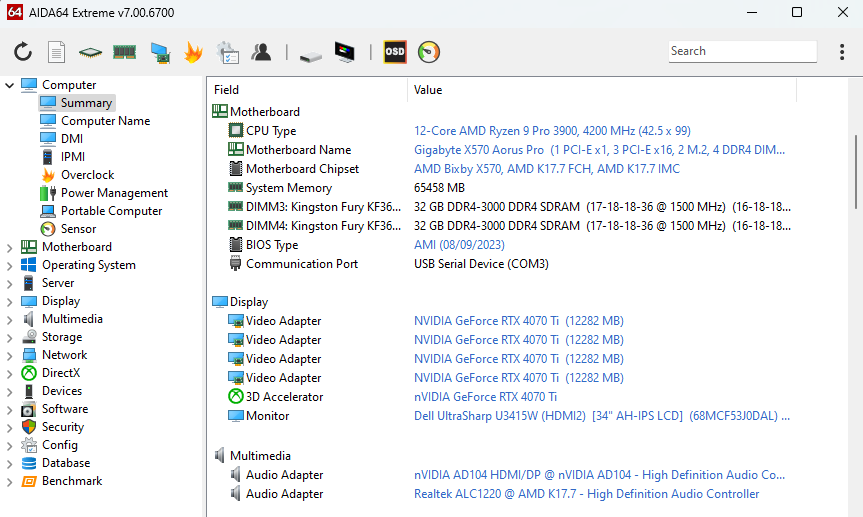
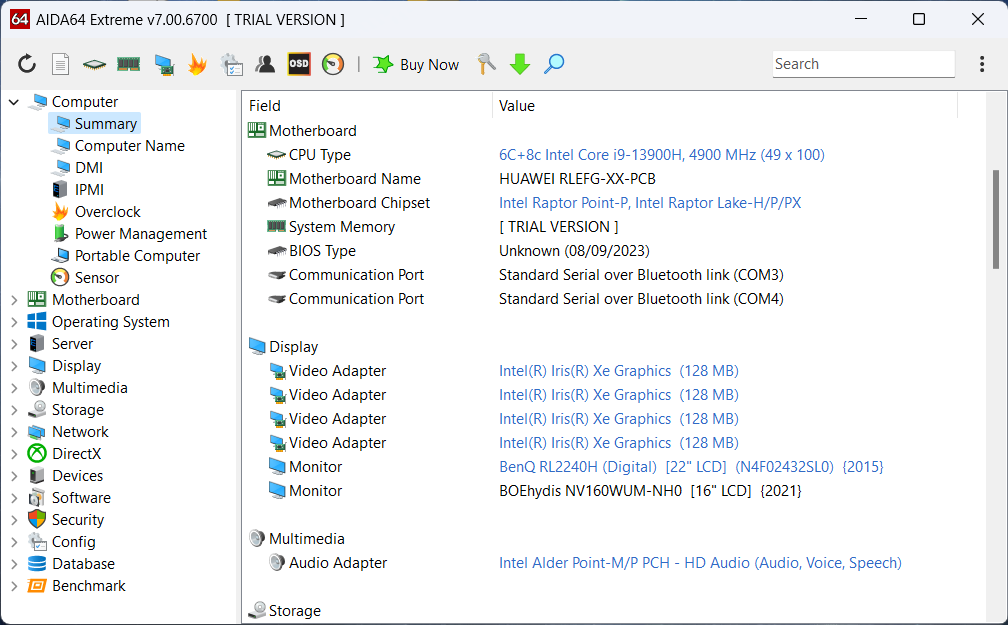
AIDA64 Extremeand double clickSummary - We can see our CPU, motherboard, GPU and Audio Adapter. Make a note of these.
- Desktop
-
- Laptop
-
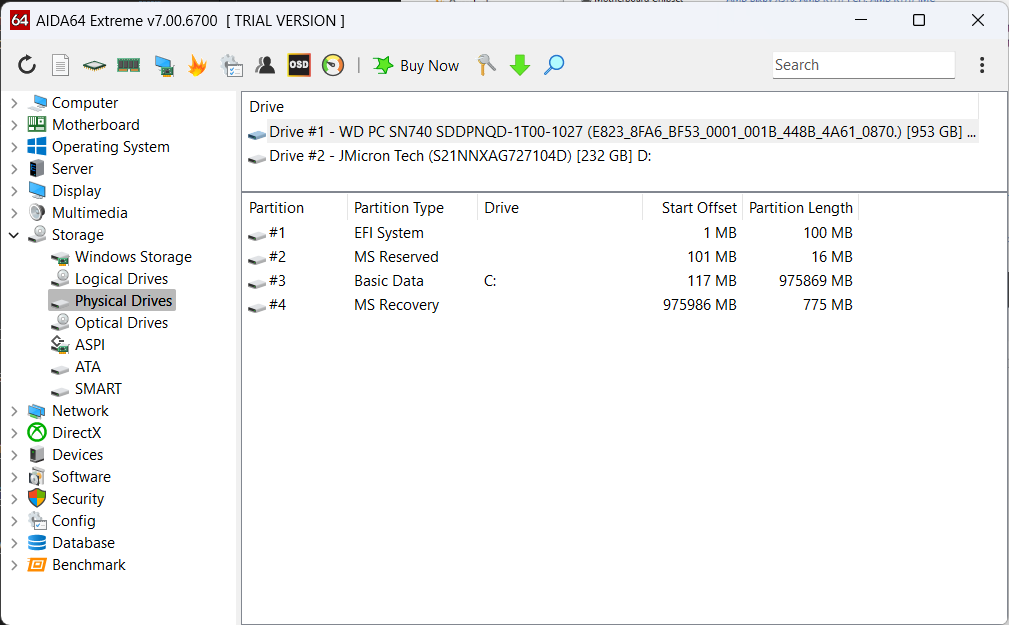
- Disk model, network cards, and the touchpad model (if we have one), are all we need to know.
- Go to Storage > Physical Drives.
-
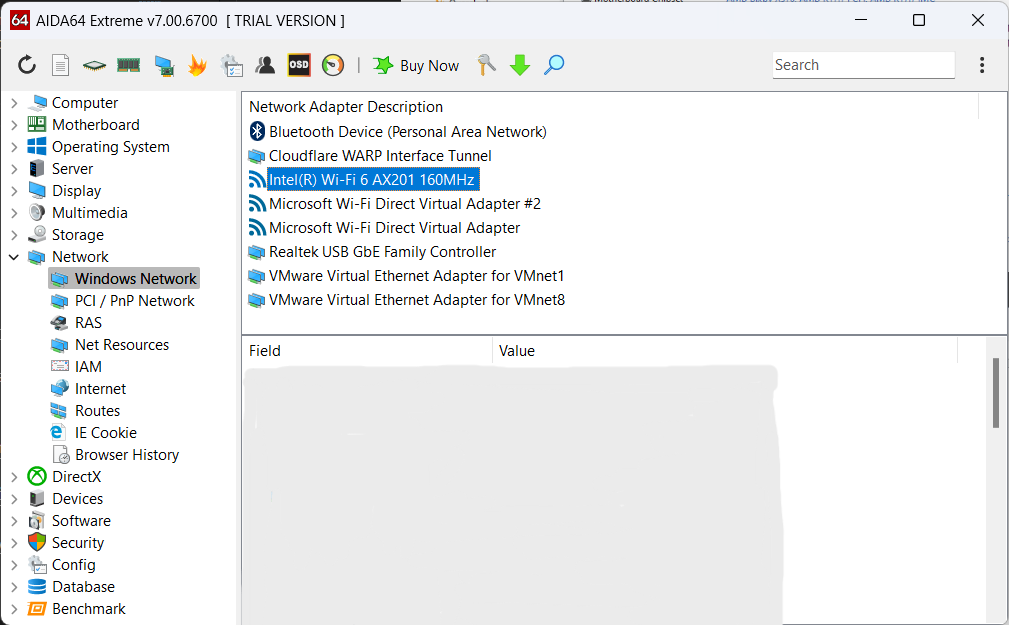
- Go to Network > Windows Network.
-
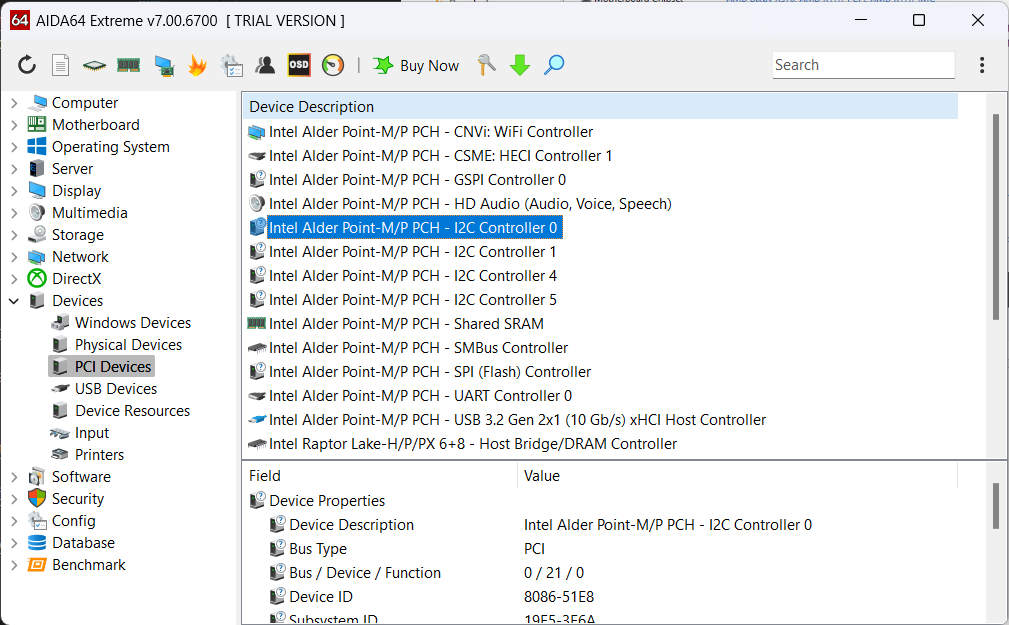
- Go to Devices > PCI Devices (Touchpad). It is usually PS2 or I2C.
-
I took the screenshots from my current computer. According to this guide, here are the specifications of the computer on which I will install macOS.
- Specifications
- Model: Lenovo Thinkpad E570
- CPU: Intel(R) Core(TM) i5-7200U
- iGPU: Intel(R) HD Graphics 620
- Audio: Conexant CX20753/4
- Disk: KBG40ZNV256G KIOXIA NVMe 256GB & SAMSUNG SSD 860 EVO 250GB
- Network Devices: Dell Wireless 1820A Wi-Fi & BT , Realtek RTL8111/8168/8411 Ethernet
- Touchpad: SynPS/2 Synaptics TouchPad
To check if your hardware is incompatible, I leave links below.
- Processors
- Intel Core i5-10200H (Unfortunately, this processor's integrated graphics card is not supported by macOS.)
- Graphics Cards
- Motherboards
- Storage
- Wi-Fi Cards
- Realtek based cards
- Extract RAW file from ZIP to the desktop.
- Download balenaEtcher.
- Open program and click to "Flash from file"
- Select the OSX image
(.raw file)from the popup window. - Click to "Select target" and select USB drive.
- Click to "Flash!" and select allow in popup window.

- When you have finished writing, 'unplug' the USB stick and plug it back in again.
- When you plug-in USB back, you can see EFI partition in "My Computer"
- Open EFI partition.
- Copy your EFI folder to EFI partititon.
- If you don't have EFI. You can use my global EFI.
- Download from
Releasesand copy the EFI folder to EFI partition.
- Open EFI/OC/config folder, find compatible config for your hardware. Copy it to EFI/OC and set your file name config. Example:
- my CPU is
i5-7200U. It isKaby Lake Mobile (Laptop)cpu. - Go EFI/OC/config/Laptop and copy
Kaby Lake.plistto EFI/OC and renameconfig.plist
- my CPU is
- Now you can boot from USB.
Note: Most of these options may not be present in your firmware, we recommend that you match them as closely as possible, but don't worry if many of these options are not present in your BIOS.
-
- Before you start, reset your BIOS settings to default.
Disable- Fast Boot
- Secure Boot
- Serial/COM Port
- Parallel Port
- Compatibility Support Module (CSM) (Must be off in most cases, GPU errors/stalls like gIO are common when this option is enabled)
- Thunderbolt (For initial install, as Thunderbolt can cause issues if not setup correctly)
- Intel SGX
- Intel Platform Trust
- CFG Lock (MSR 0xE2 write protection)(This must be off, if you can't find the option then enable AppleXcpmCfgLock under Kernel -> Quirks. Your hack will not boot with CFG-Lock enabled)
Enable- VT-x
- Above 4G decoding
- Hyper-Threading
- Execute Disable Bit
- EHCI/XHCI Hand-off
- OS type: OS type: Windows 8.1/10 UEFI Mode (some motherboards may require "Other OS" instead)
- DVMT Pre-Allocated(iGPU Memory): 64MB or higher
- SATA Mode: AHCI
-
-
Before you start, reset your BIOS settings to default.
-
Disable- Fast Boot
- Secure Boot
- Serial/COM Port
- Parallel Port
- Compatibility Support Module (CSM) (Must be off in most cases, GPU errors/stalls like gIO are common when this option is enabled)
- IOMMU
- Note for 3990X users: MacOS currently does not support more than 64 threads in the kernel. If more threads are detected, the kernel will panic. The 3990X processor has 128 threads and half of these will need to be disabled. In these cases we recommend disabling hyper-threading in the BIOS.
-
Enable- Above 4G Decoding (This must be on, if you can't find the option then add npci=0x3000 to boot-args. Do not have both this option and npci enabled at the same time.)
- If you are on a Gigabyte/Aorus or an AsRock motherboard, enabling this option may break certain drivers(ie. Ethernet) and/or boot failures on other OSes, if it does happen then disable this option and opt for npci instead
- 2020+ BIOS Notes: When enabling Above4G, Resizable BAR Support may become an available on some X570 and newer motherboards. Please ensure that Booter -> Quirks -> ResizeAppleGpuBars is set to 0 if this is enabled.
- EHCI/XHCI Hand-off
- OS type: Windows 8.1/10 UEFI Mode (some motherboards may require "Other OS" instead)
- SATA Mode: AHCI
- Above 4G Decoding (This must be on, if you can't find the option then add npci=0x3000 to boot-args. Do not have both this option and npci enabled at the same time.)
-
NOTE: If you have LEGACY BIOS. Try to boot already without touching the default "boot" file that comes in the EFI partition. If you can't boot, come back and change the name of the "boot" file to "boot-default". Change the name of the "bootx64 or bootx32" file to "boot" according to the architecture of your processor. it does not matter. If you still can't boot, try the "boot6", "boot7" and "boot9" files.
-
After adjusting the
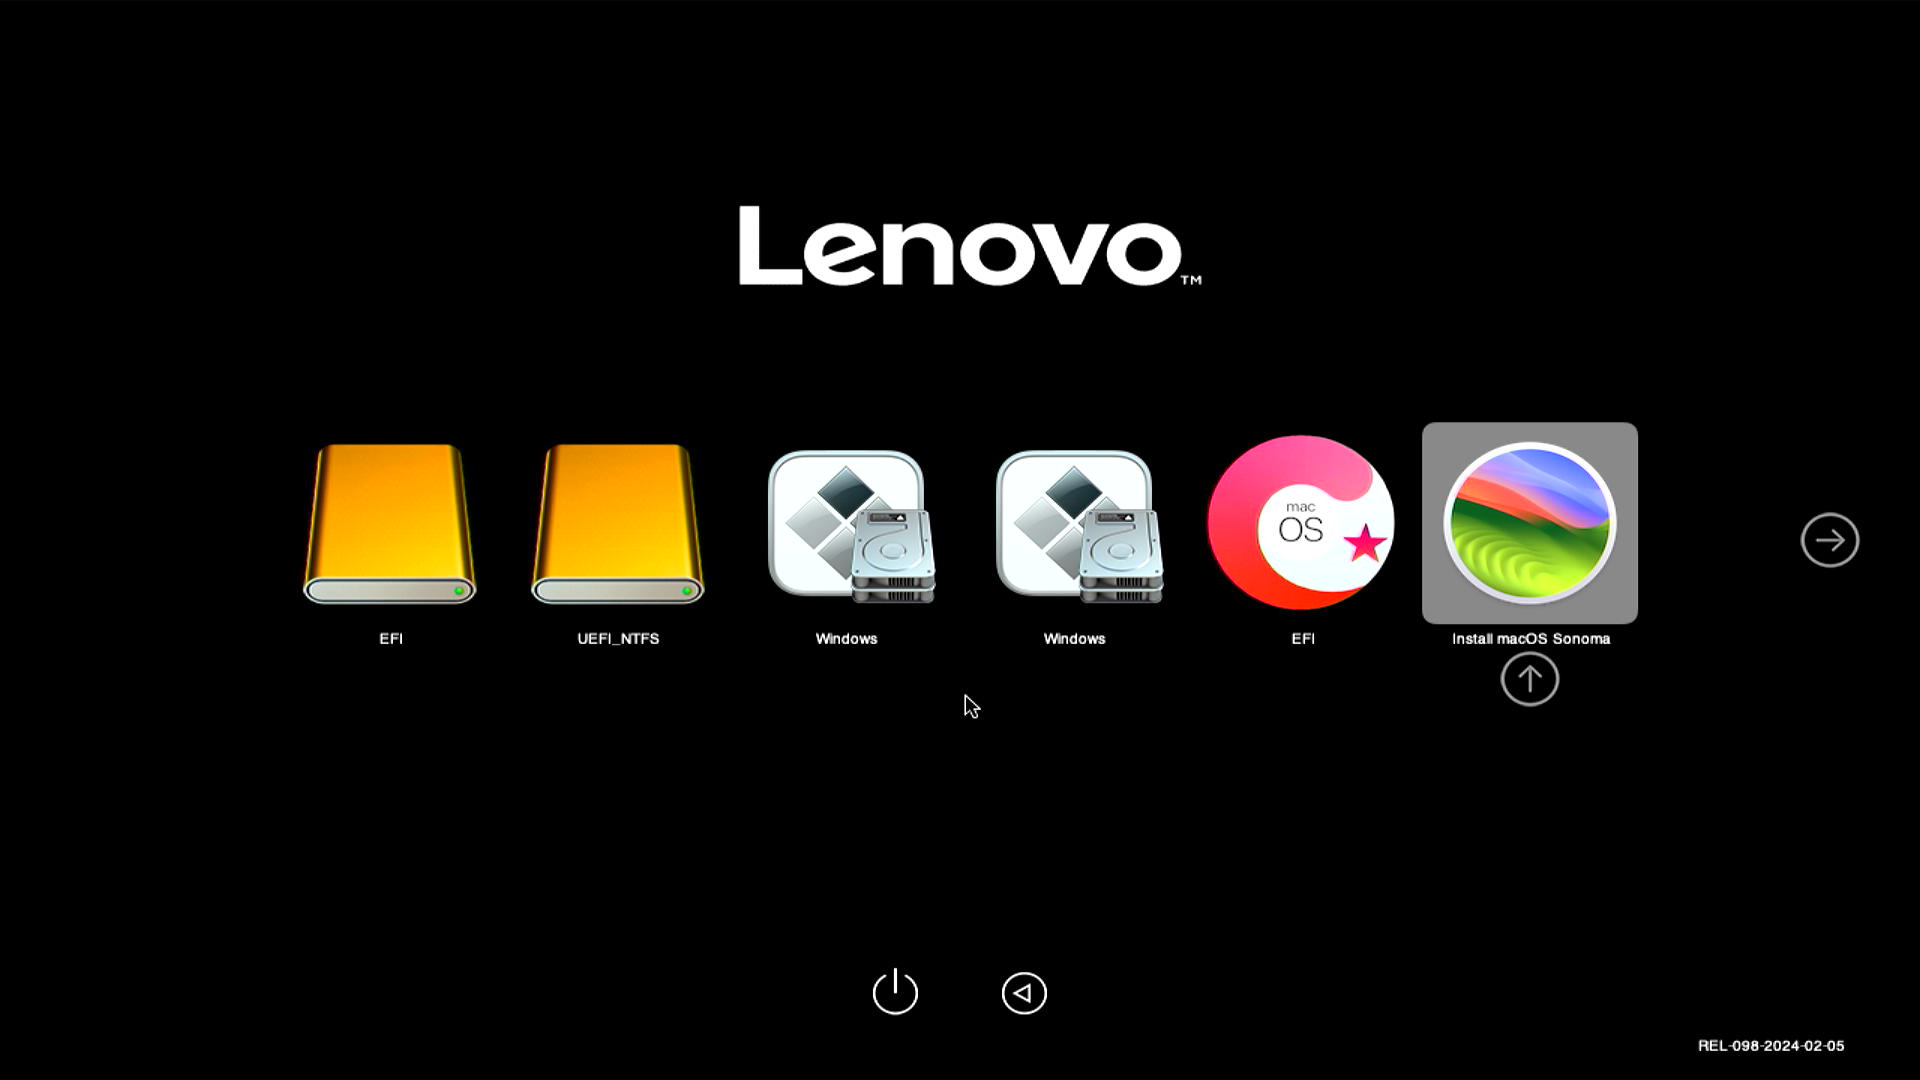
BIOSsettings, select USB from the boot menu of our computer and continue. -
The OpenCore screen will come up, press enter on
Install macOS "Sonoma"(whatever yours is). -
If you get the error in the image, this is due to a mismatch between the macOS version you are trying to install and the Mac SMBIOS you are using. Check the Mac SMBIOS supported by the macOS version you are trying to install. Then open your config file with a text editor and change the
SystemProductName. Try booting again. -
-
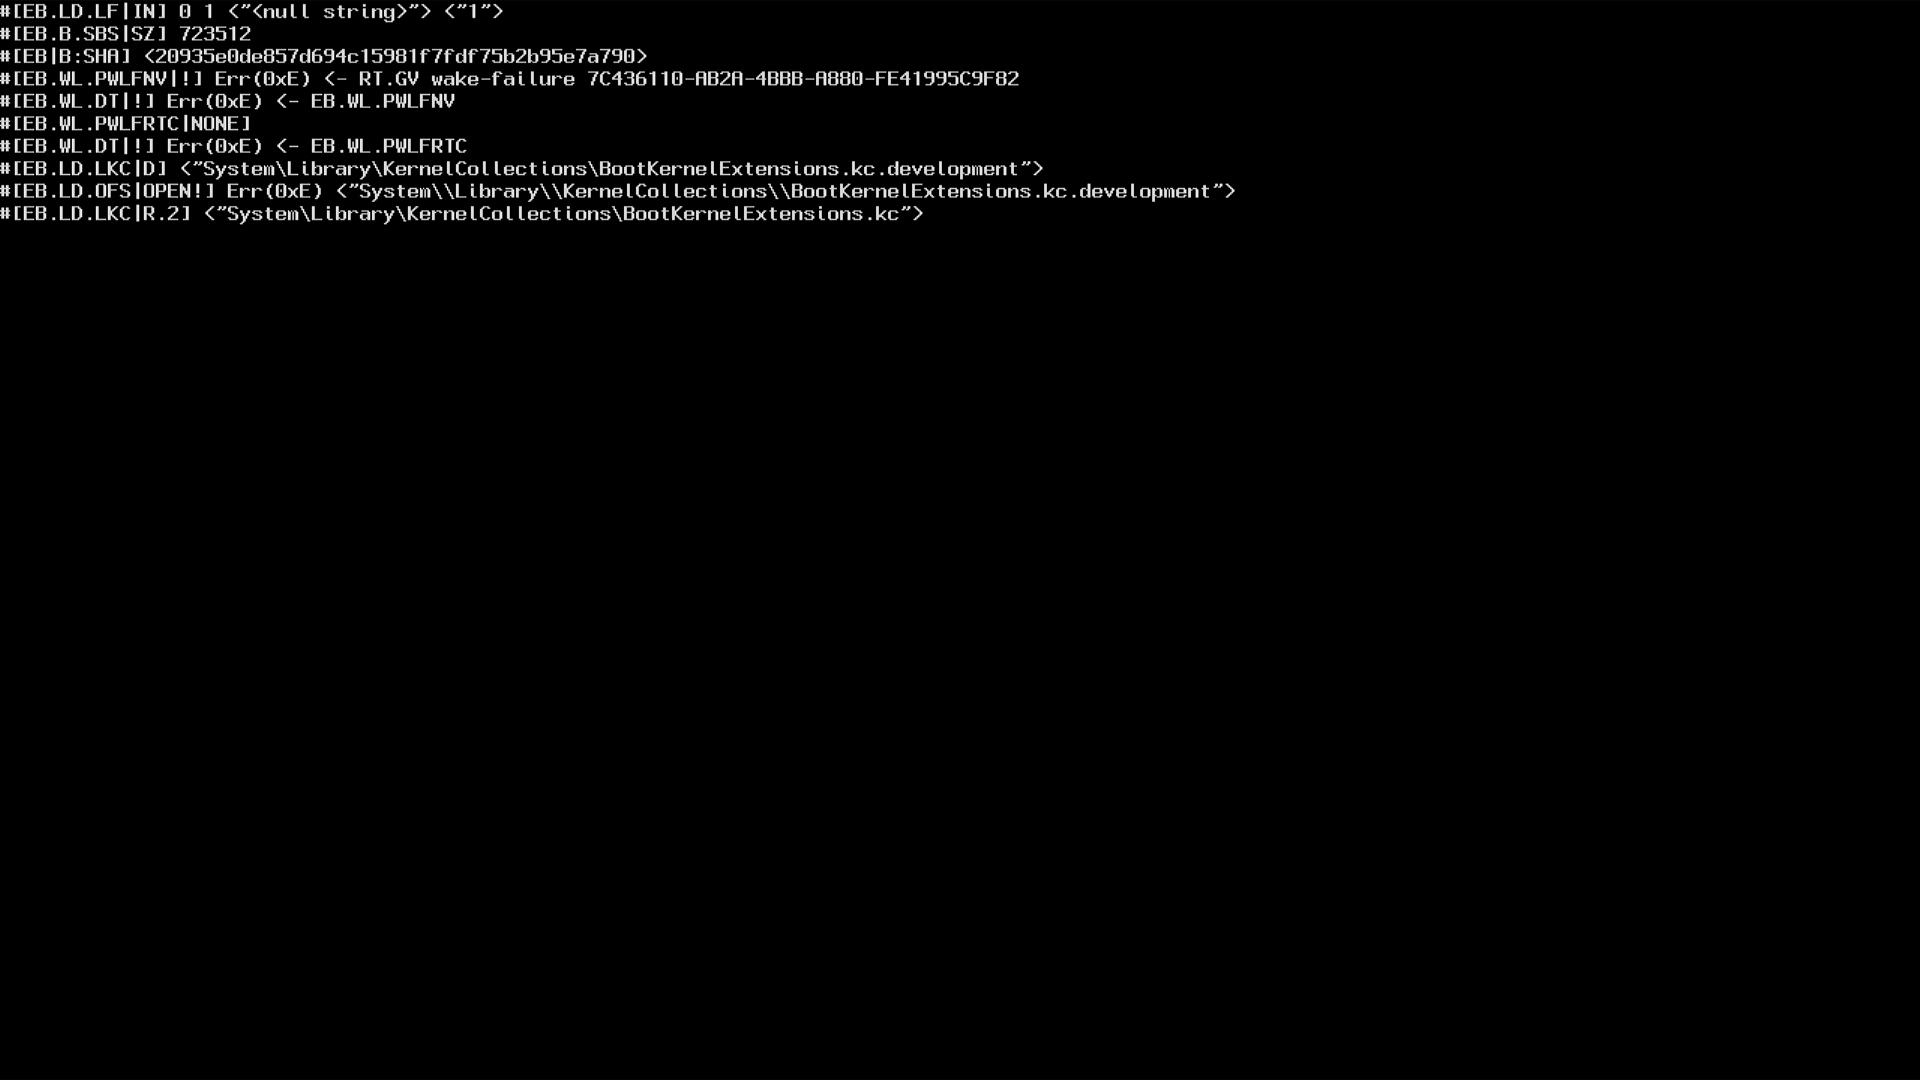
Texts will start to flow on the screen, this is
verbosemode. Here, the processes that occur while your computer is booting are displayed as text. -
If the text stops after waiting for a while, you are unfortunately a bit unlucky. But if the text doesn't stop, after a while you will see the Apple logo and the macOS installation screen. We have no problems so far. Now it's time to install our
Network/Ethernetcard's kext, which is our important hardware after installation. -
Click the Apple logo on the top left and
Shutdownthe computer. Boot the Windows operating system.- Kexts for possible Network card models:
- Intel Wi-Fi
- Intel Ethernet
- Realtek Ethernet
- Broadcom Wi-Fi
- Atheros Wi-Fi
- Kexts for possible Network card models:
-
Download the kext we need and put it in EFI/OC/Kexts. Next is to add this kext to the config. We will do this with
Notepad/Notepad++. I will useAirportBrcmFixUp.kextwhich is required for Broadcom card. -
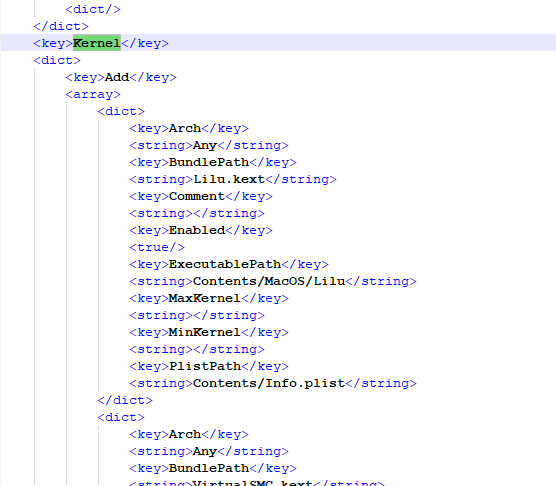
Right click on our
config.plistfile and open it withnotepad/notepad++. SearchKernelwith the Ctrl+F key combination. The result will be: -
-
Now come to the bottom of the
Addsection and add our kext. For that, follow this video:

-
Now let's shutdown our computer and boot from USB. Choose the
Install macOS "Sonoma"option and go to the installation screen. -
-
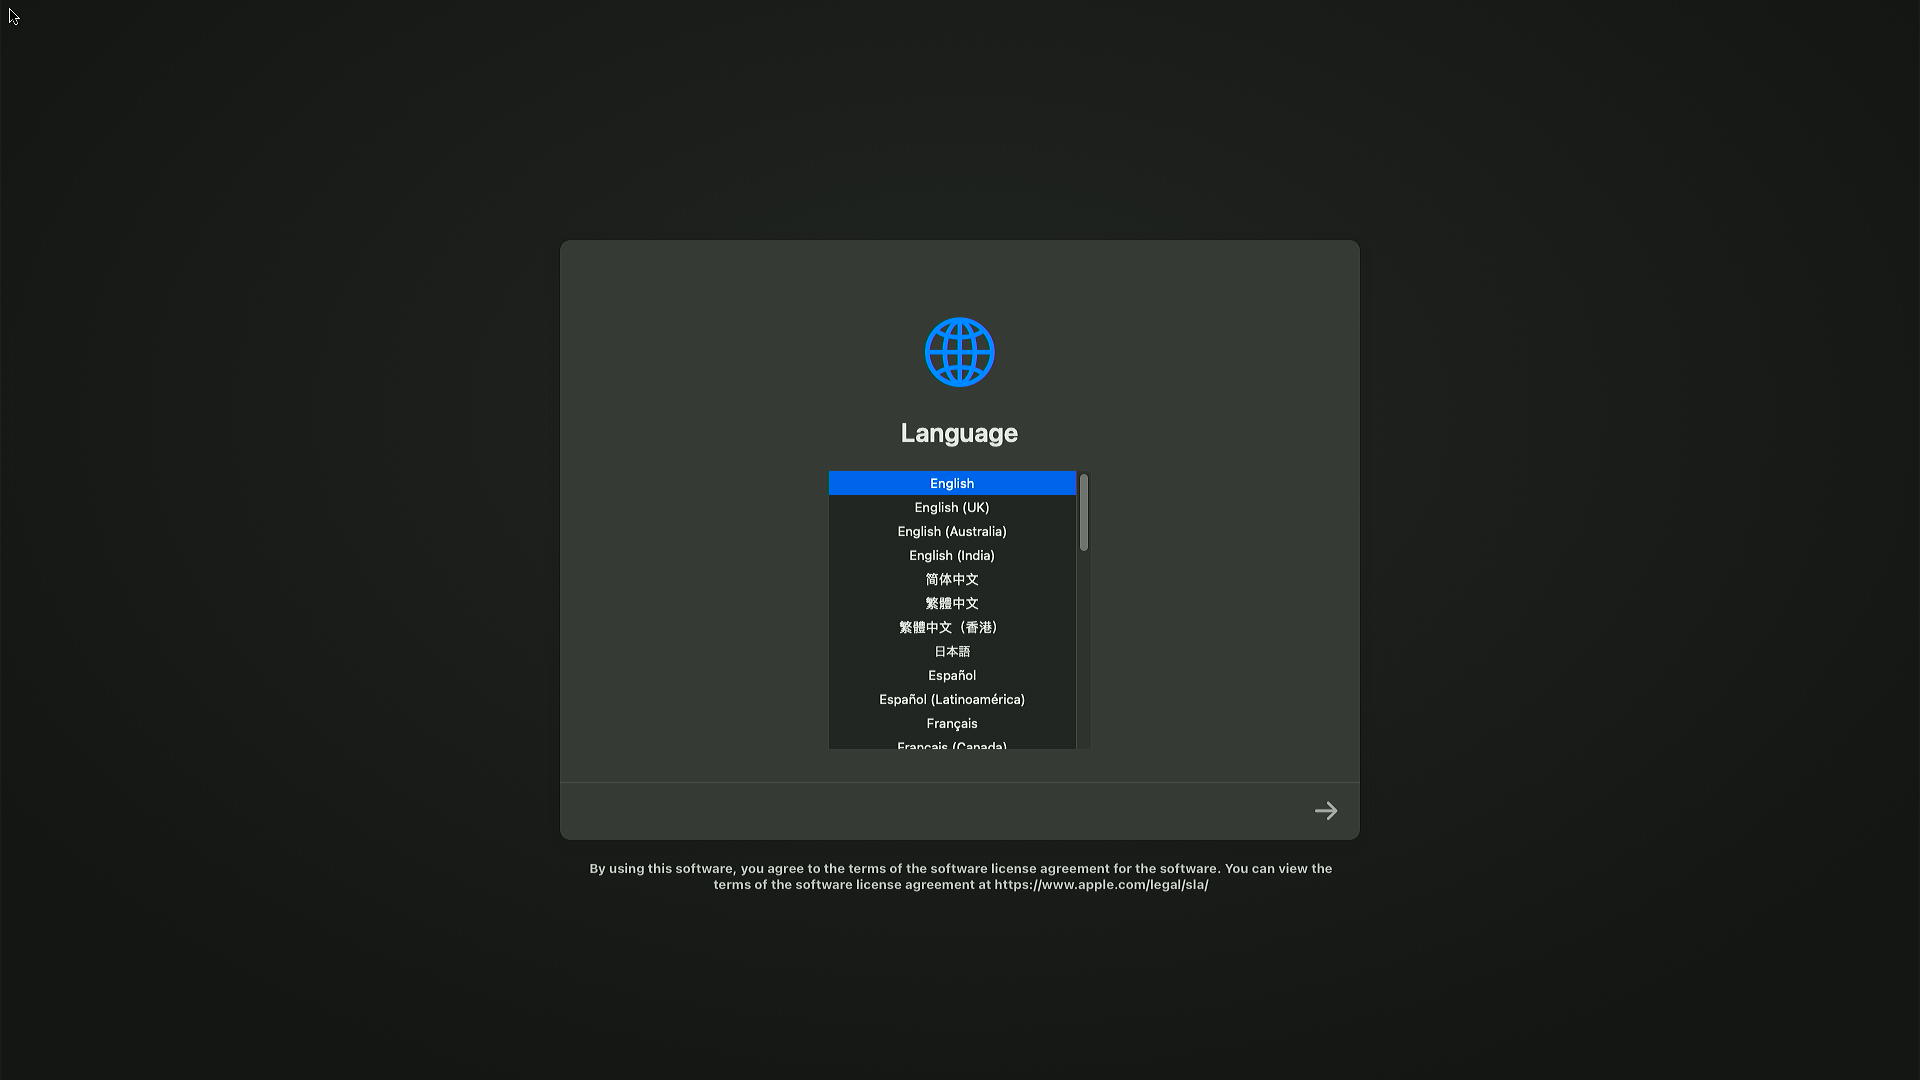
Select language.
-

If you are using ethernet, double-click Safari to check your internet connection. If you're on Wi-Fi, click on the Wi-Fi icon at the top right, connect to your network, then go to Safari and test it.
-
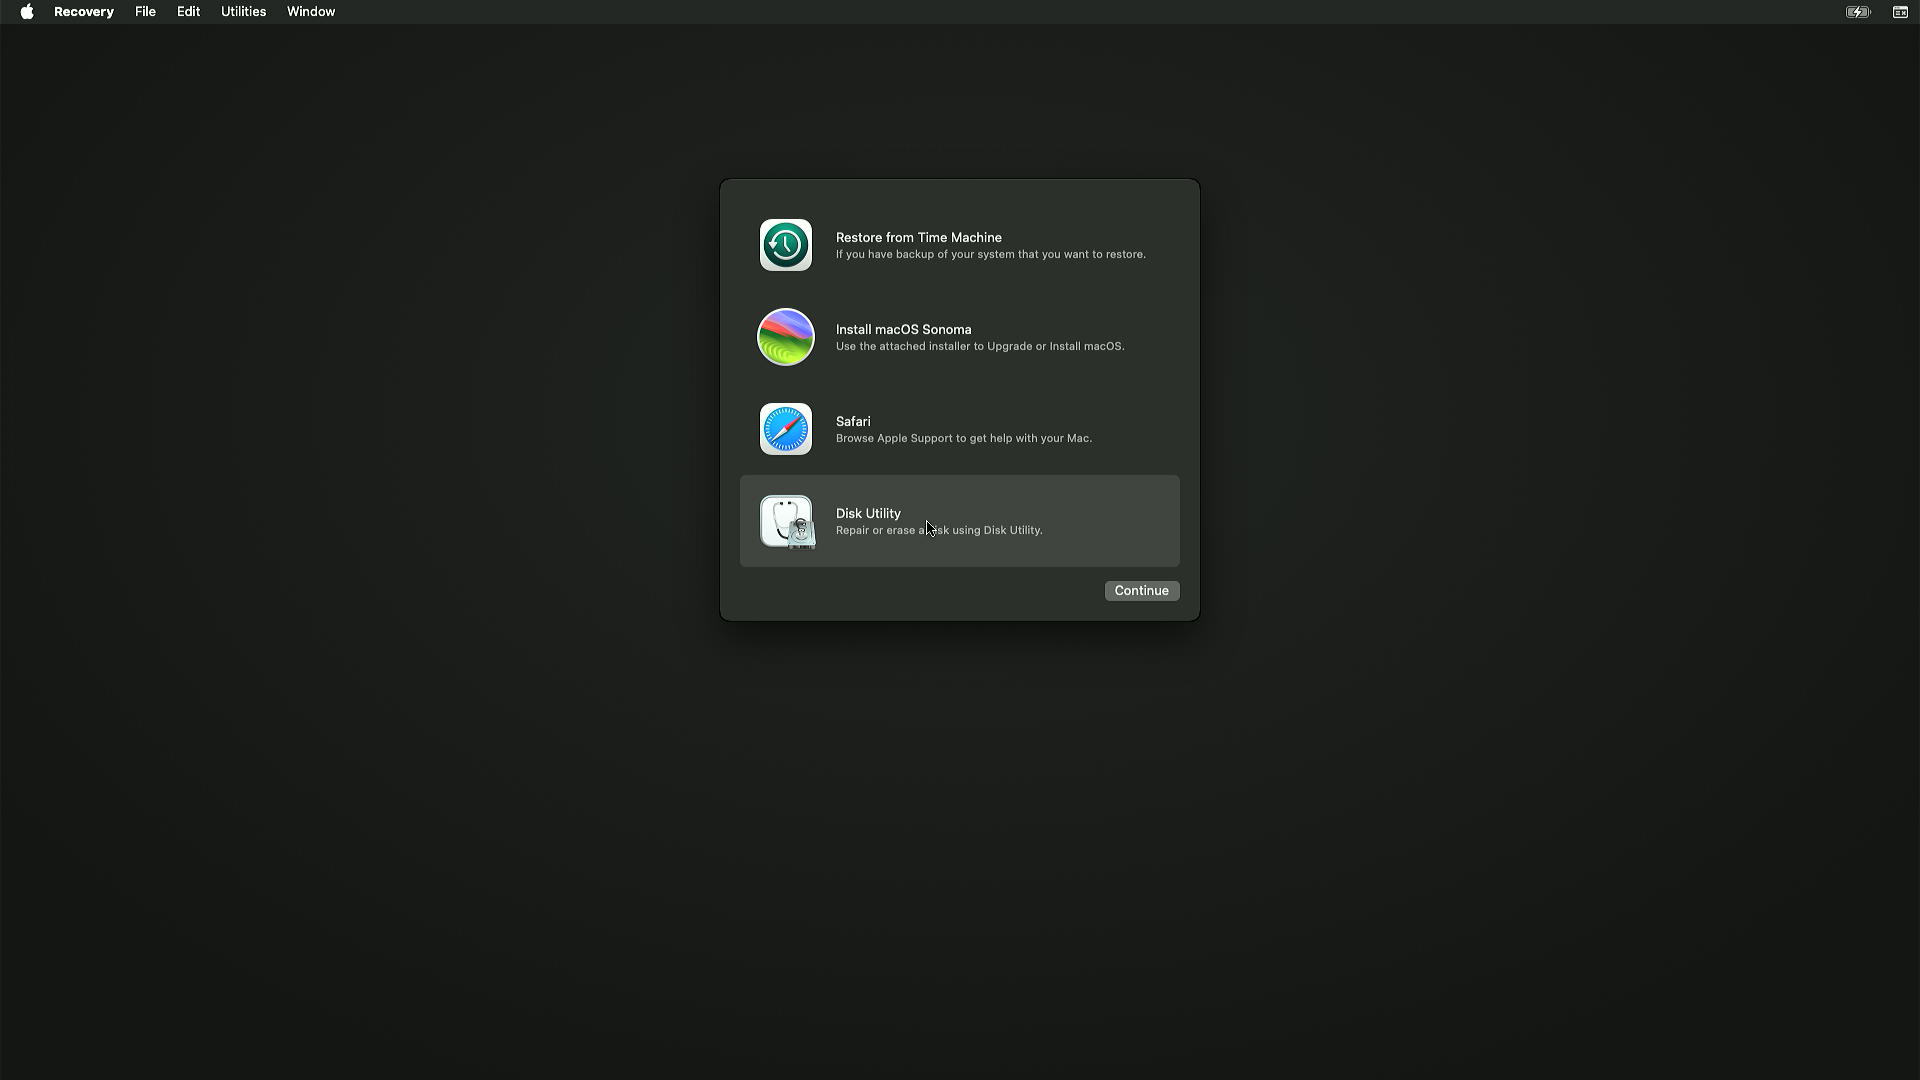
Open Disk Utility.
-
-
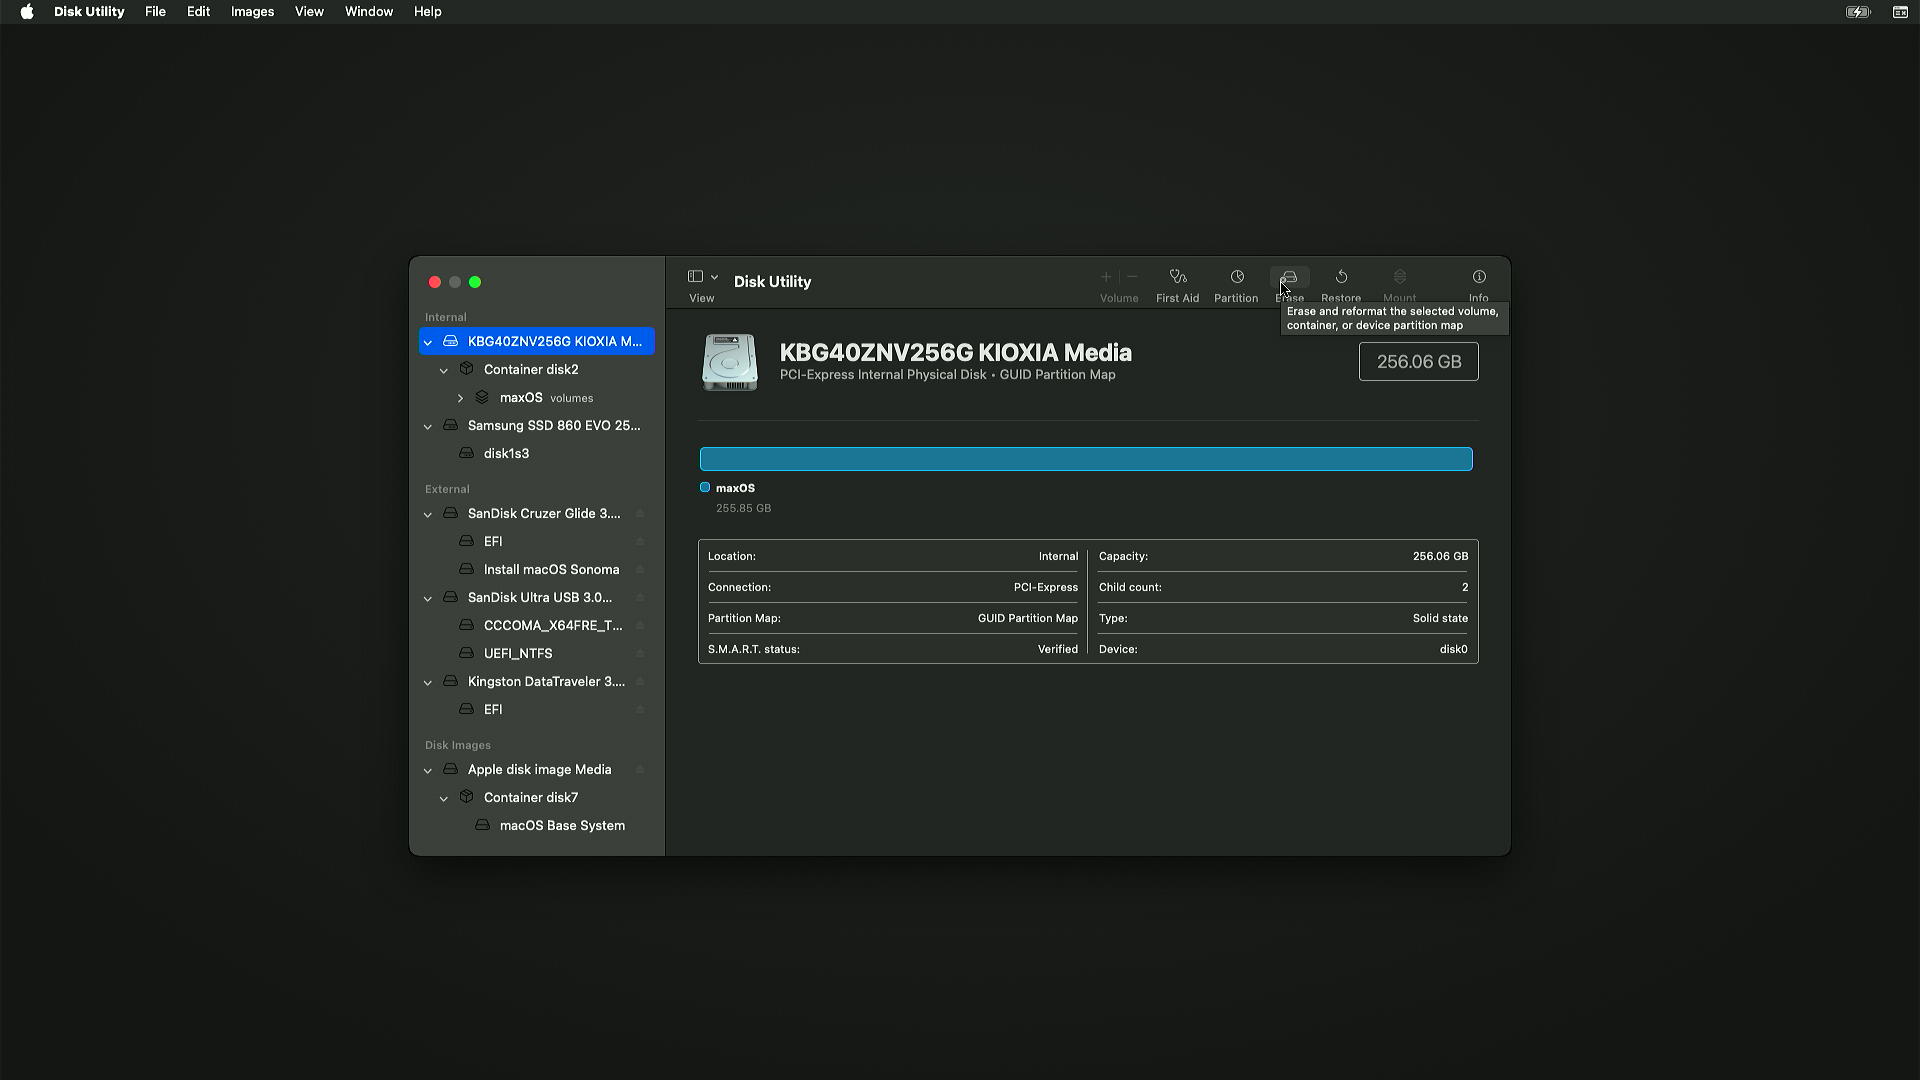
Select Show All Devices from View button.
-
-
Select installation disk name from left menu and click Erase from top-right menu.
-
-
If you are going to install macOS
next to windows, create a partition with the video guide below.- Splitting the disk in HFS+ format
- After doing this, right-click created volume name on left sida from Disk Utility and click Convert APFS. You can select your disk on the installation screen and start the installation.
-
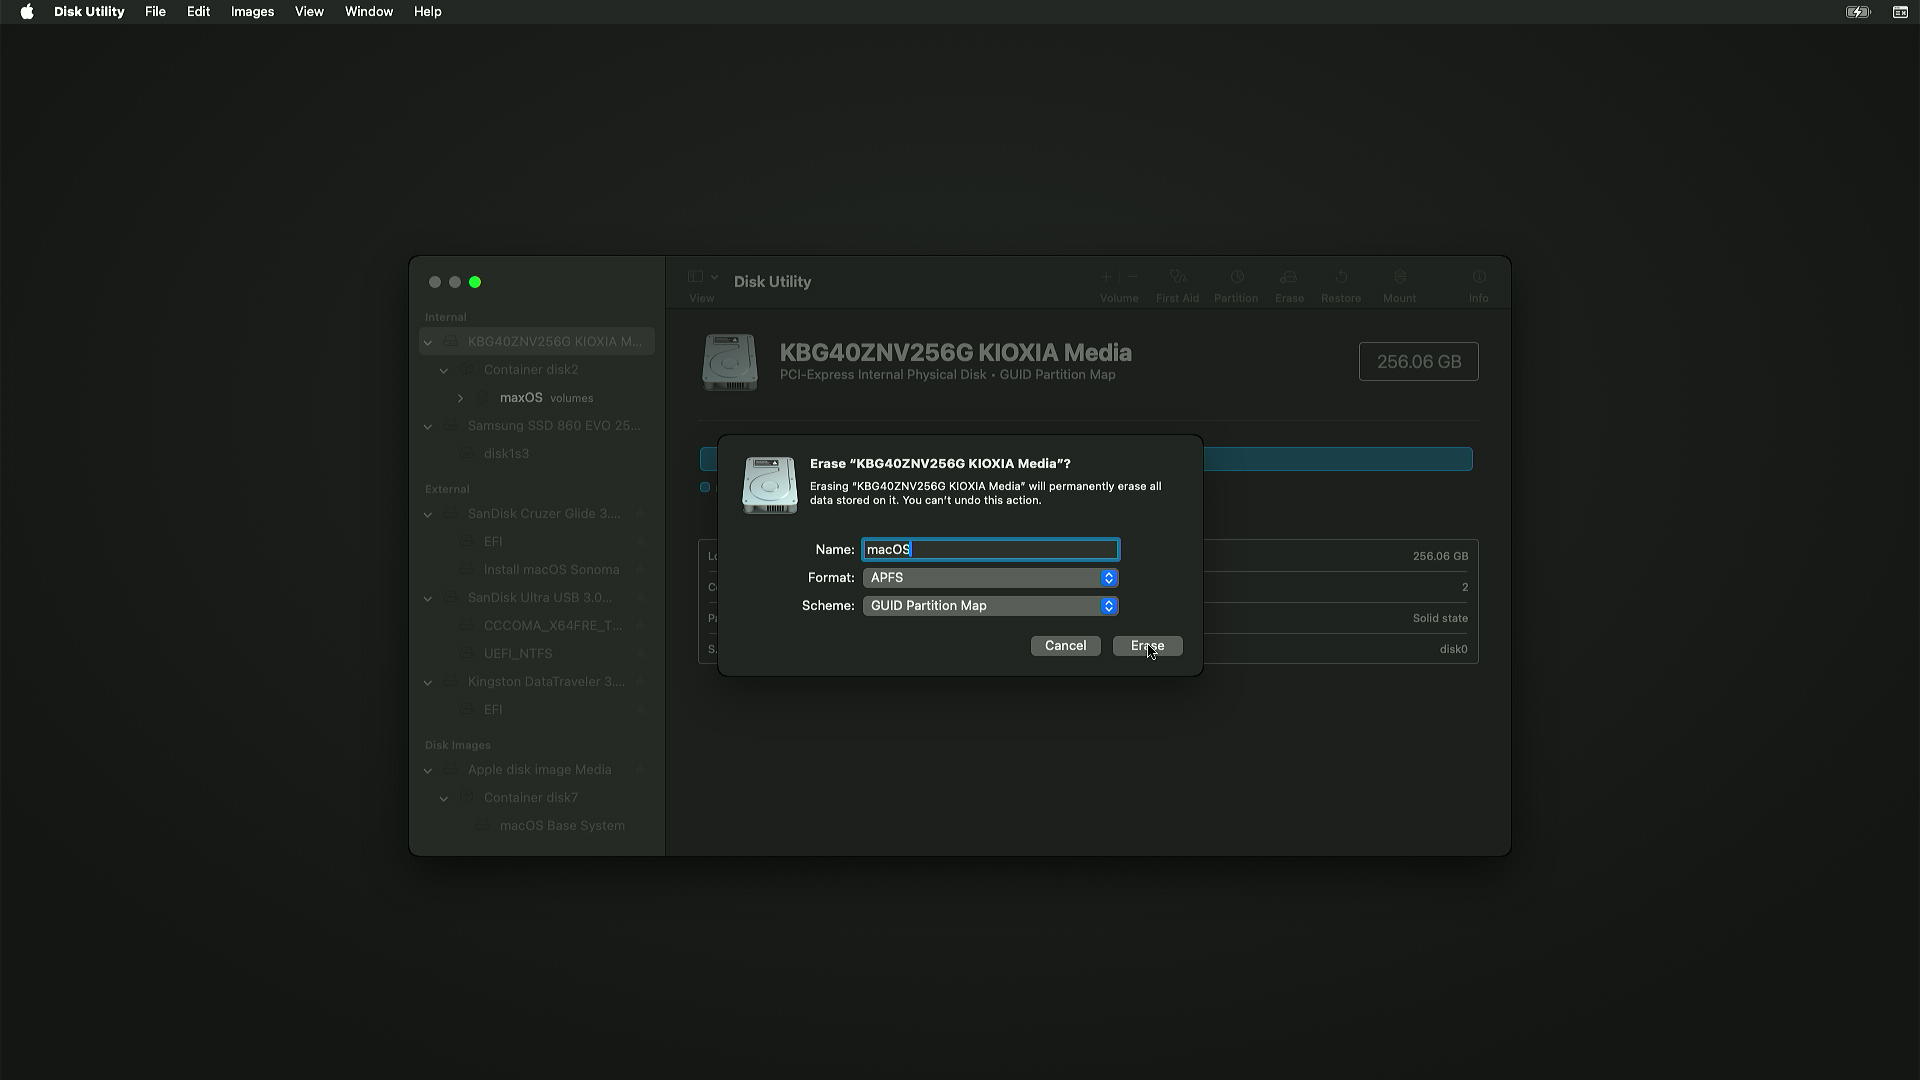
Give your disk a name, set Format to APFS and Scheme to GUID. Click Erase.
-
-
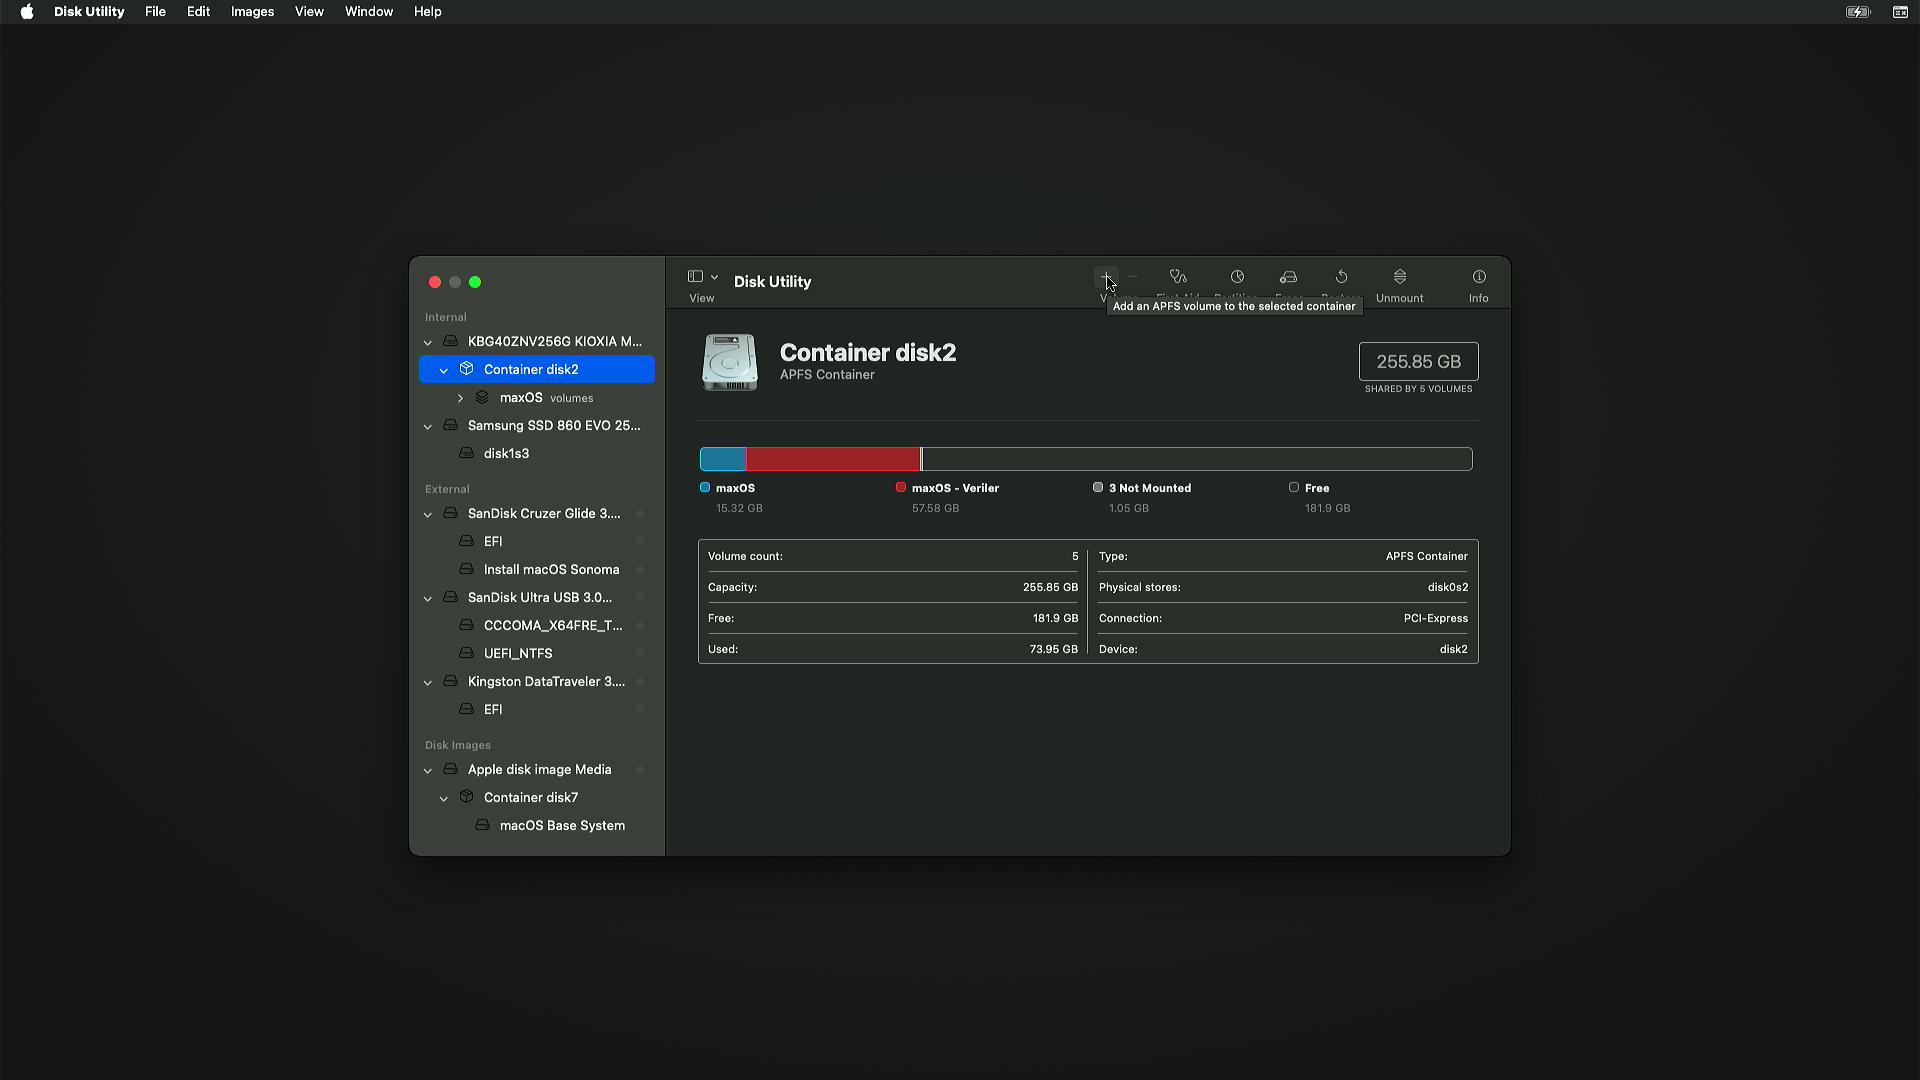
I have macOS installed disk. So I am going to create new volume and install Sonoma there. After selecting Container, click + button from top-right menu.
-
-
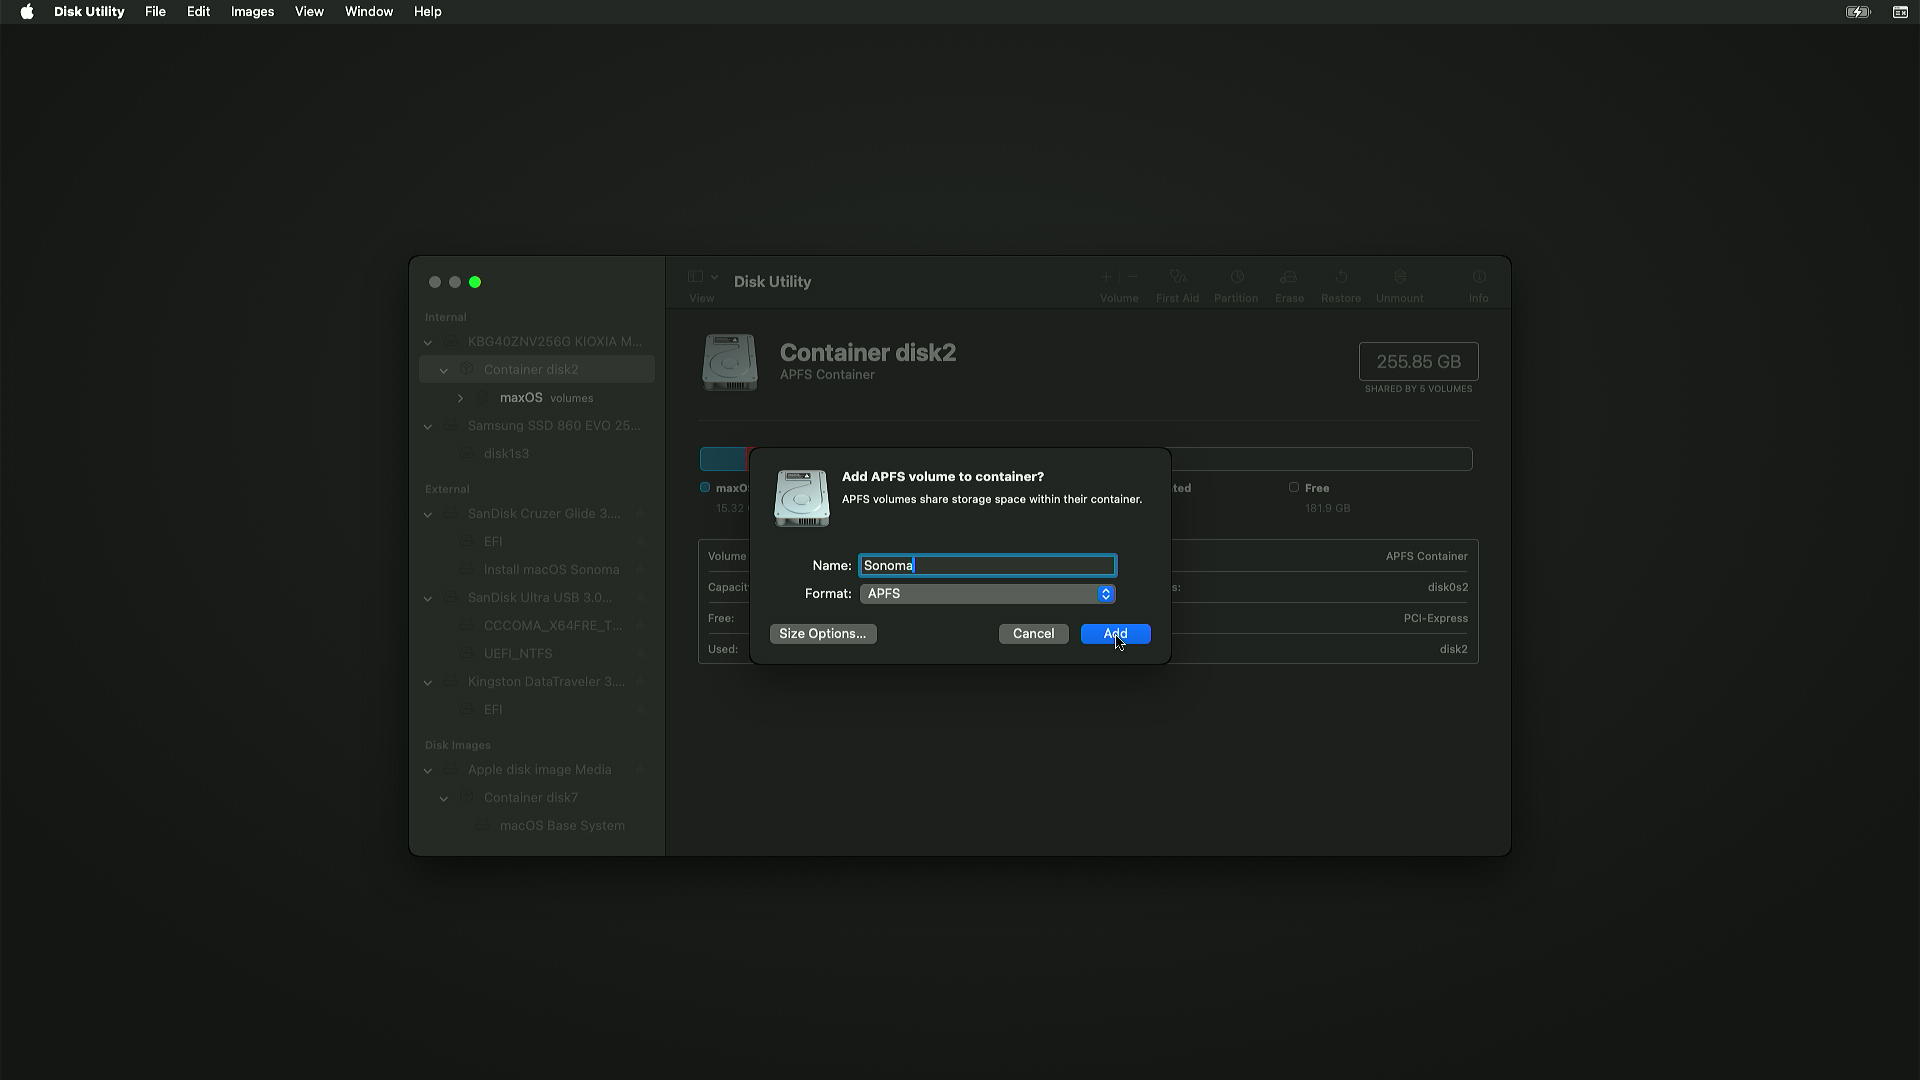
Give your volume a name and set Format to APFS. Click Erase.
-
-
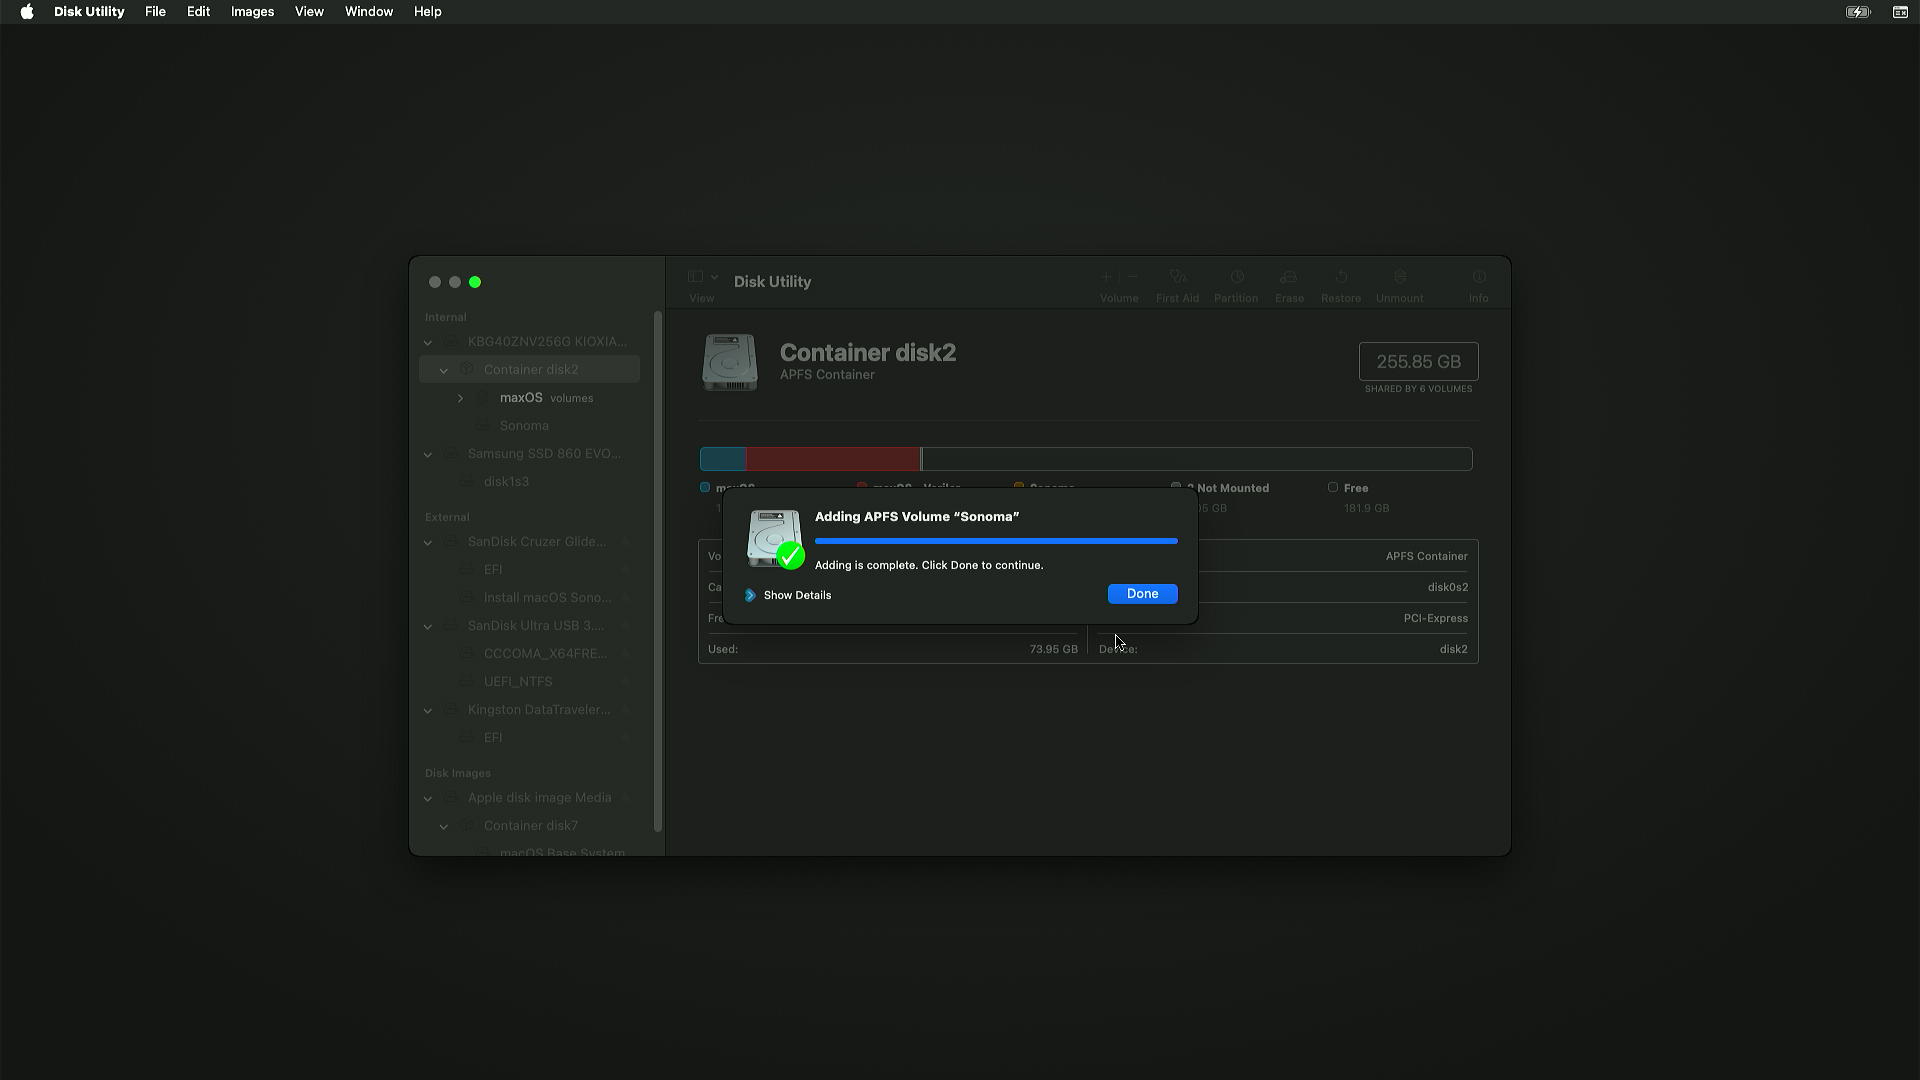
After erasing complete, click Done.
-
-
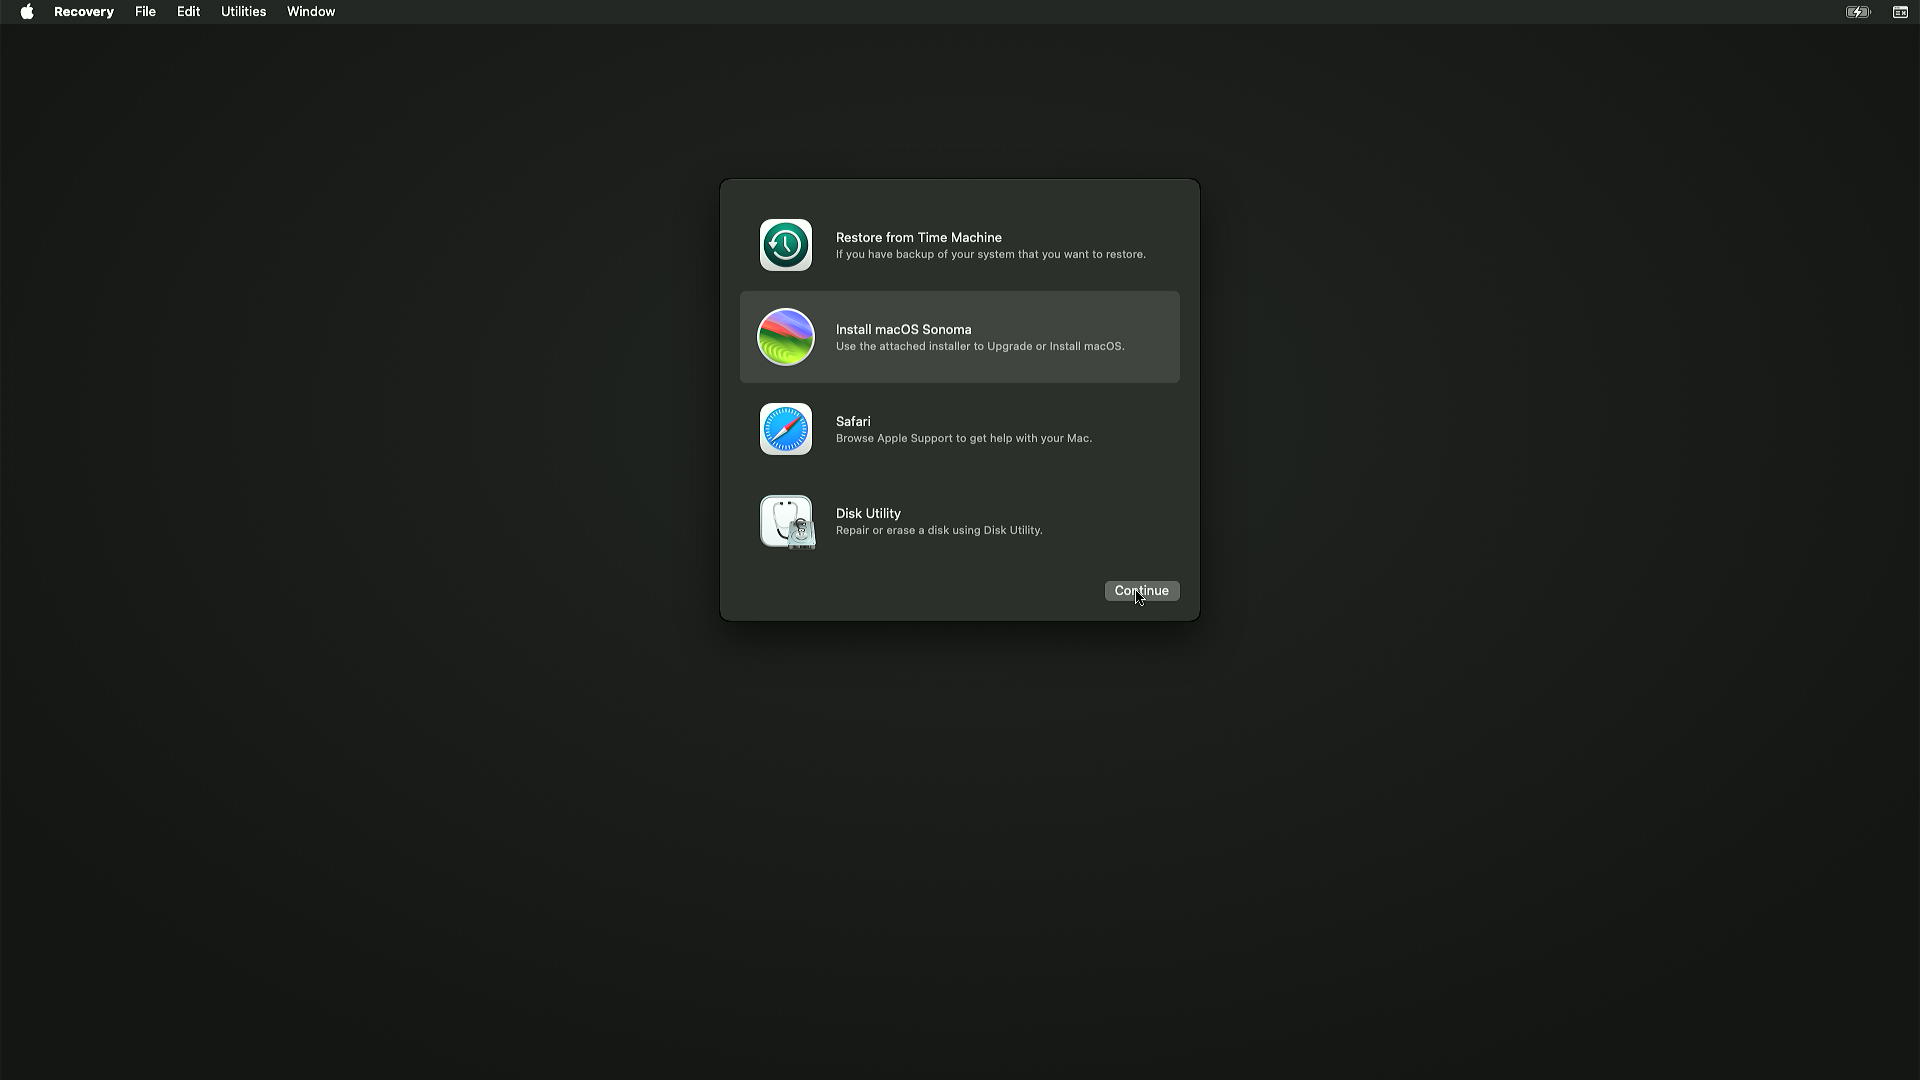
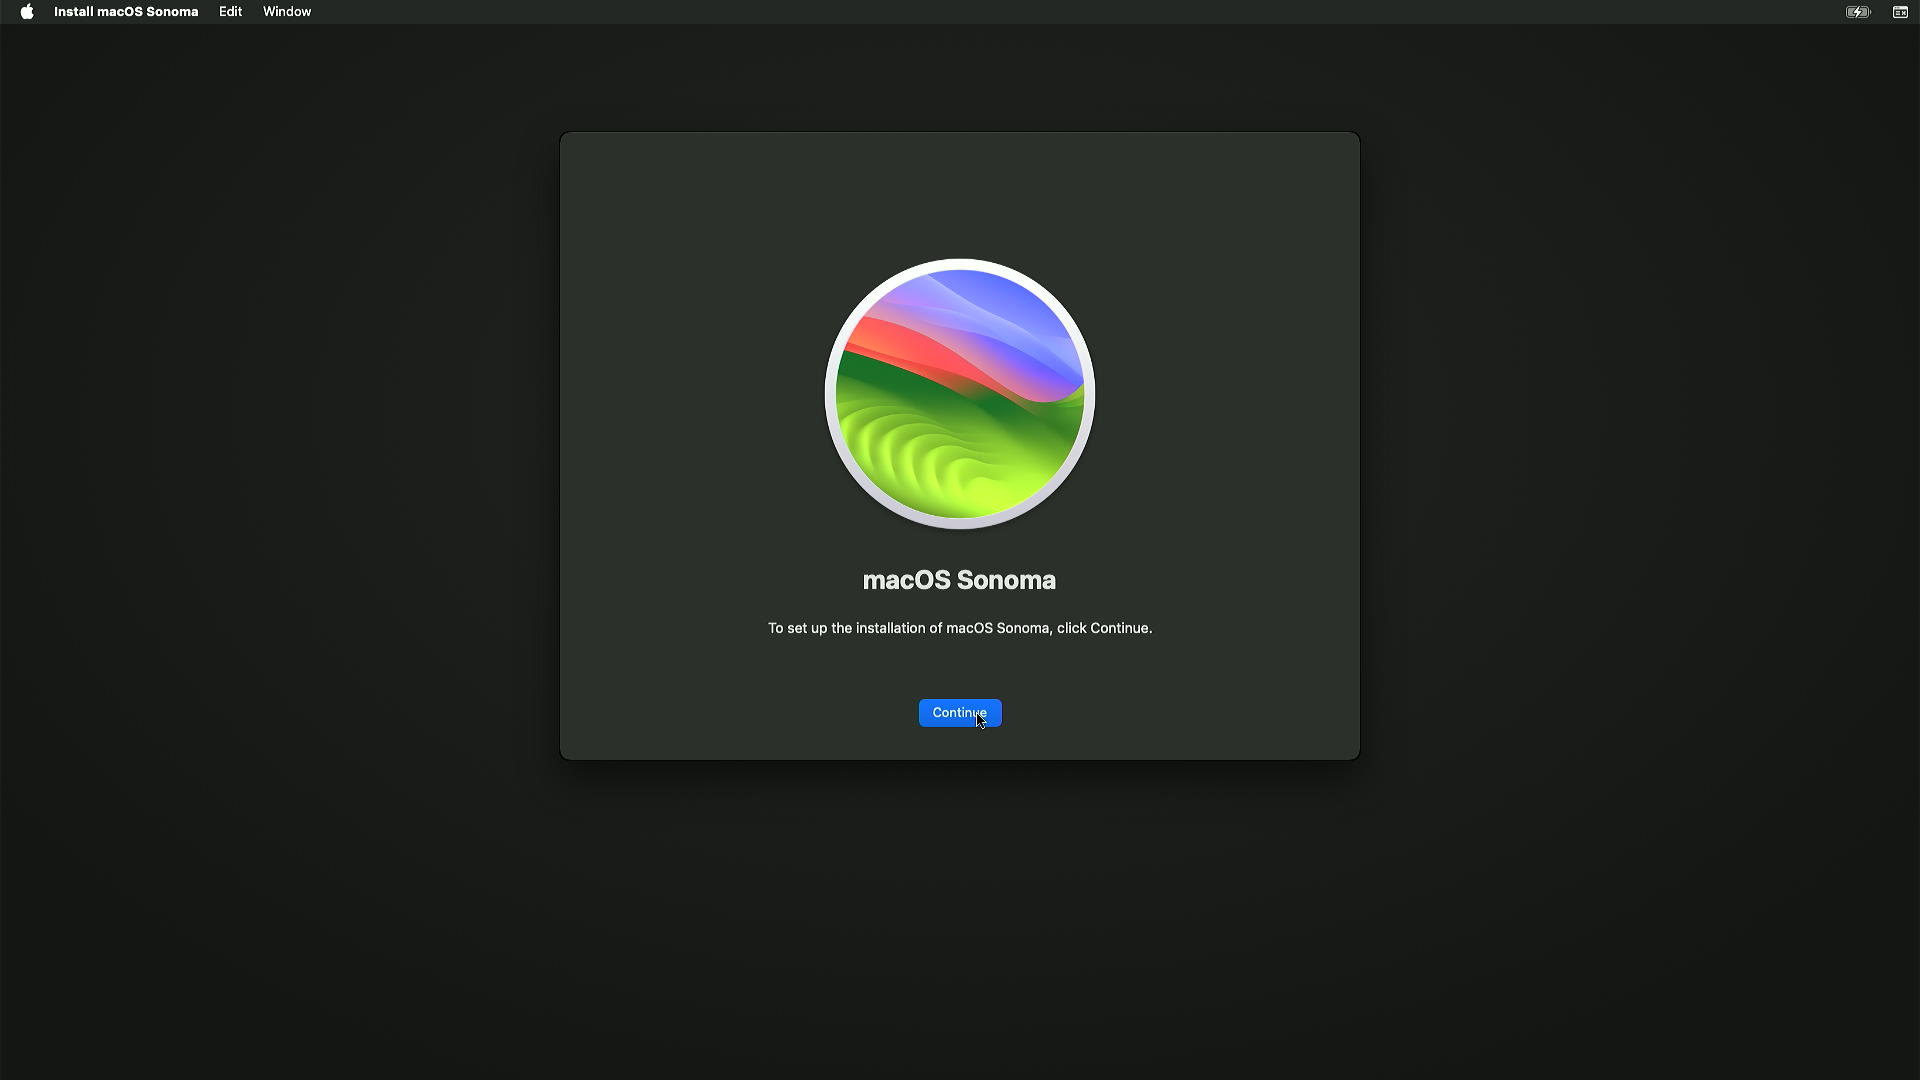
Close Disk Utility and open Install macOS "Sonoma".
-
-
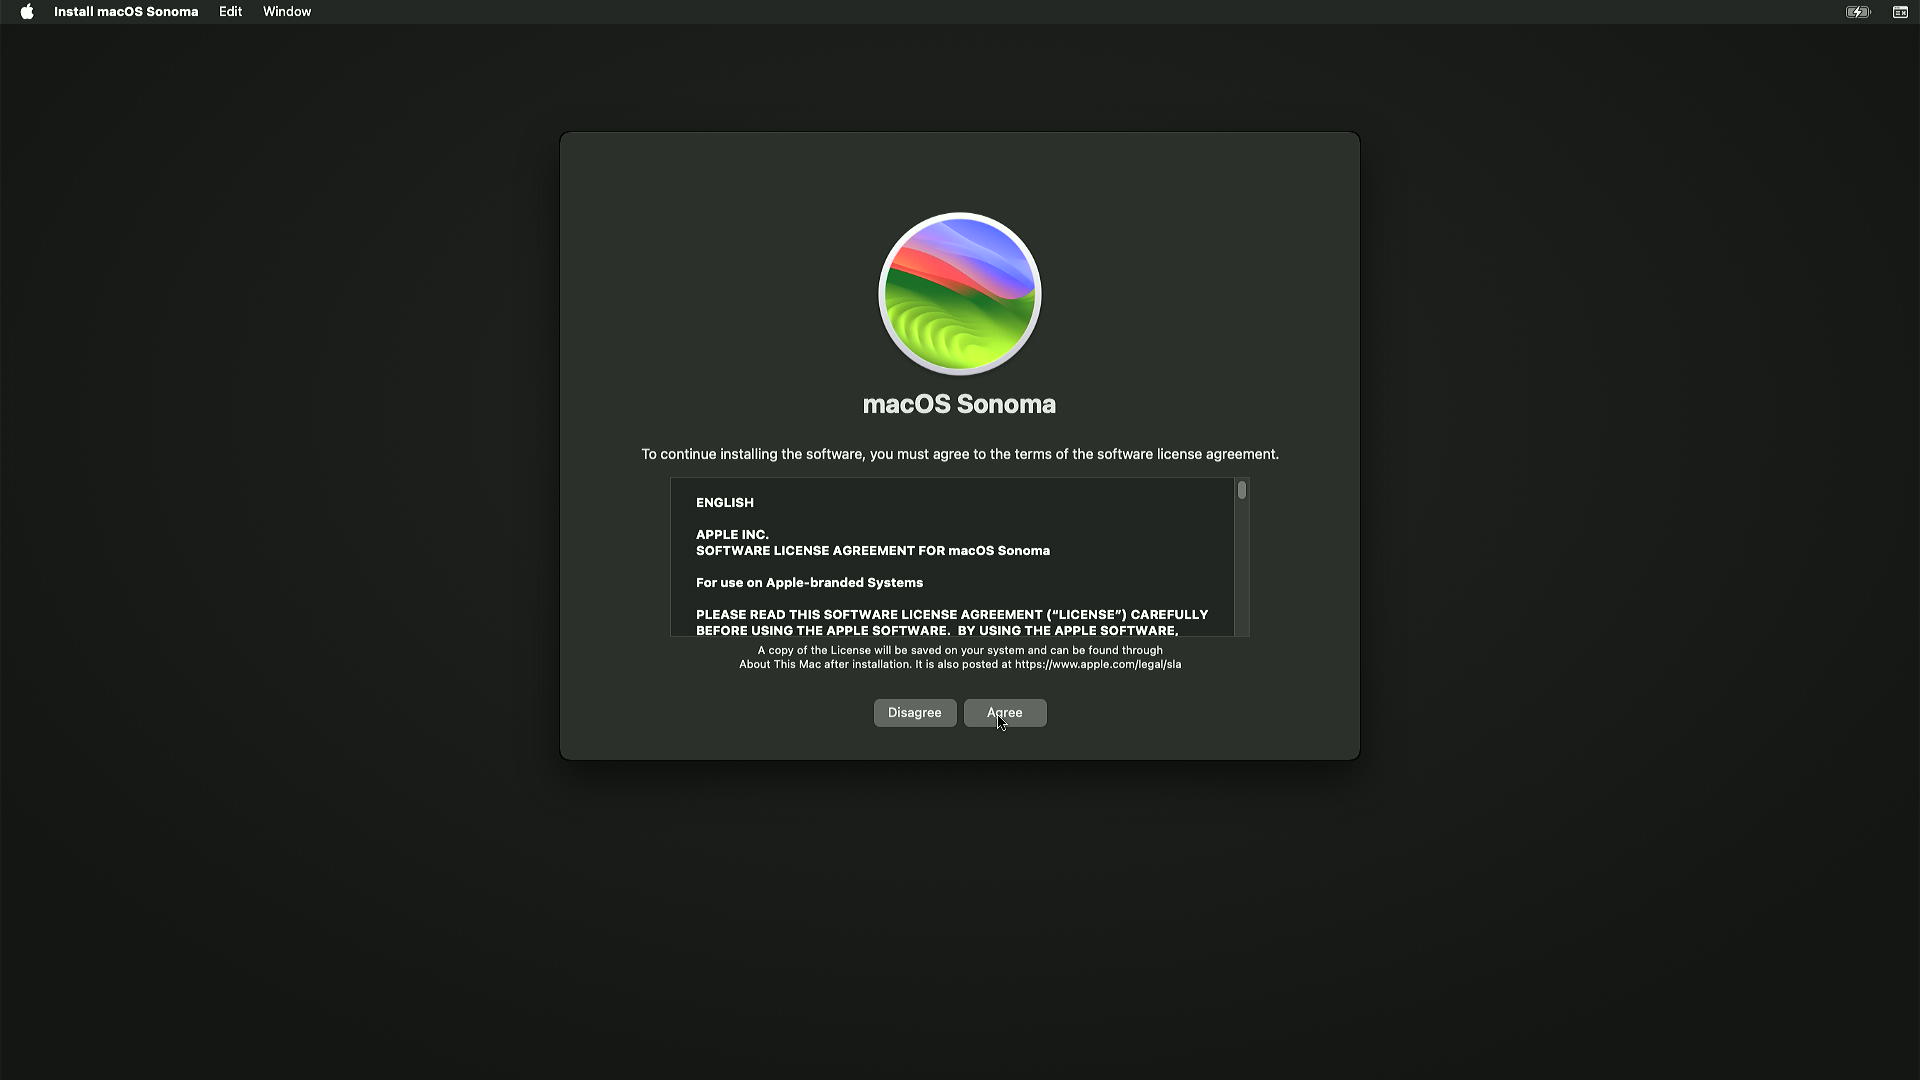
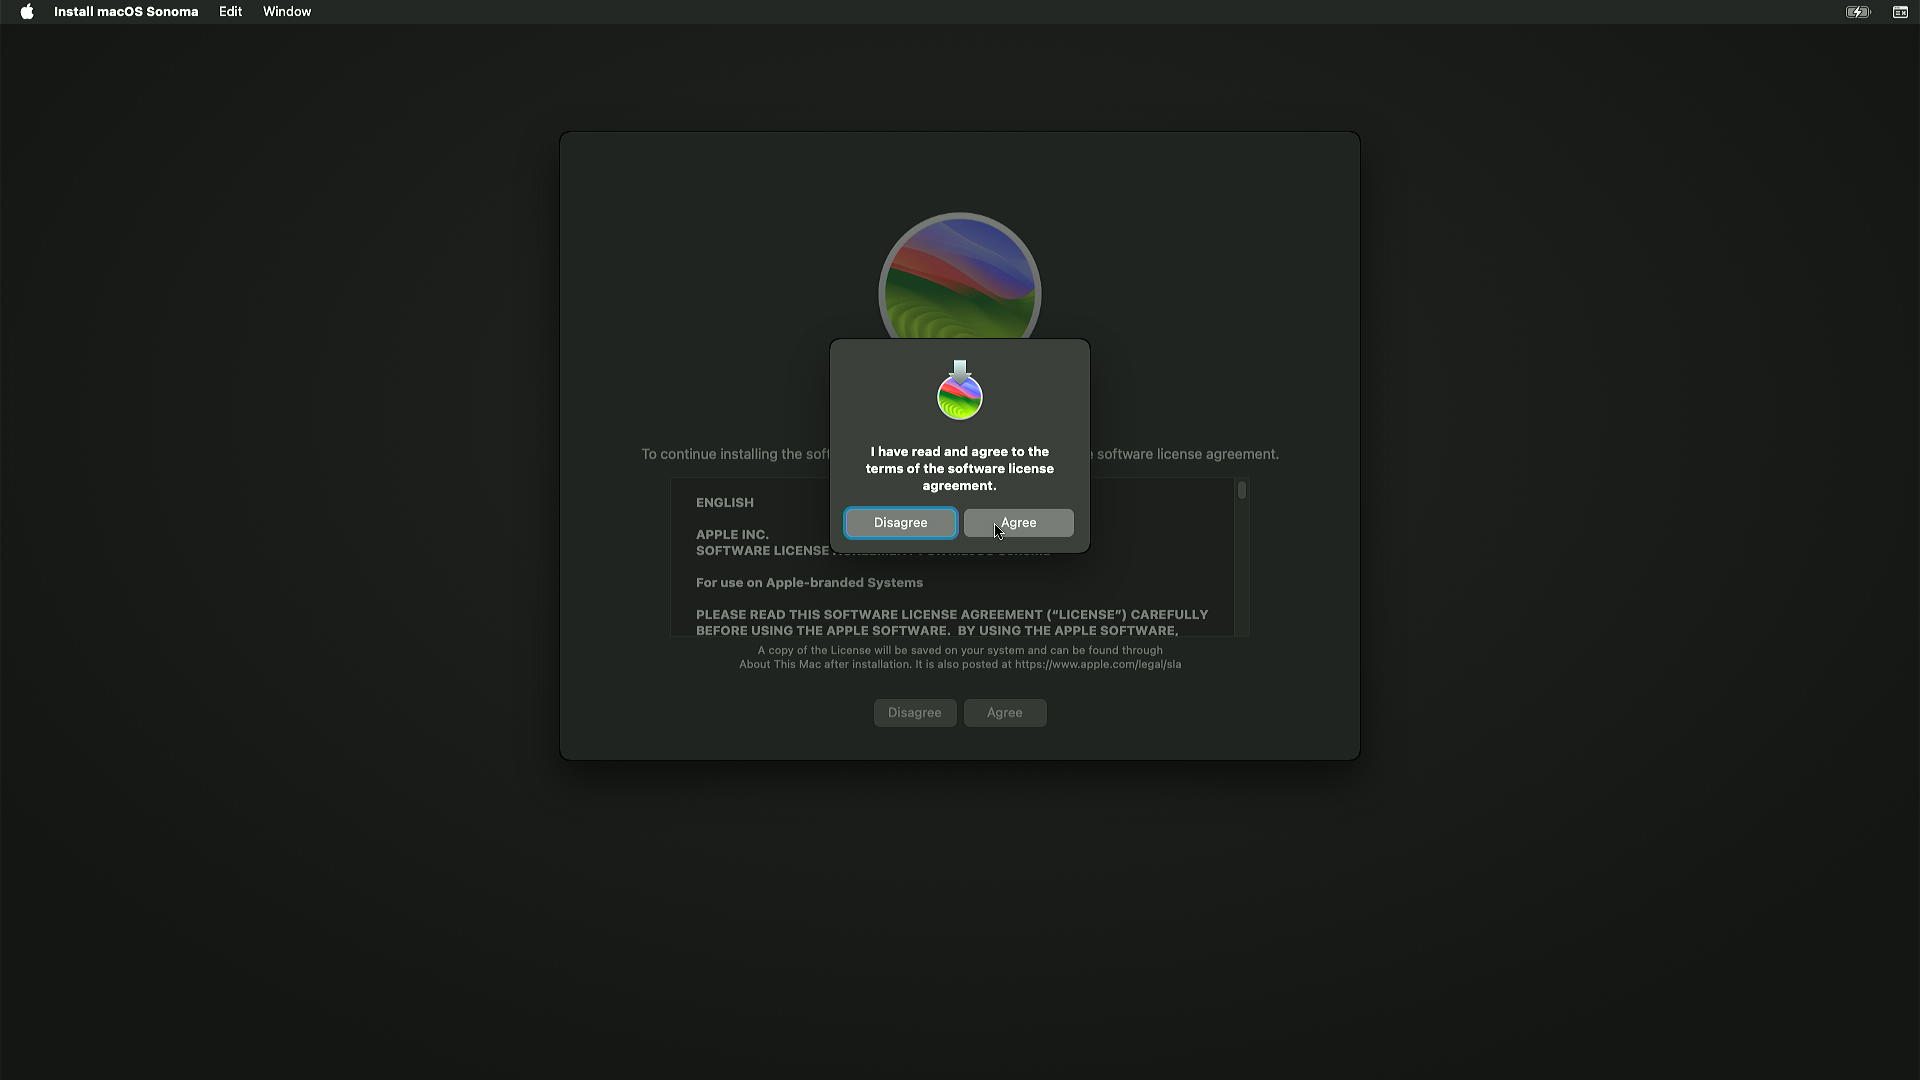
Click Continue > Agree > Agree.
-
-
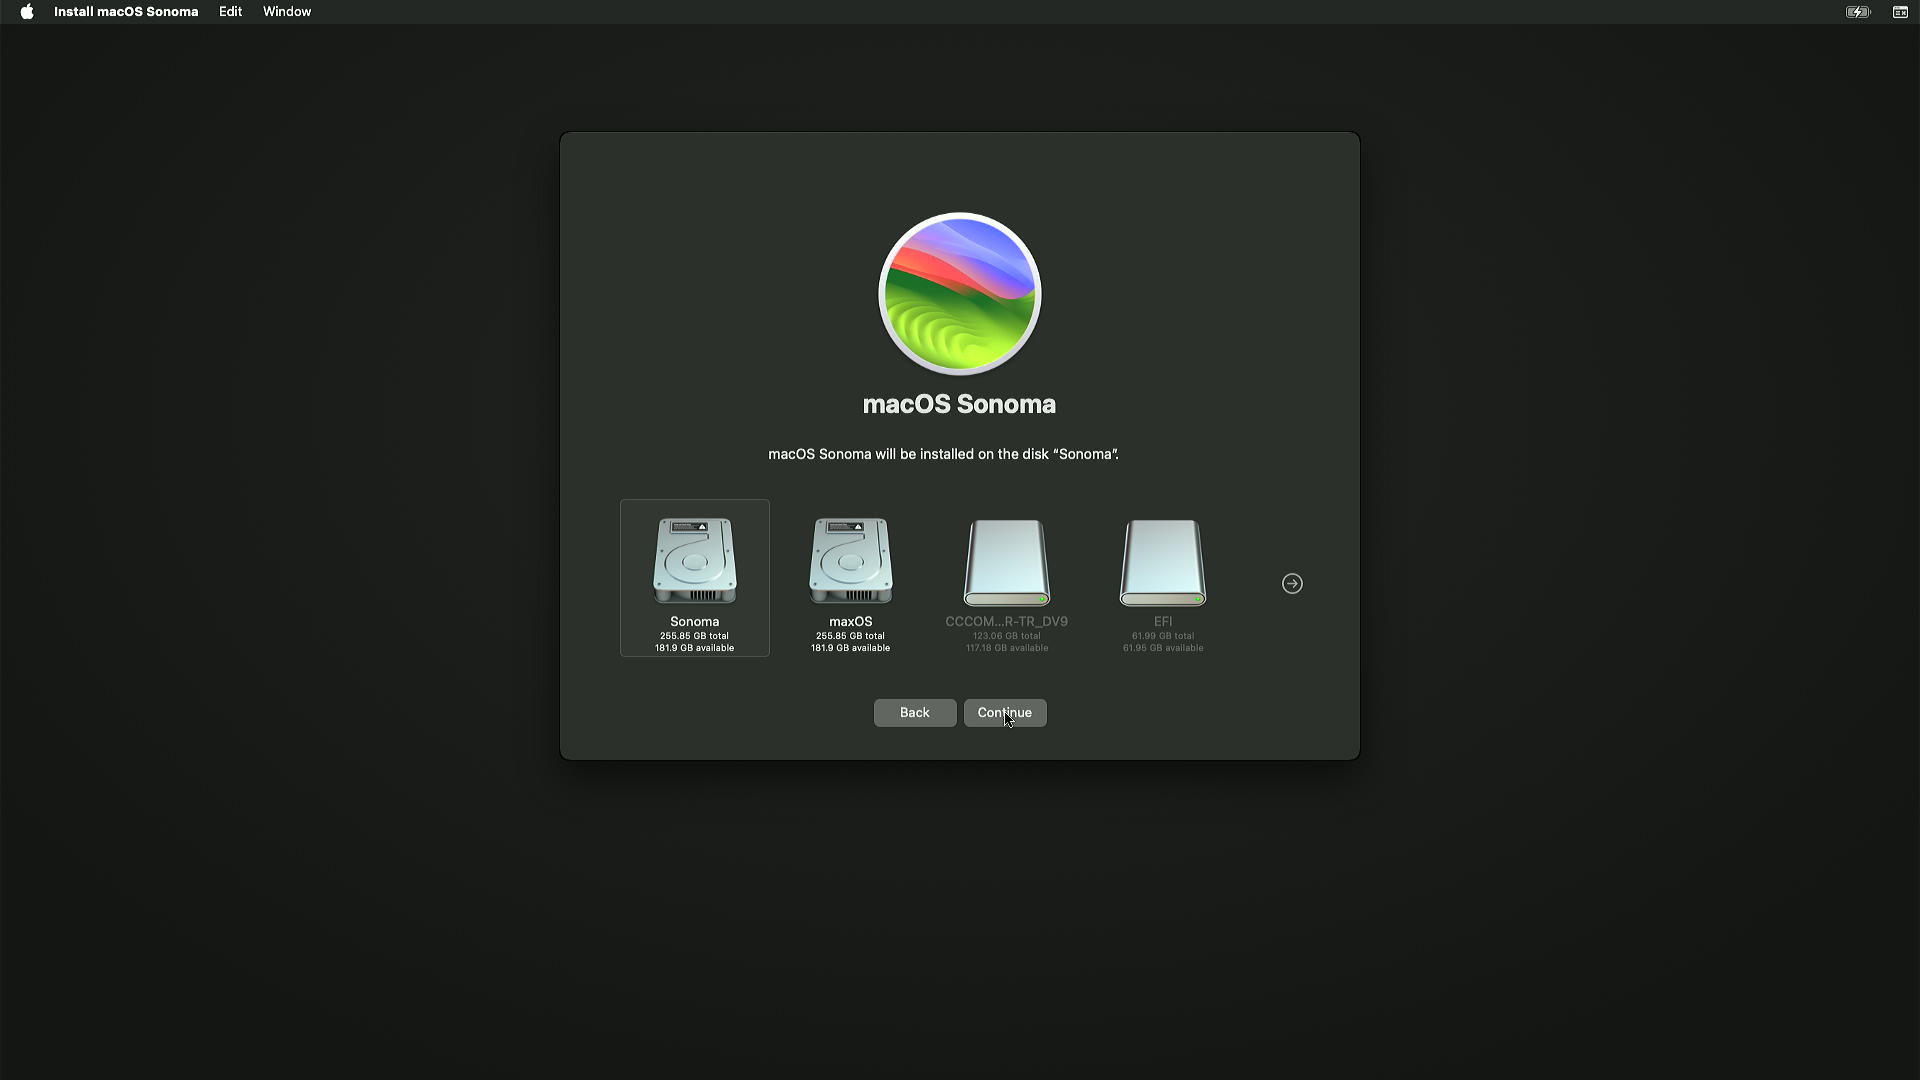
Select disk that you erased and click Continue.
-
-
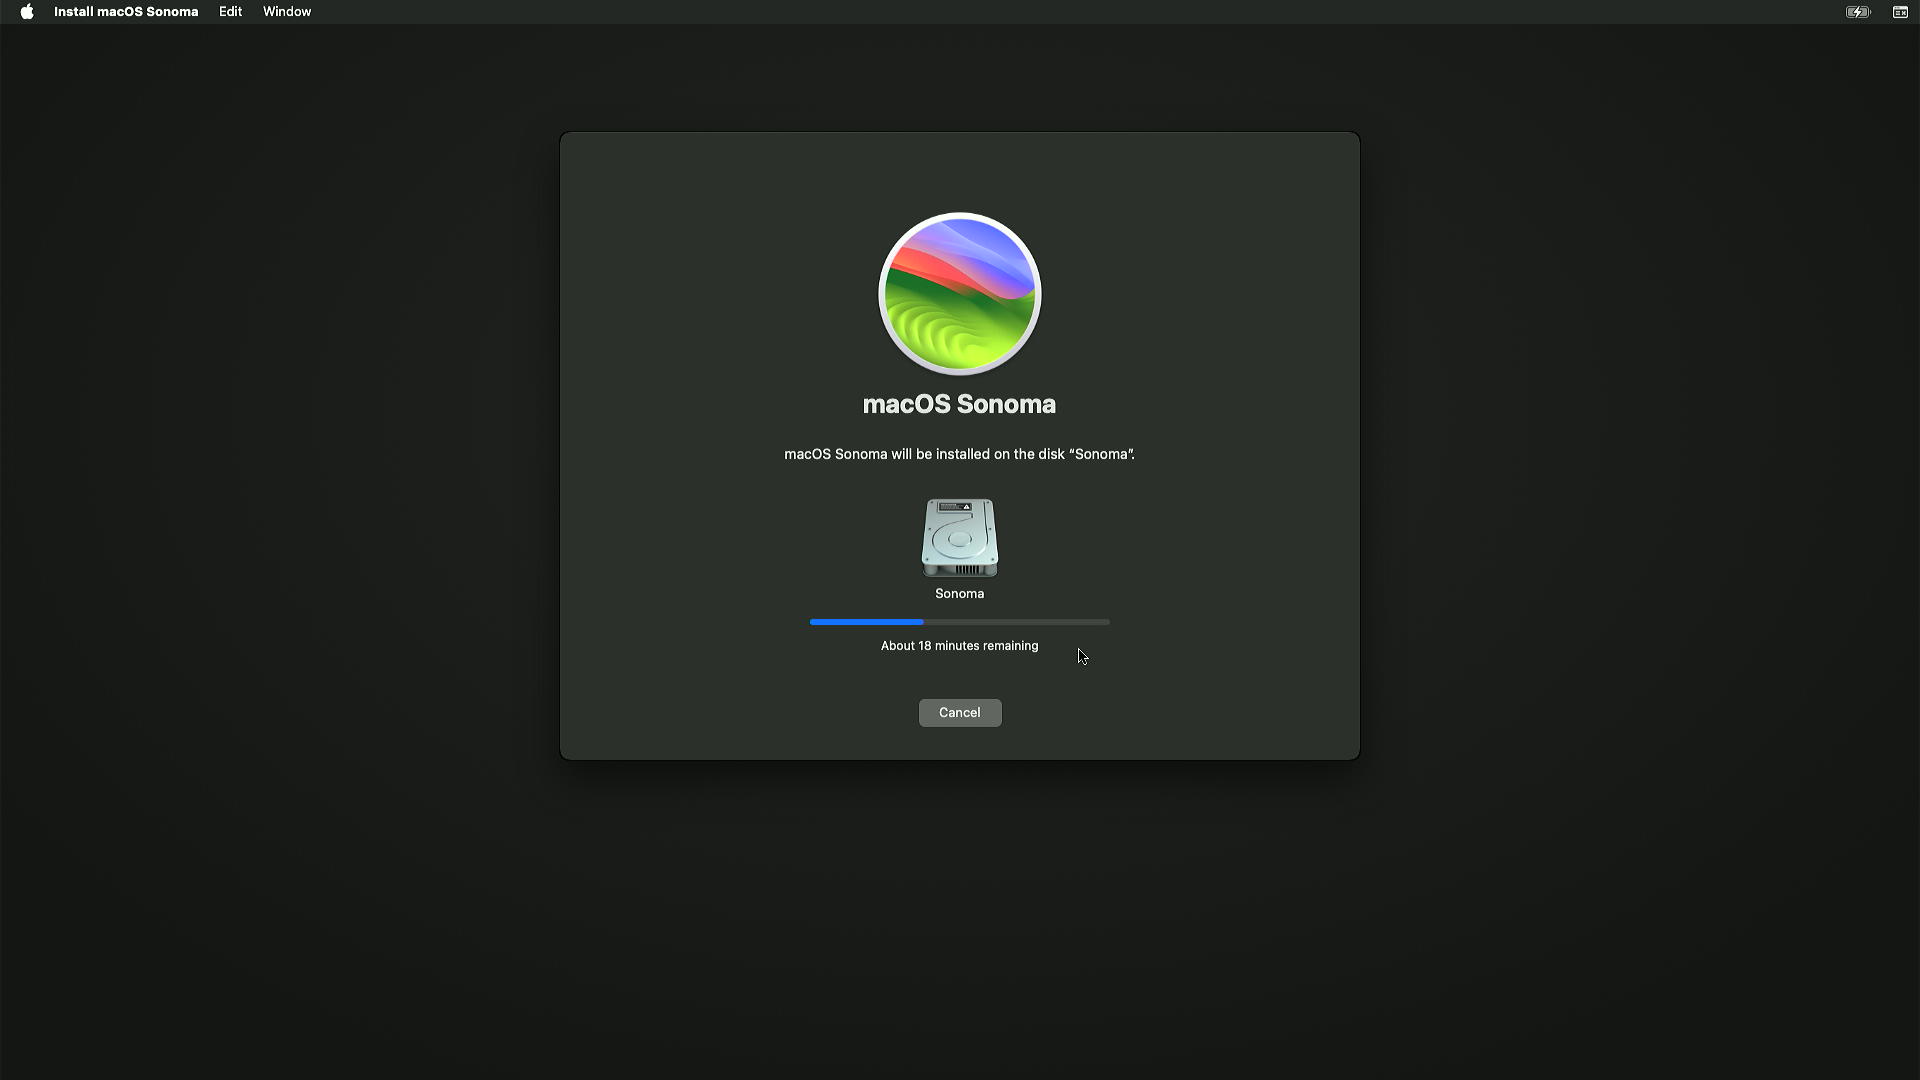
When installation process come About 12 minutes remaining, your computer should restart and goes verbose.
-
-
OpenCore should create a new boot entry named "OpenCore". Every restart computer will boot from this entry. You can drink a coffe and wait for installation complete if you don't have any operating system on your computer. But some computers doesn't allow custom entries. So if you have any other operating system on your computer. You should select USB from boot menu for every restart.
-
After first restart chose macOS Installer on OpenCore menu.
-
-
You will see the Apple logo and a time bar. After this time has passed, the computer will restart again.
-
-
If macOS Installer still exist. Keep selecting until the option disappears.
-
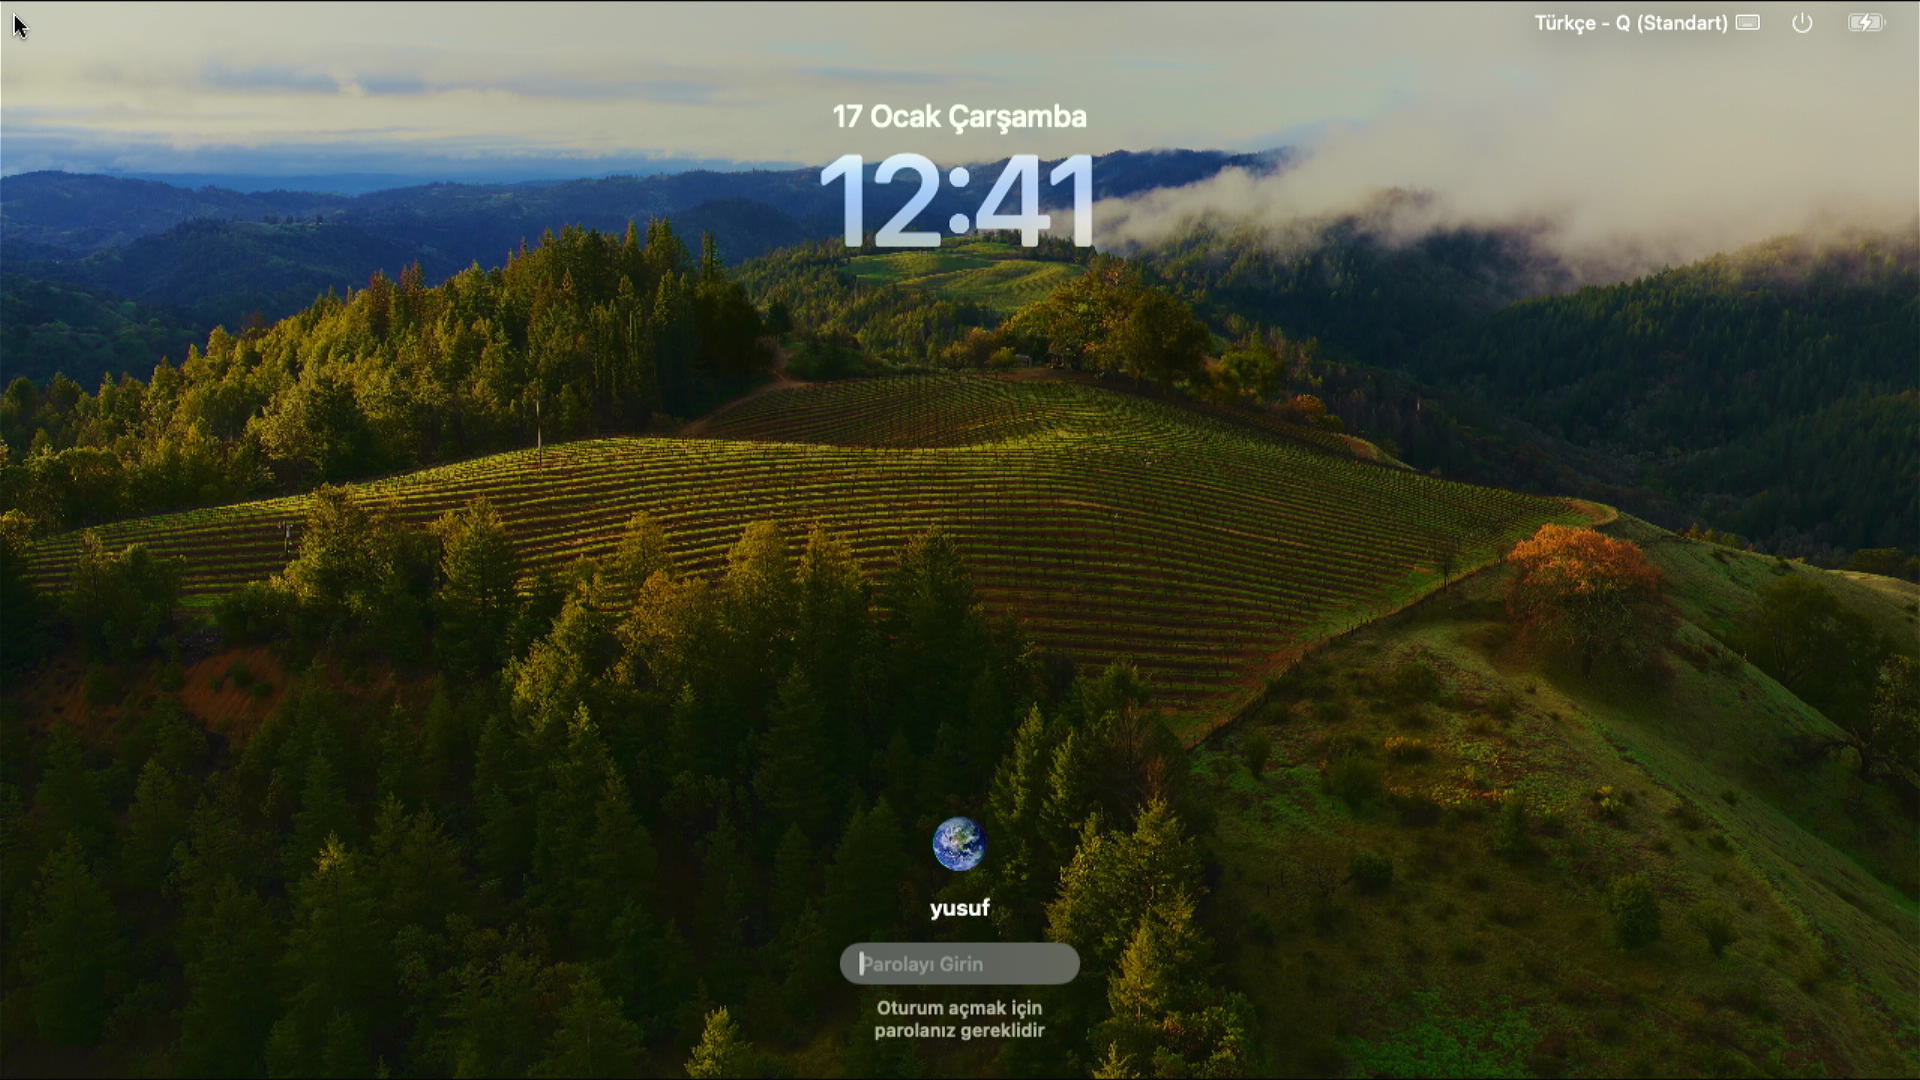
On the last reboot you will now see an option for the name you gave the disk. Select this option and continue.
-
-
Now we will reach the macOS installation completion steps.
-
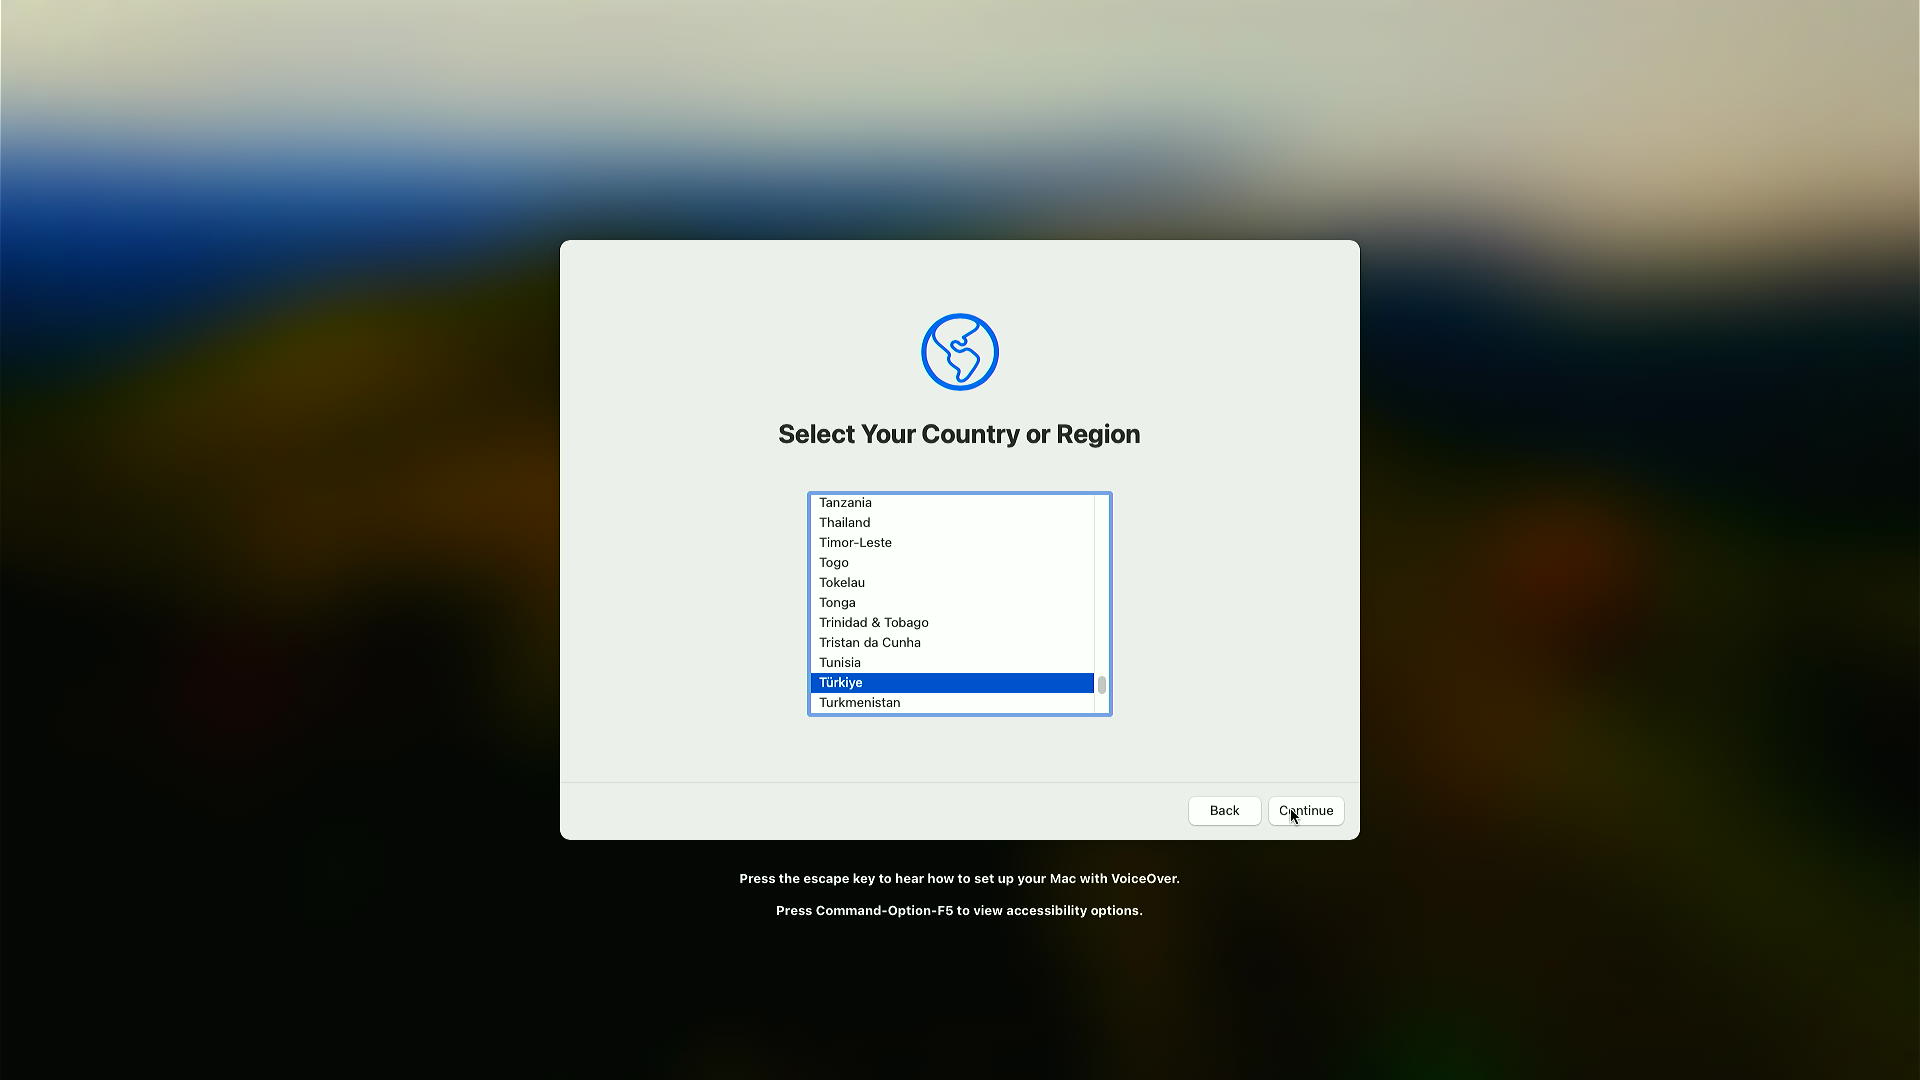
Let's choose our country.
-
-
I will click Customize Settings on the next screen because even though I use the computer in English, my native language and keyboard input are different. If the settings are correct for you, you can click Continue.
-
-
I am skipping the accessibility settings by clicking Not Now.
-
-
Even if you have an internet connection, continue with the I have no network connection option on this screen. Because we need to set our
serial numbers and ROM for iCloud and iServices. -
-
Click Continue.
-
-
If you are not installing hackintosh for the first time, you can transfer data from your other devices in this screen. However, assuming this is the first time, I am clicking Not Now.
-
-
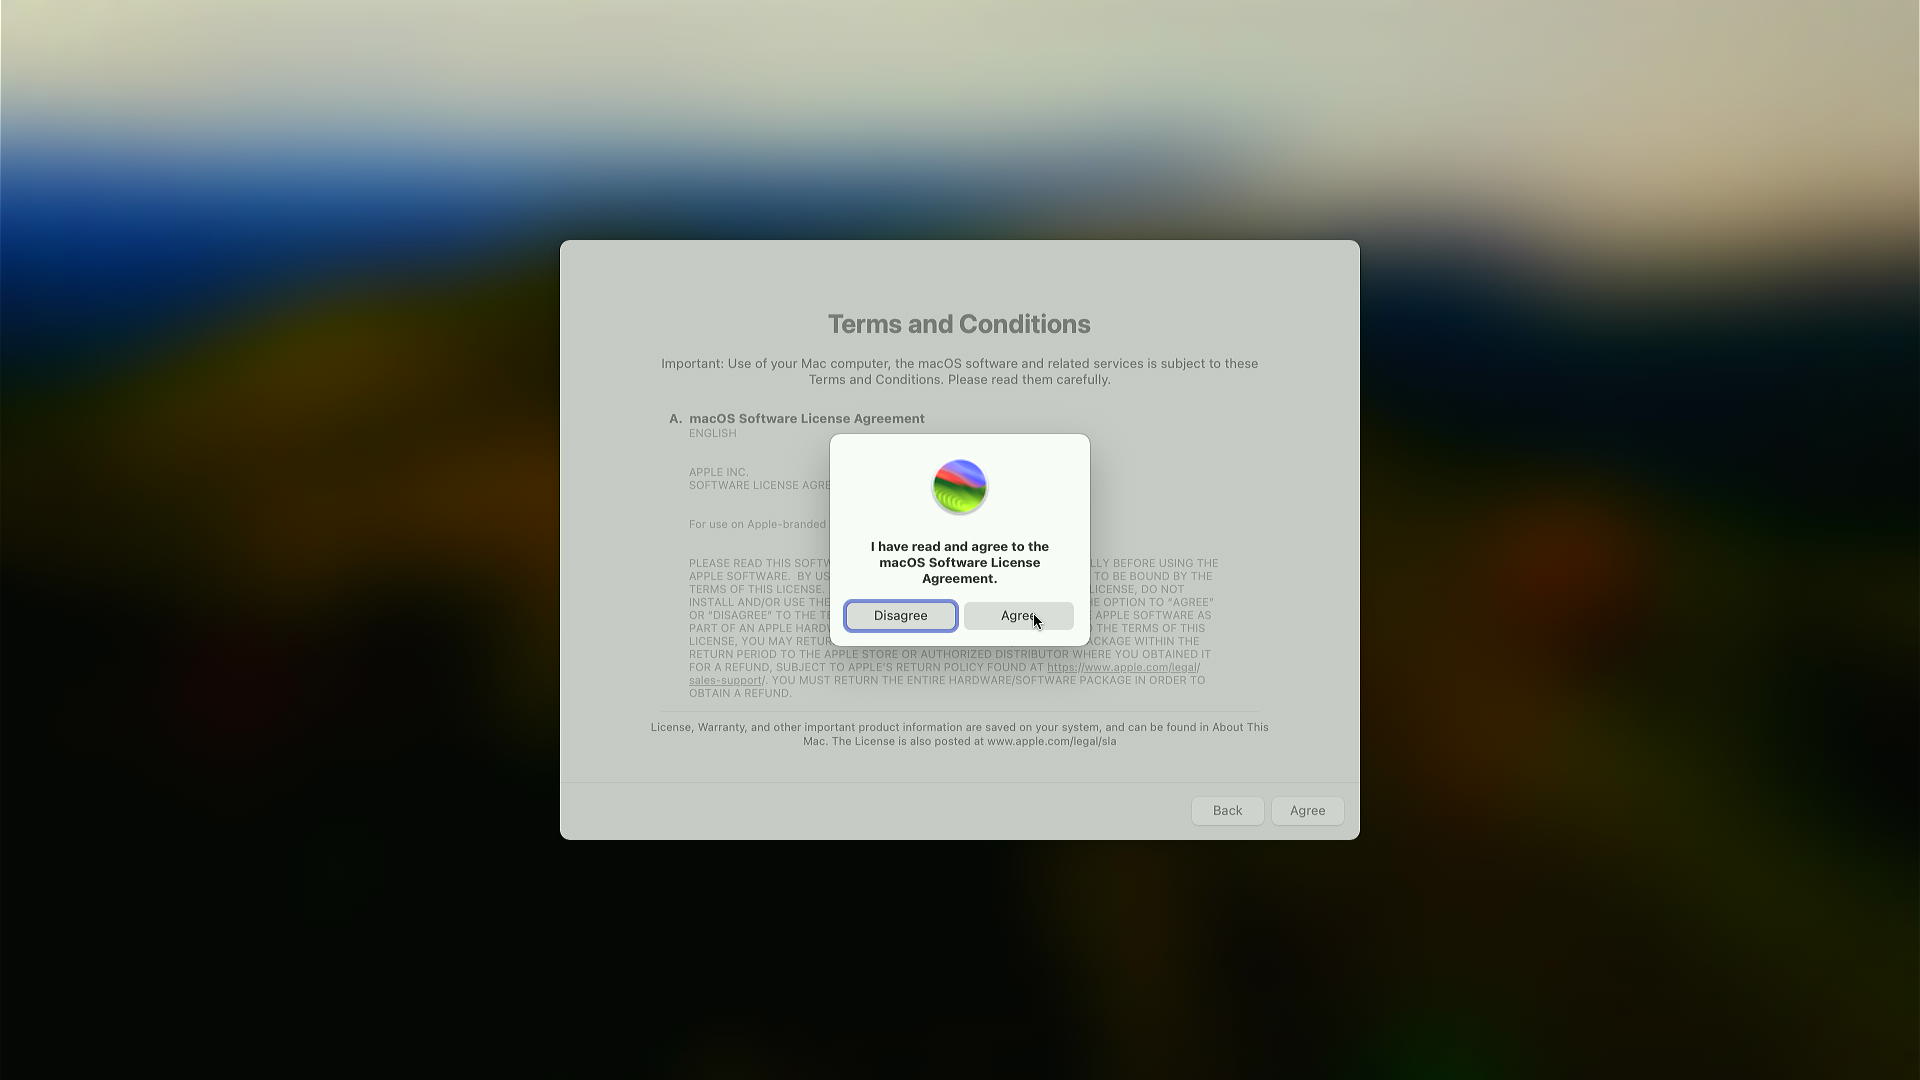
Click Agree > Agree.
-
-
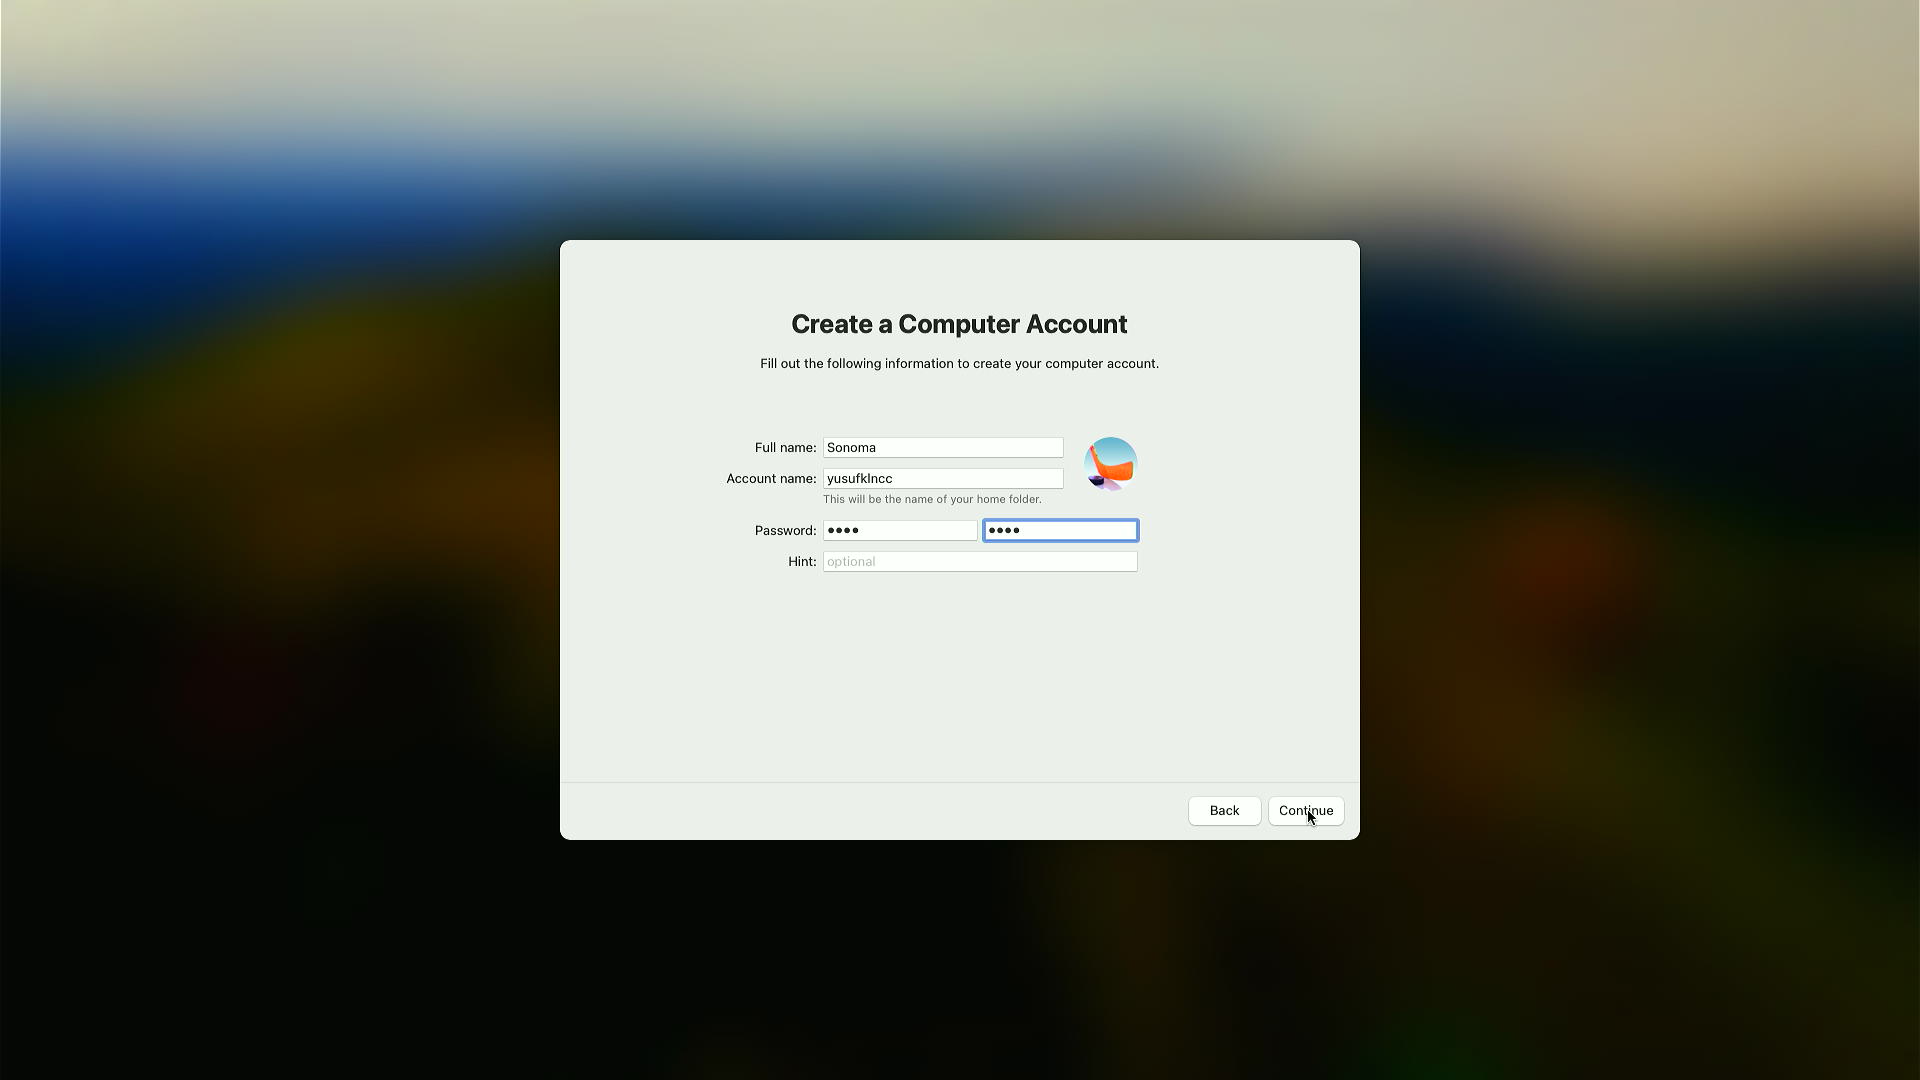
Let's create an account here with name, username and password.
-
-
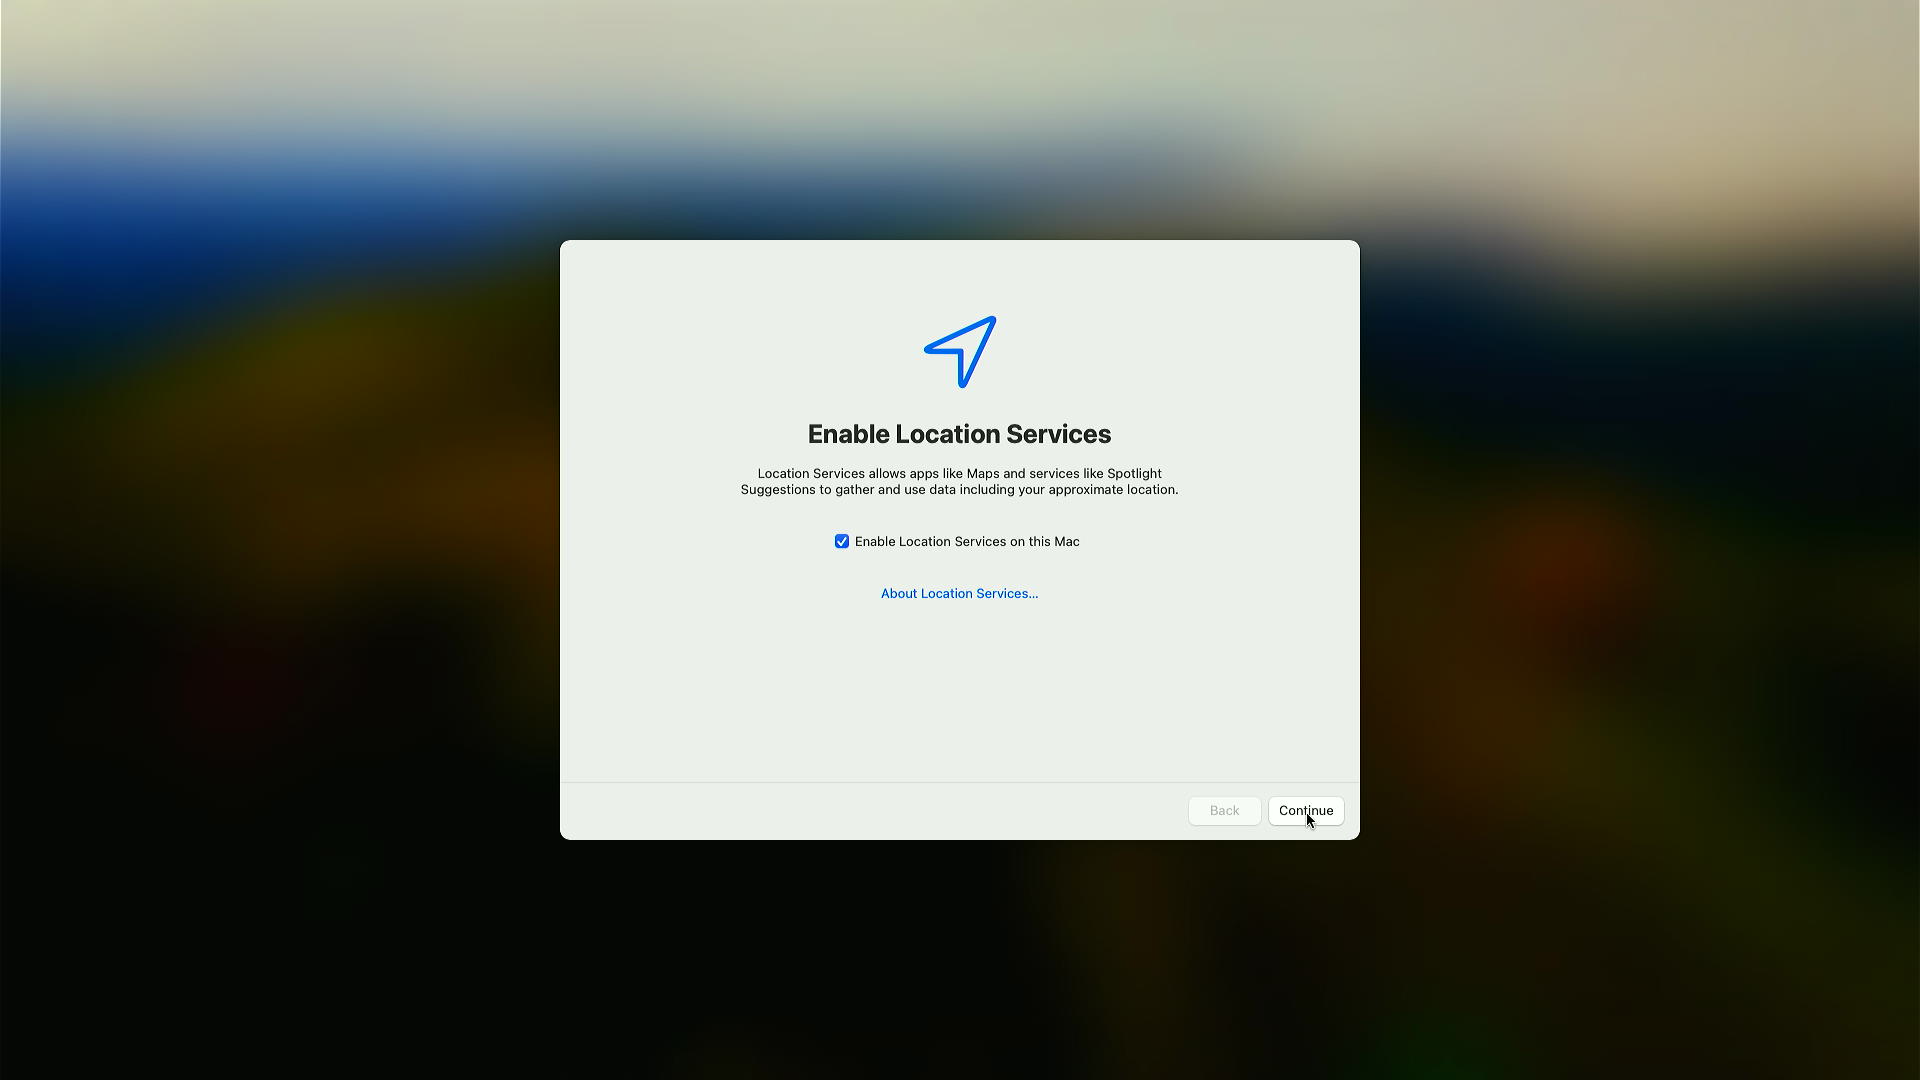
You can turn Location Services on or off as you wish.
-
-
Disable Analytics options and click Continue.
-
-
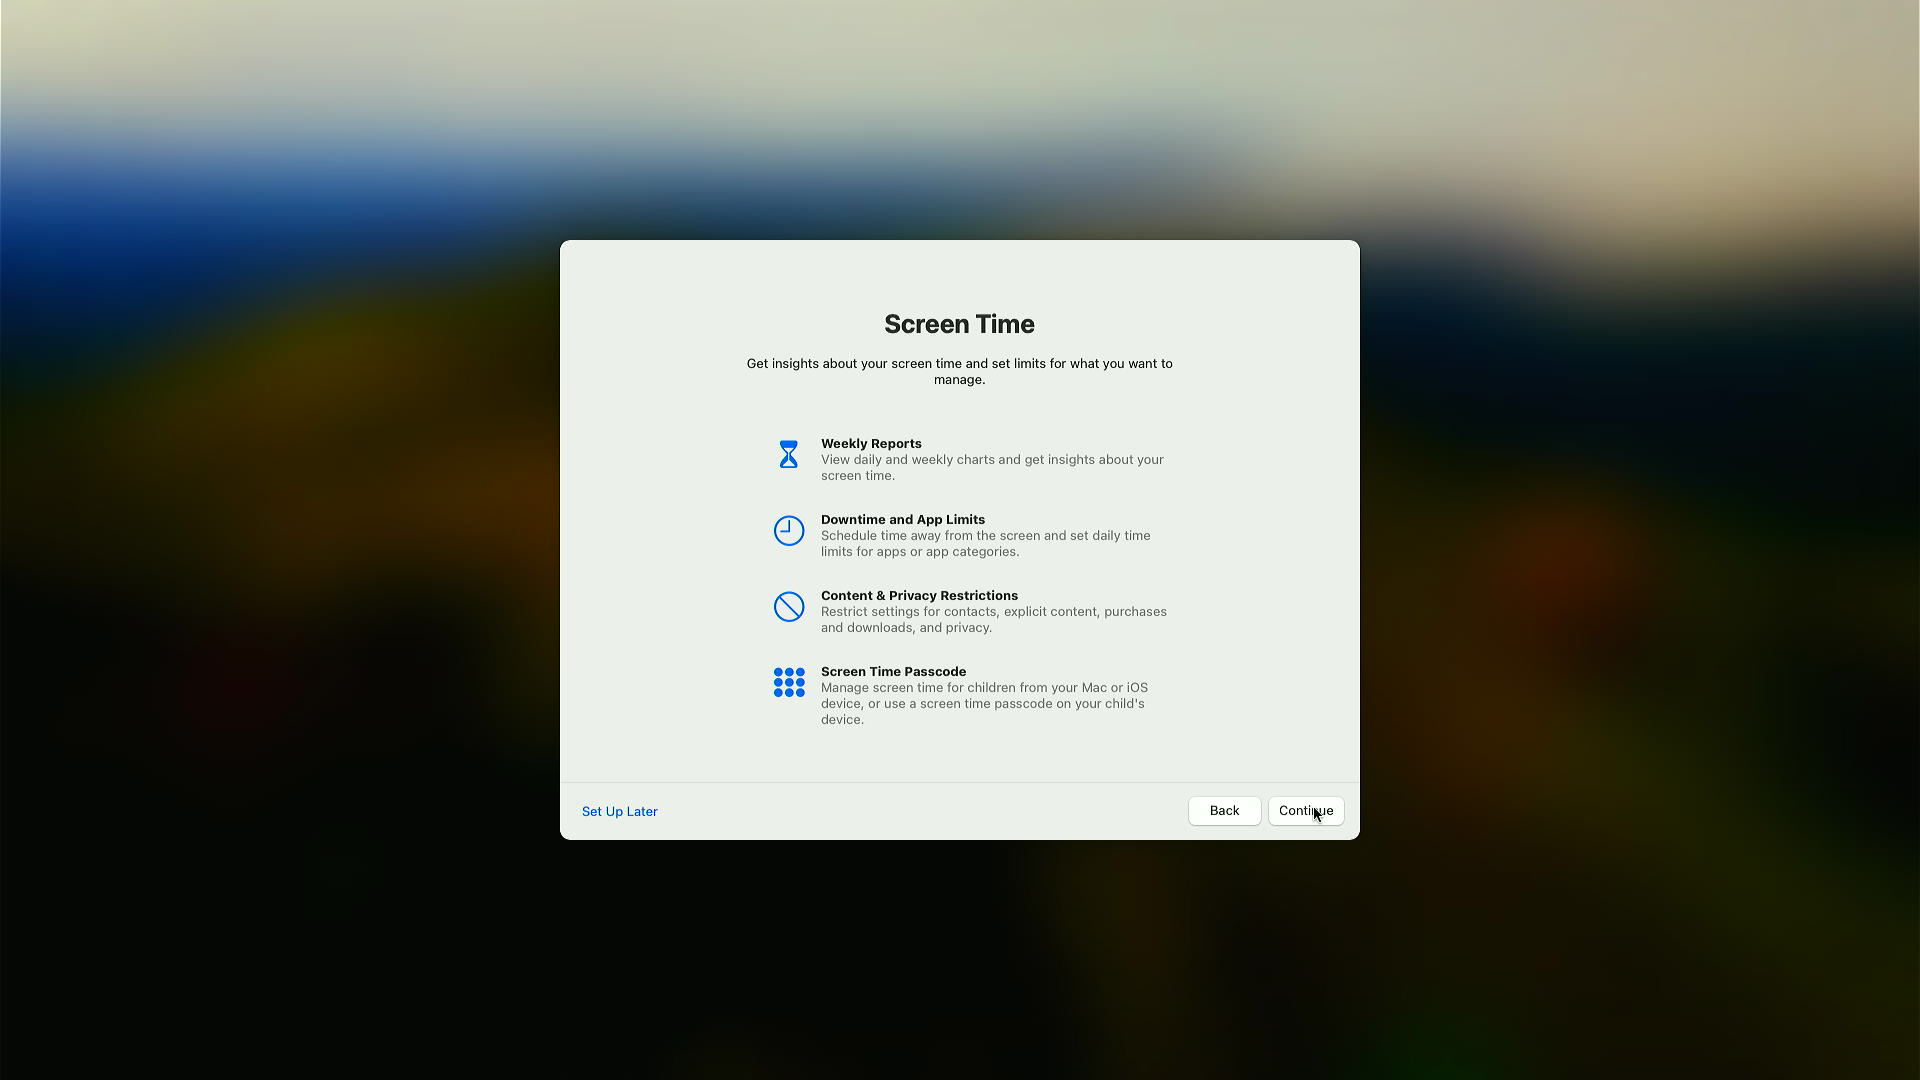
Complete the Screen Time settings by clicking Continue.
-
-
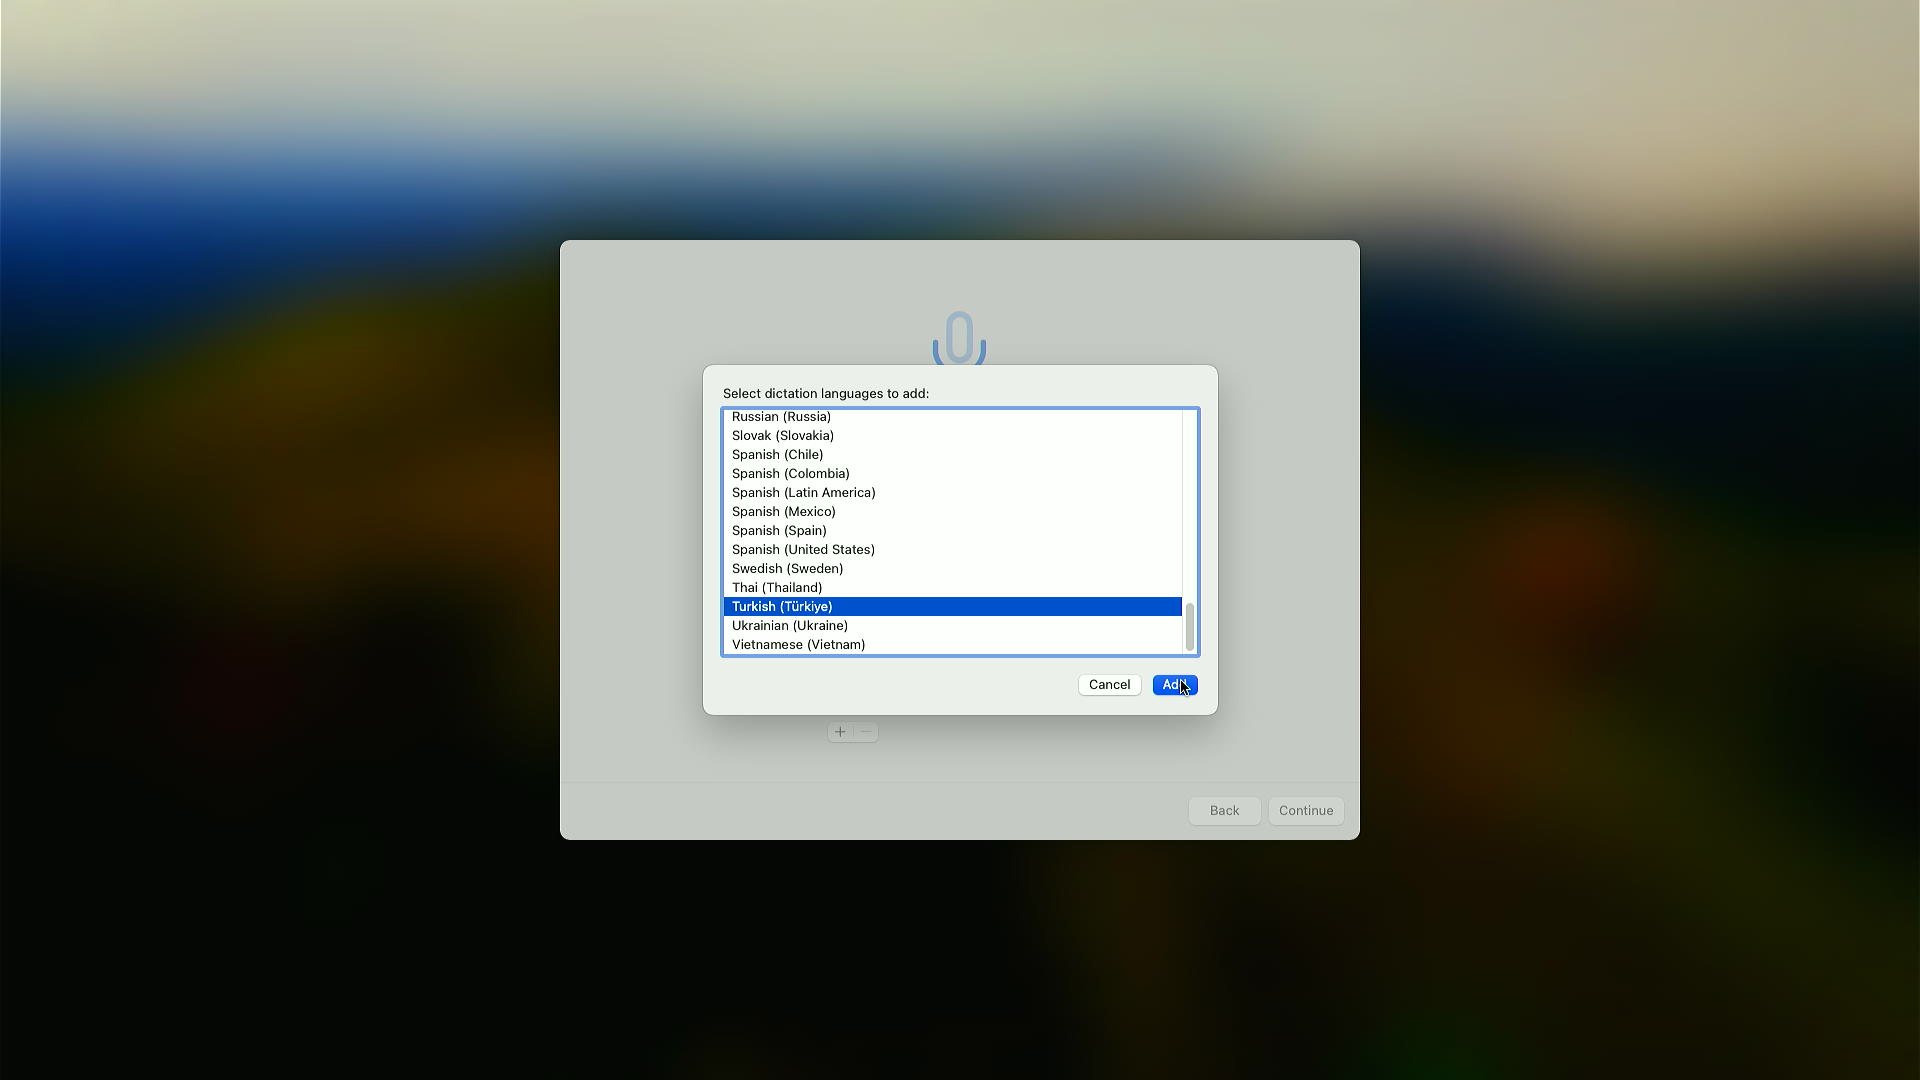
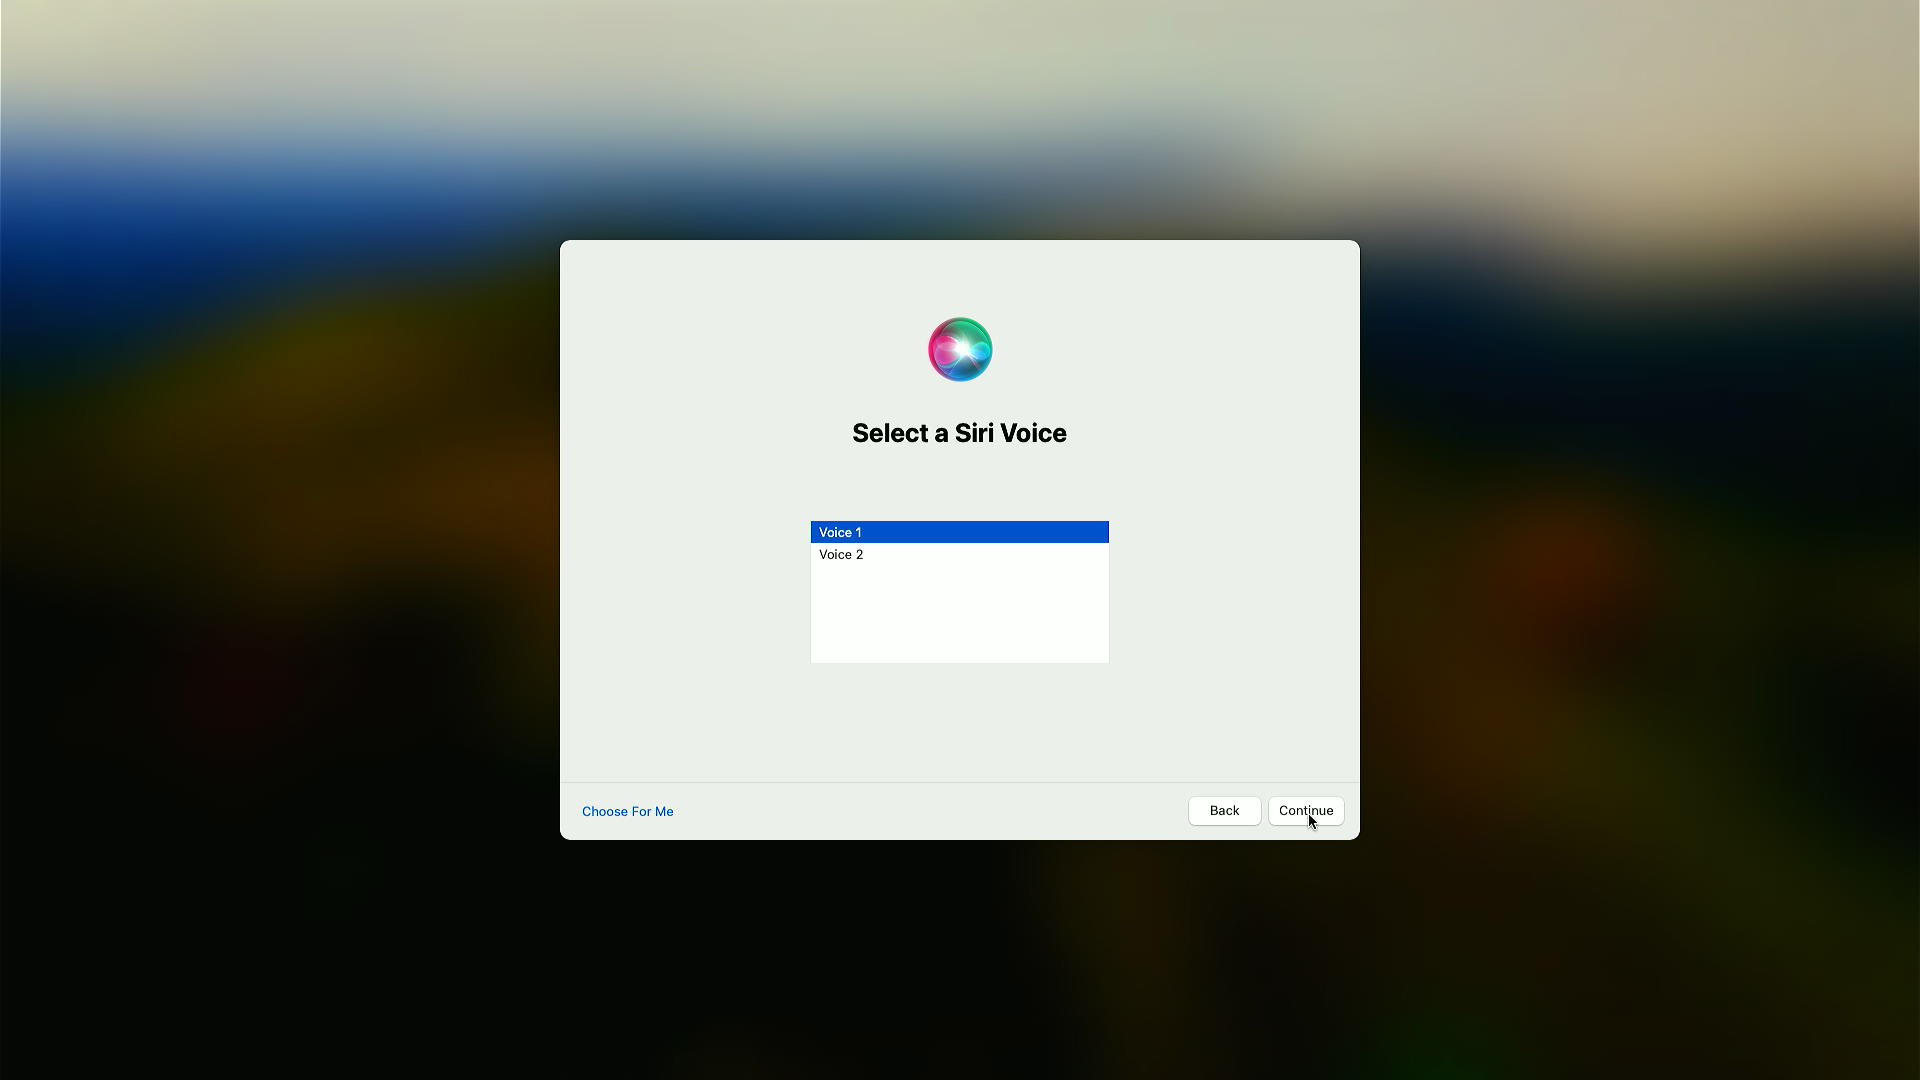
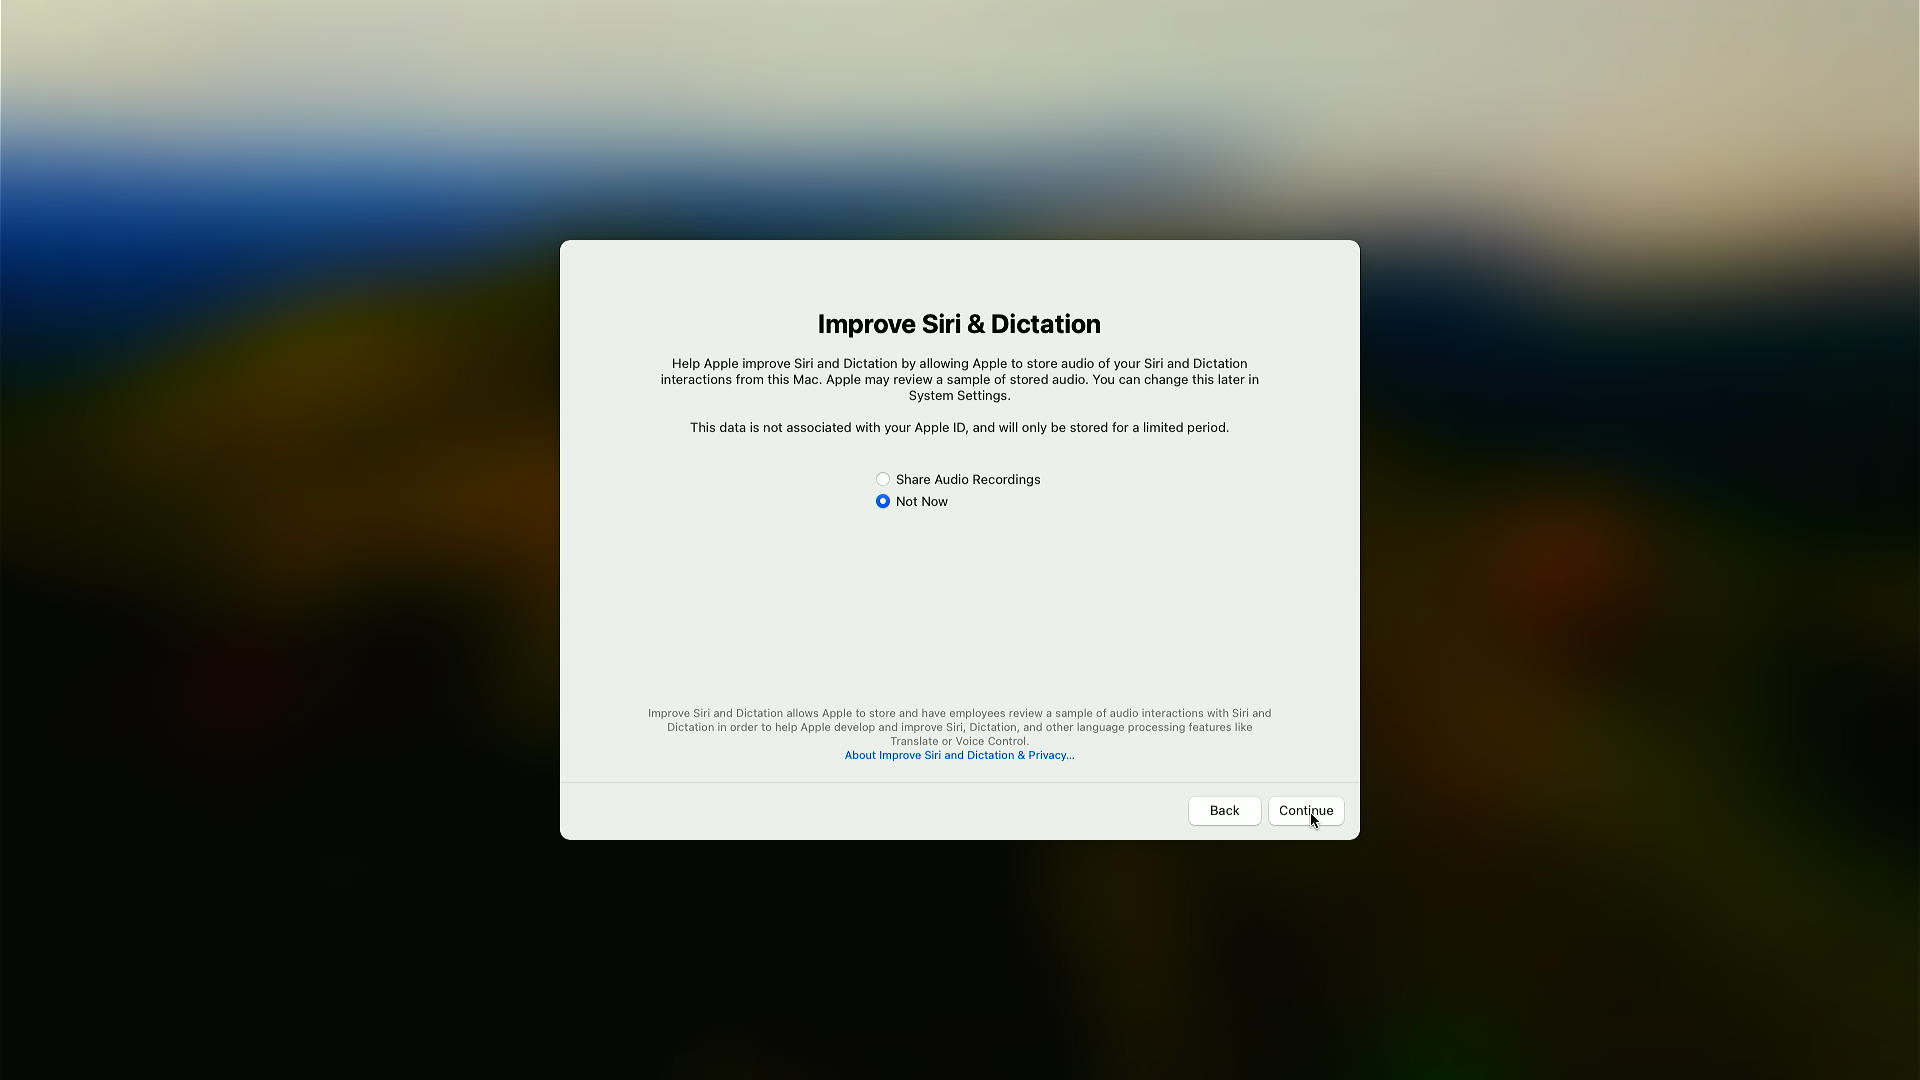
Setting up Siri.
-
-
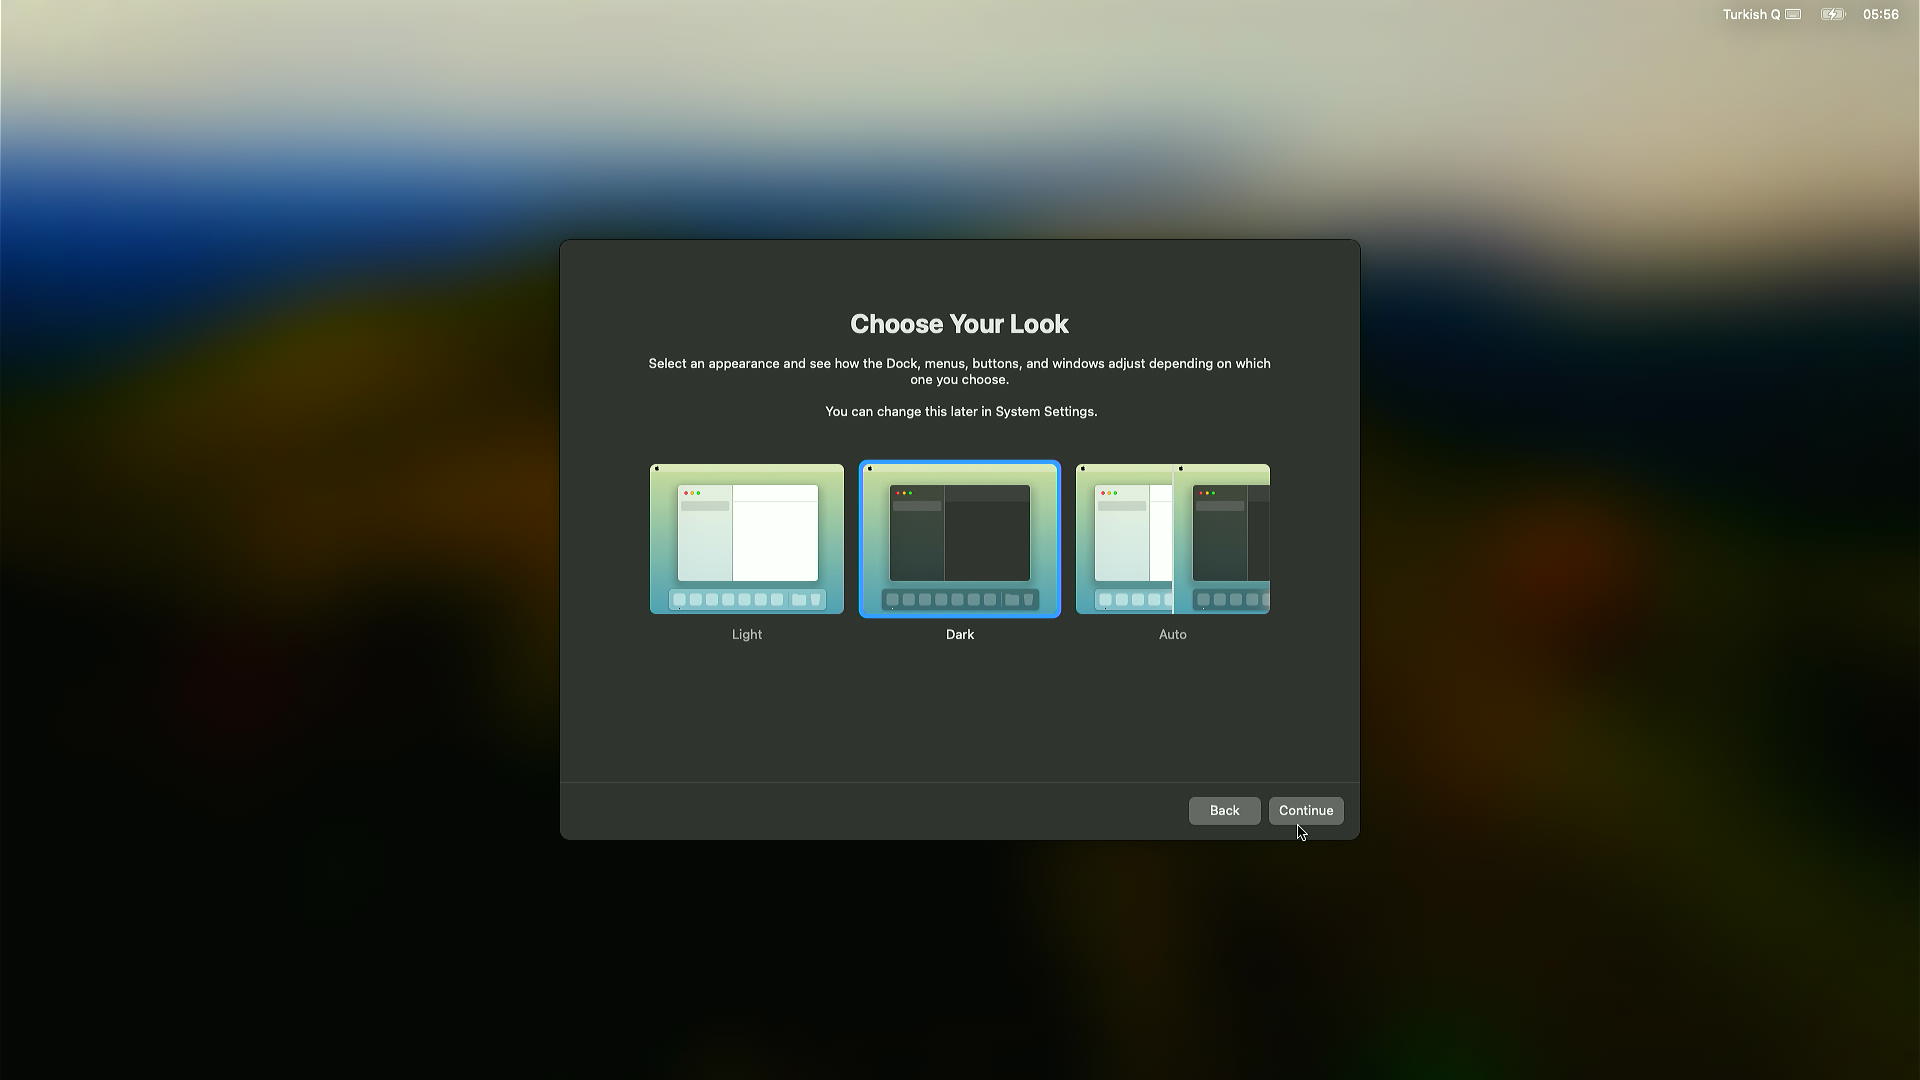
Finally, let's select a theme and complete the installation.
-
-
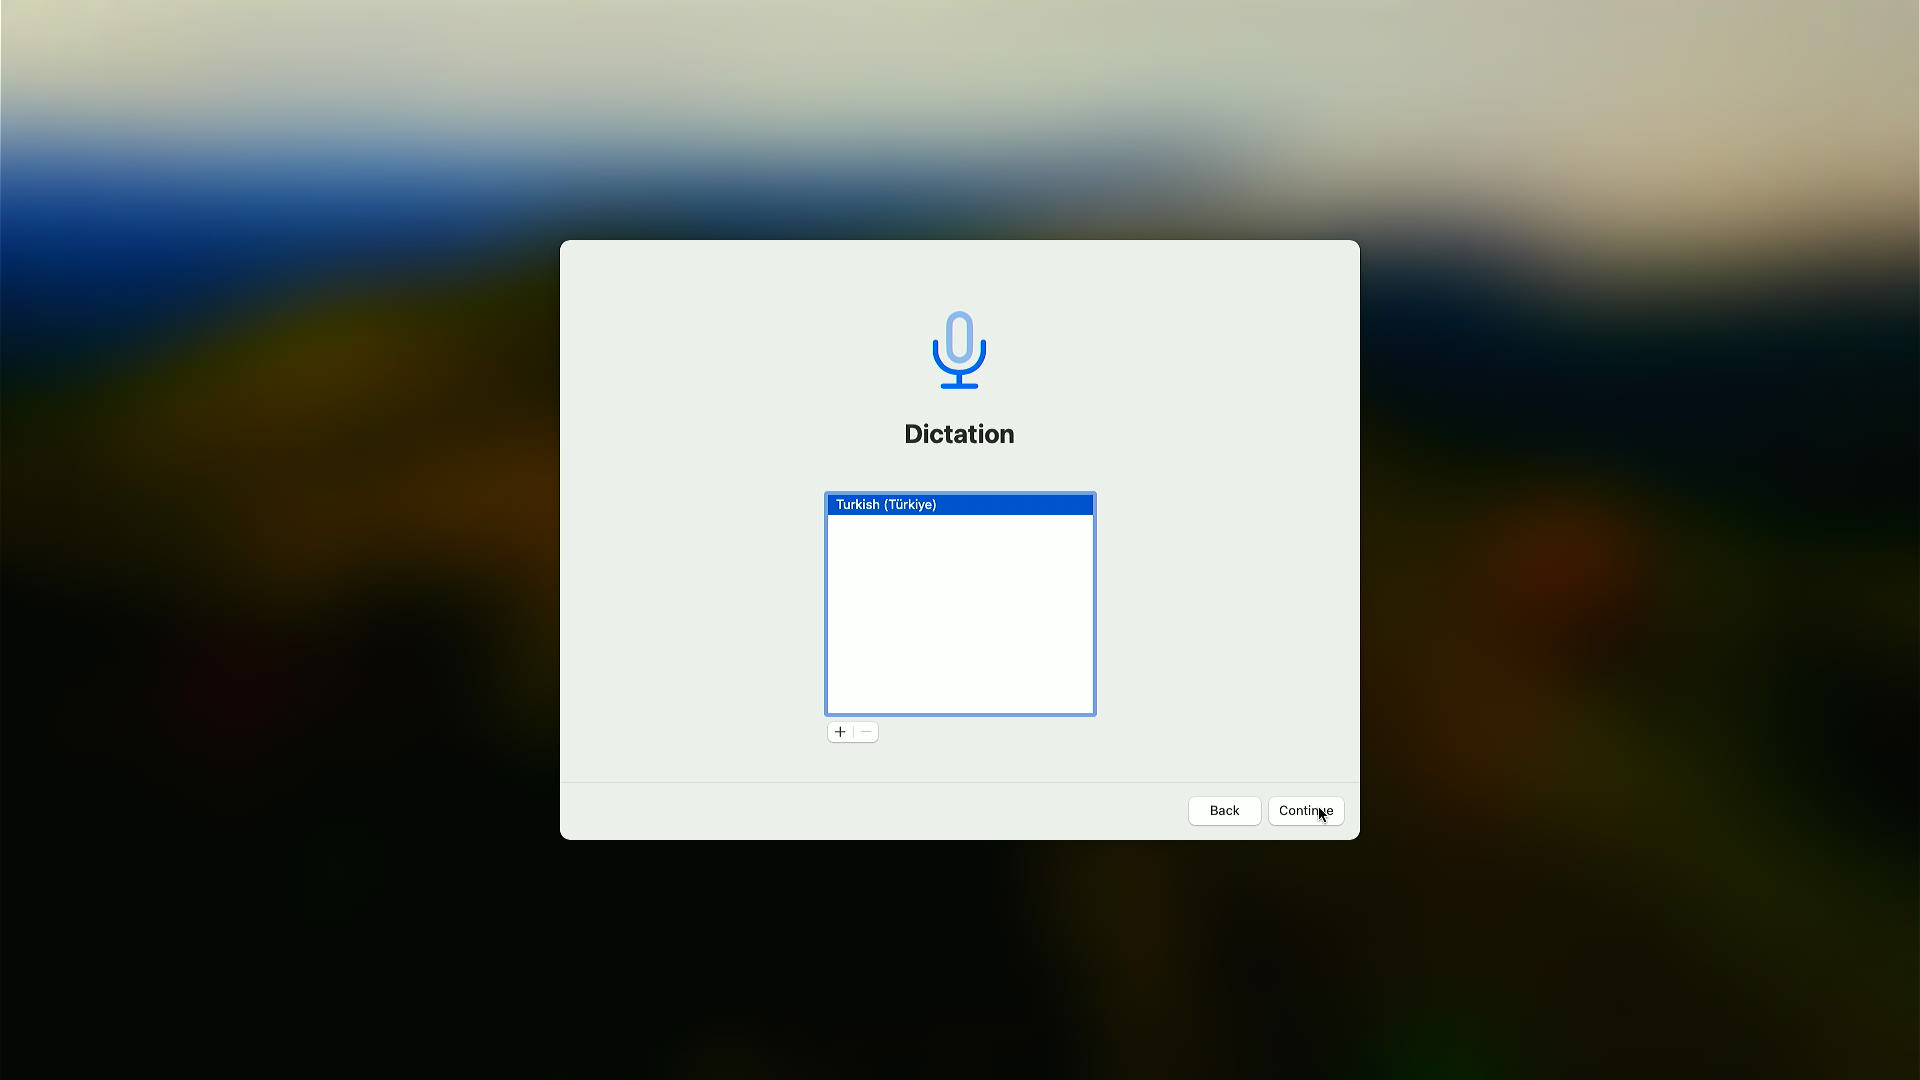
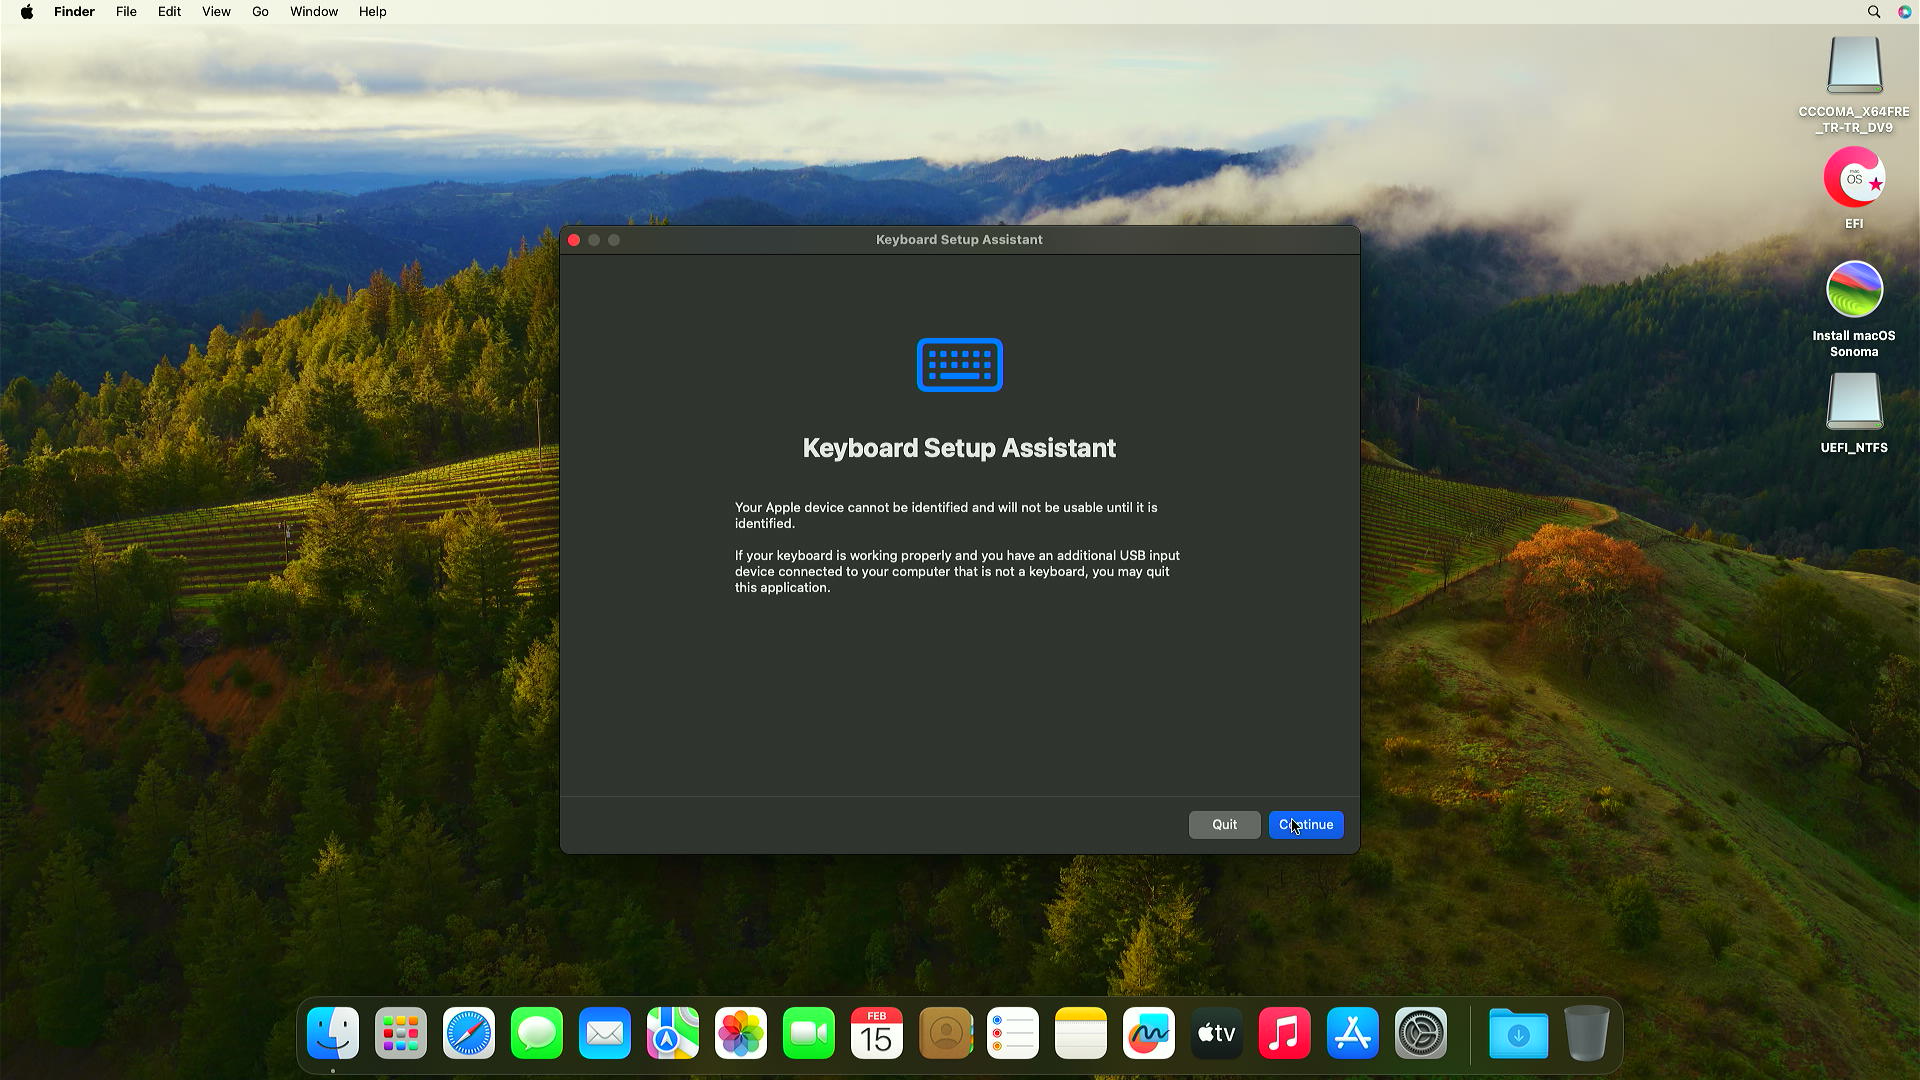
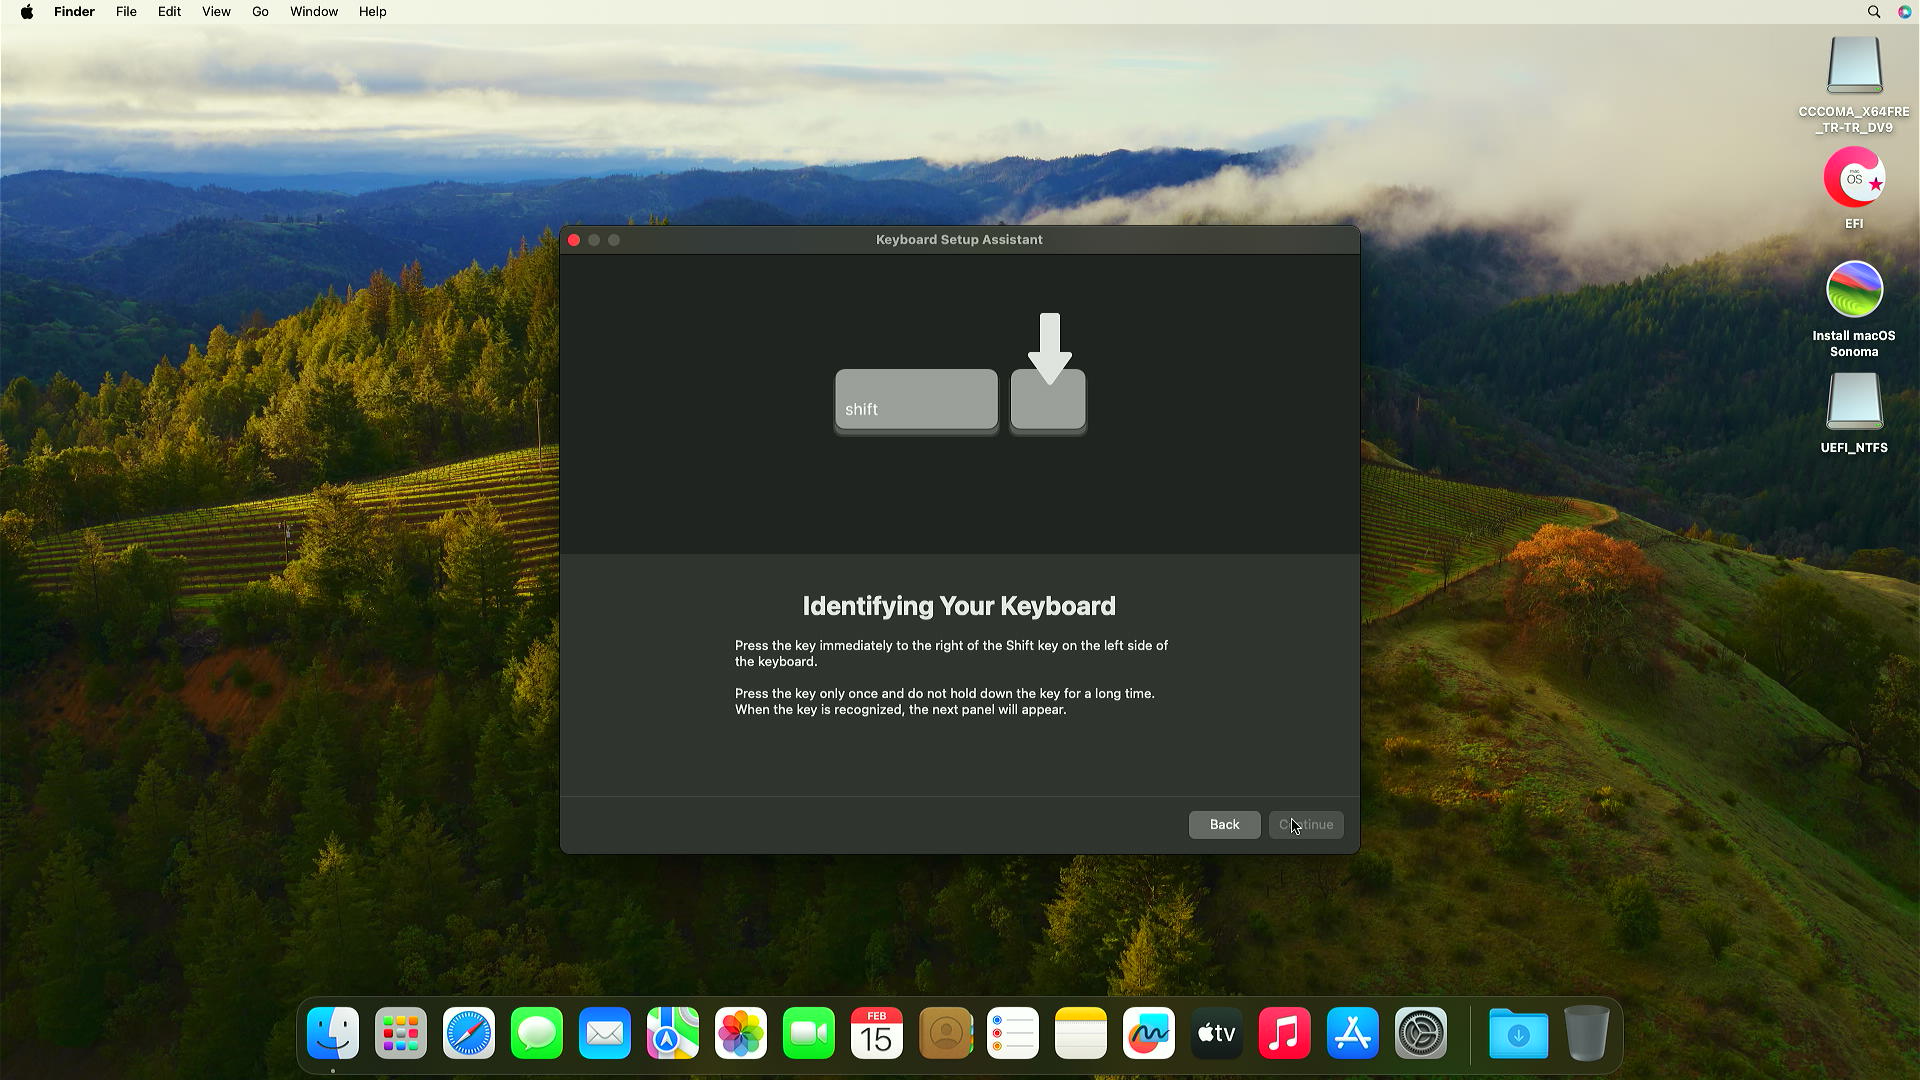
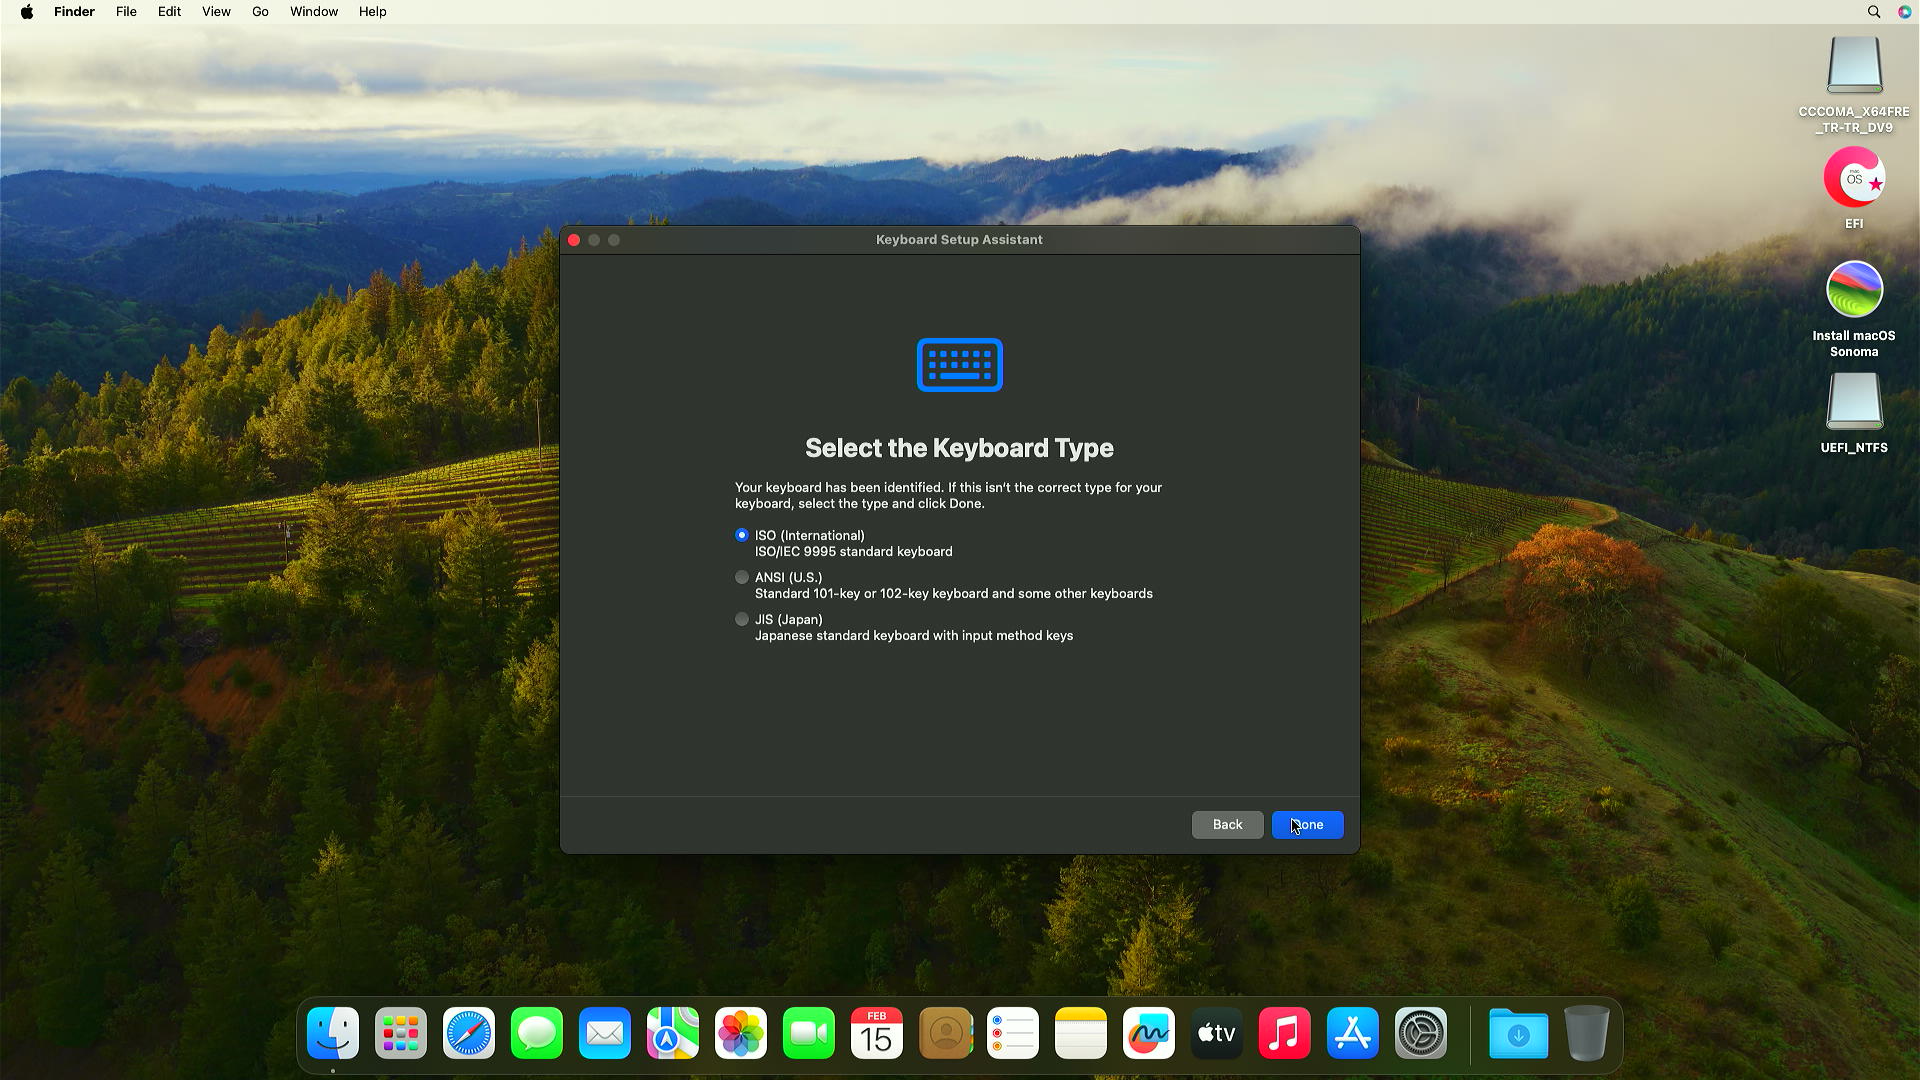
After installation, you may see a window for keyboard setup. Let's make the adjustments here.
-
-
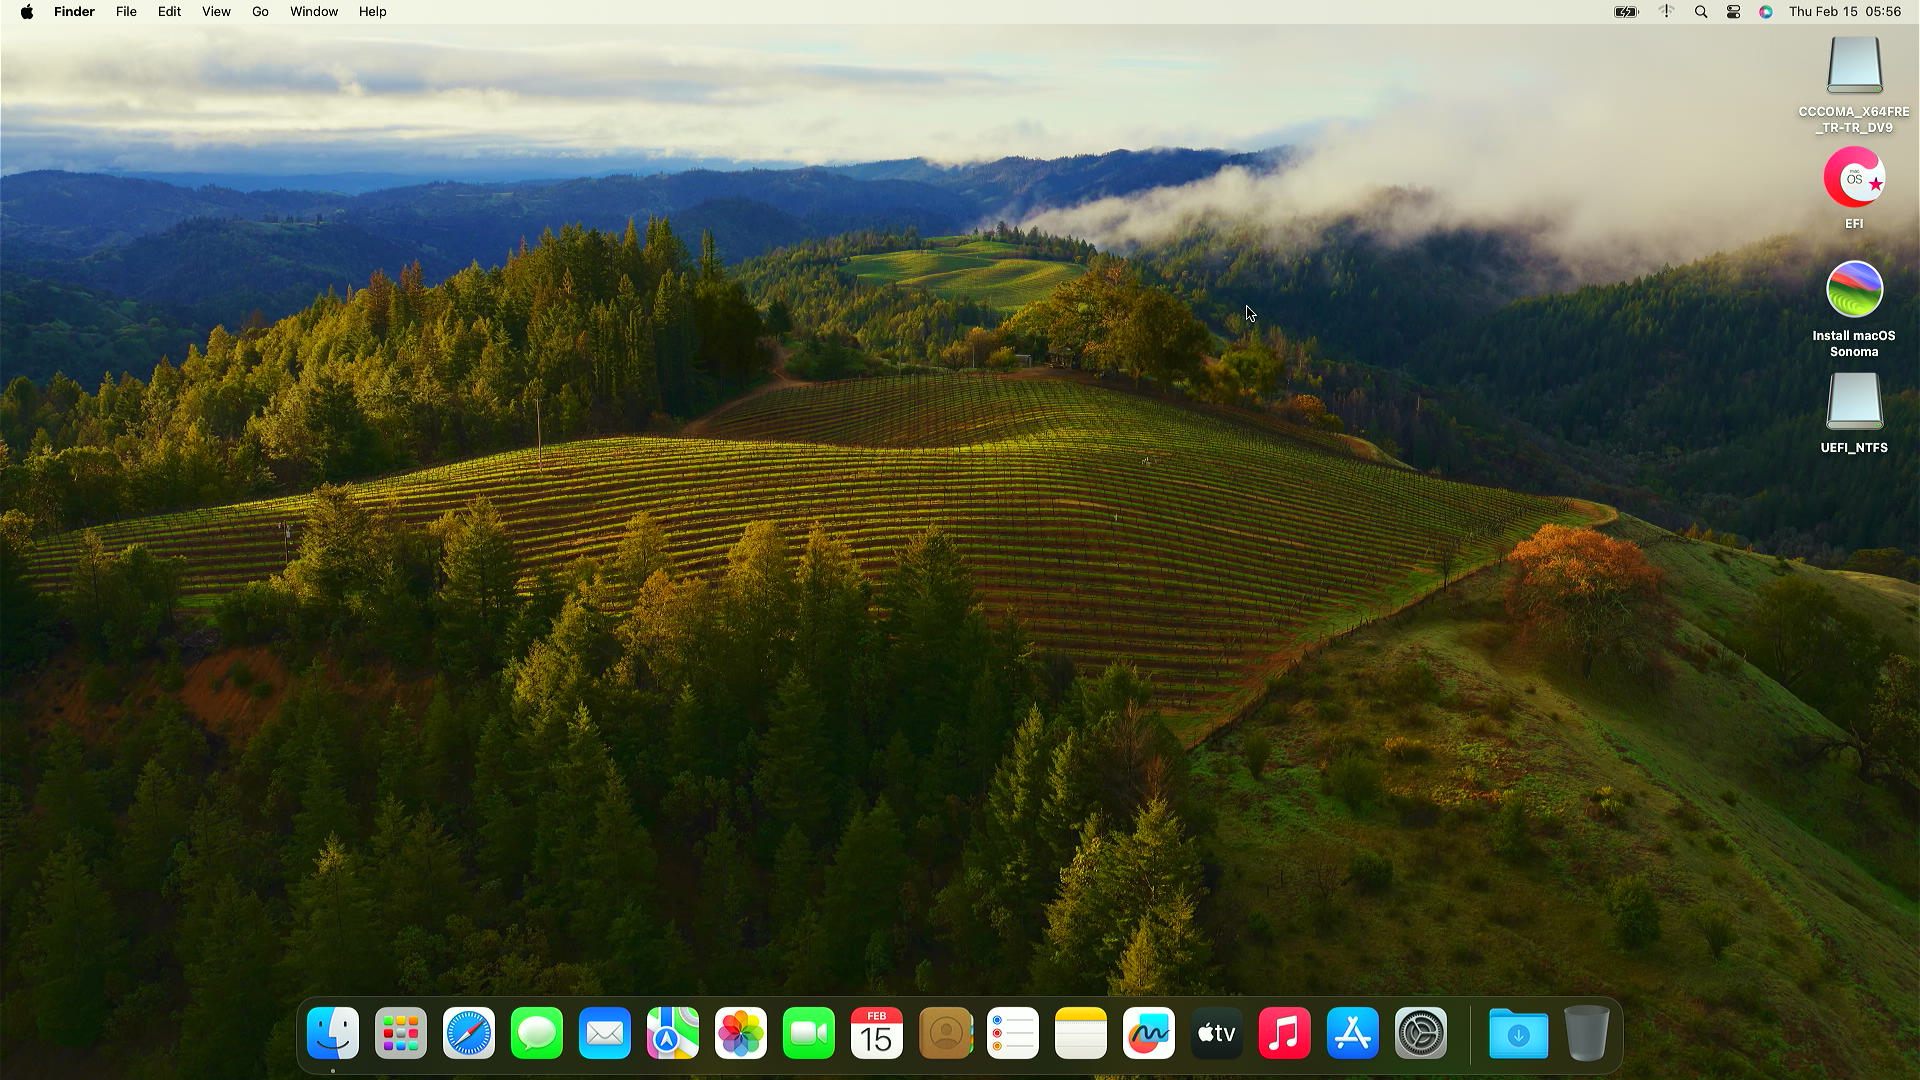
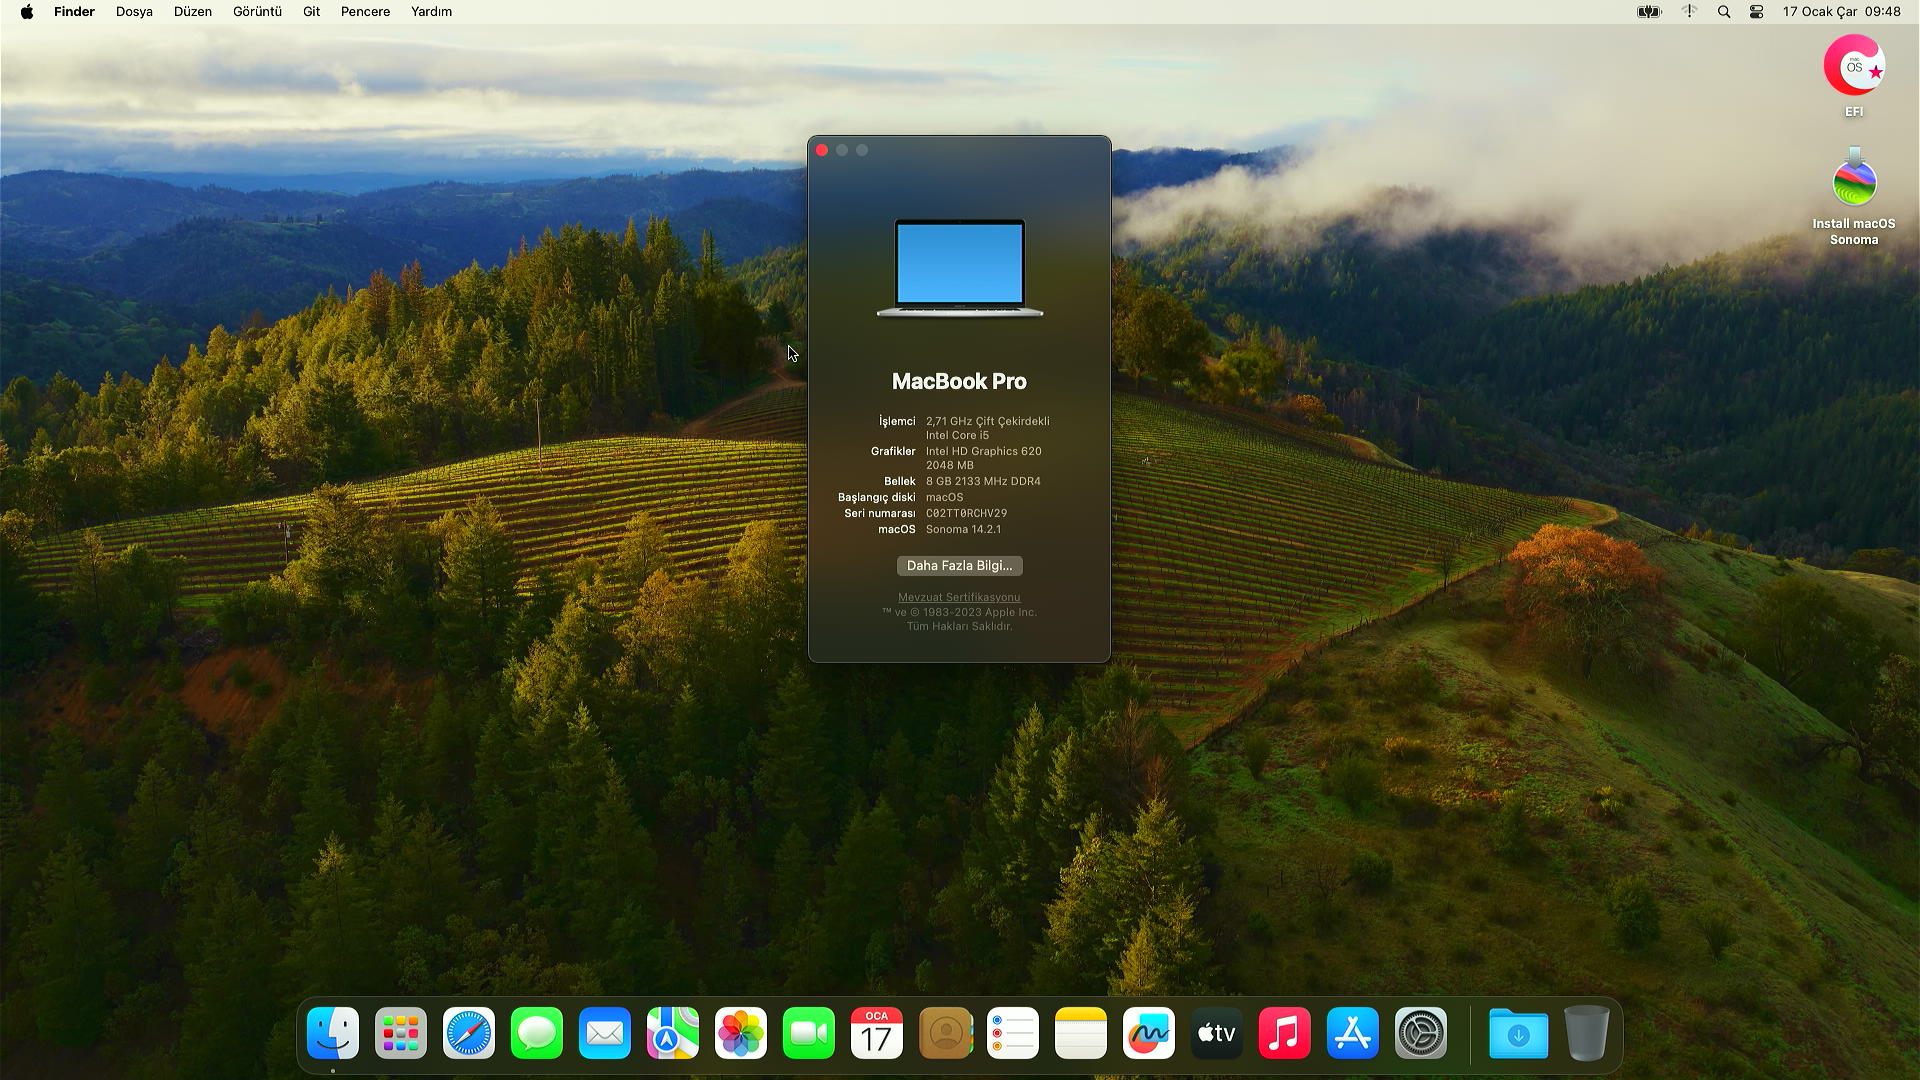
We can finally get the macOS desktop.
-
-
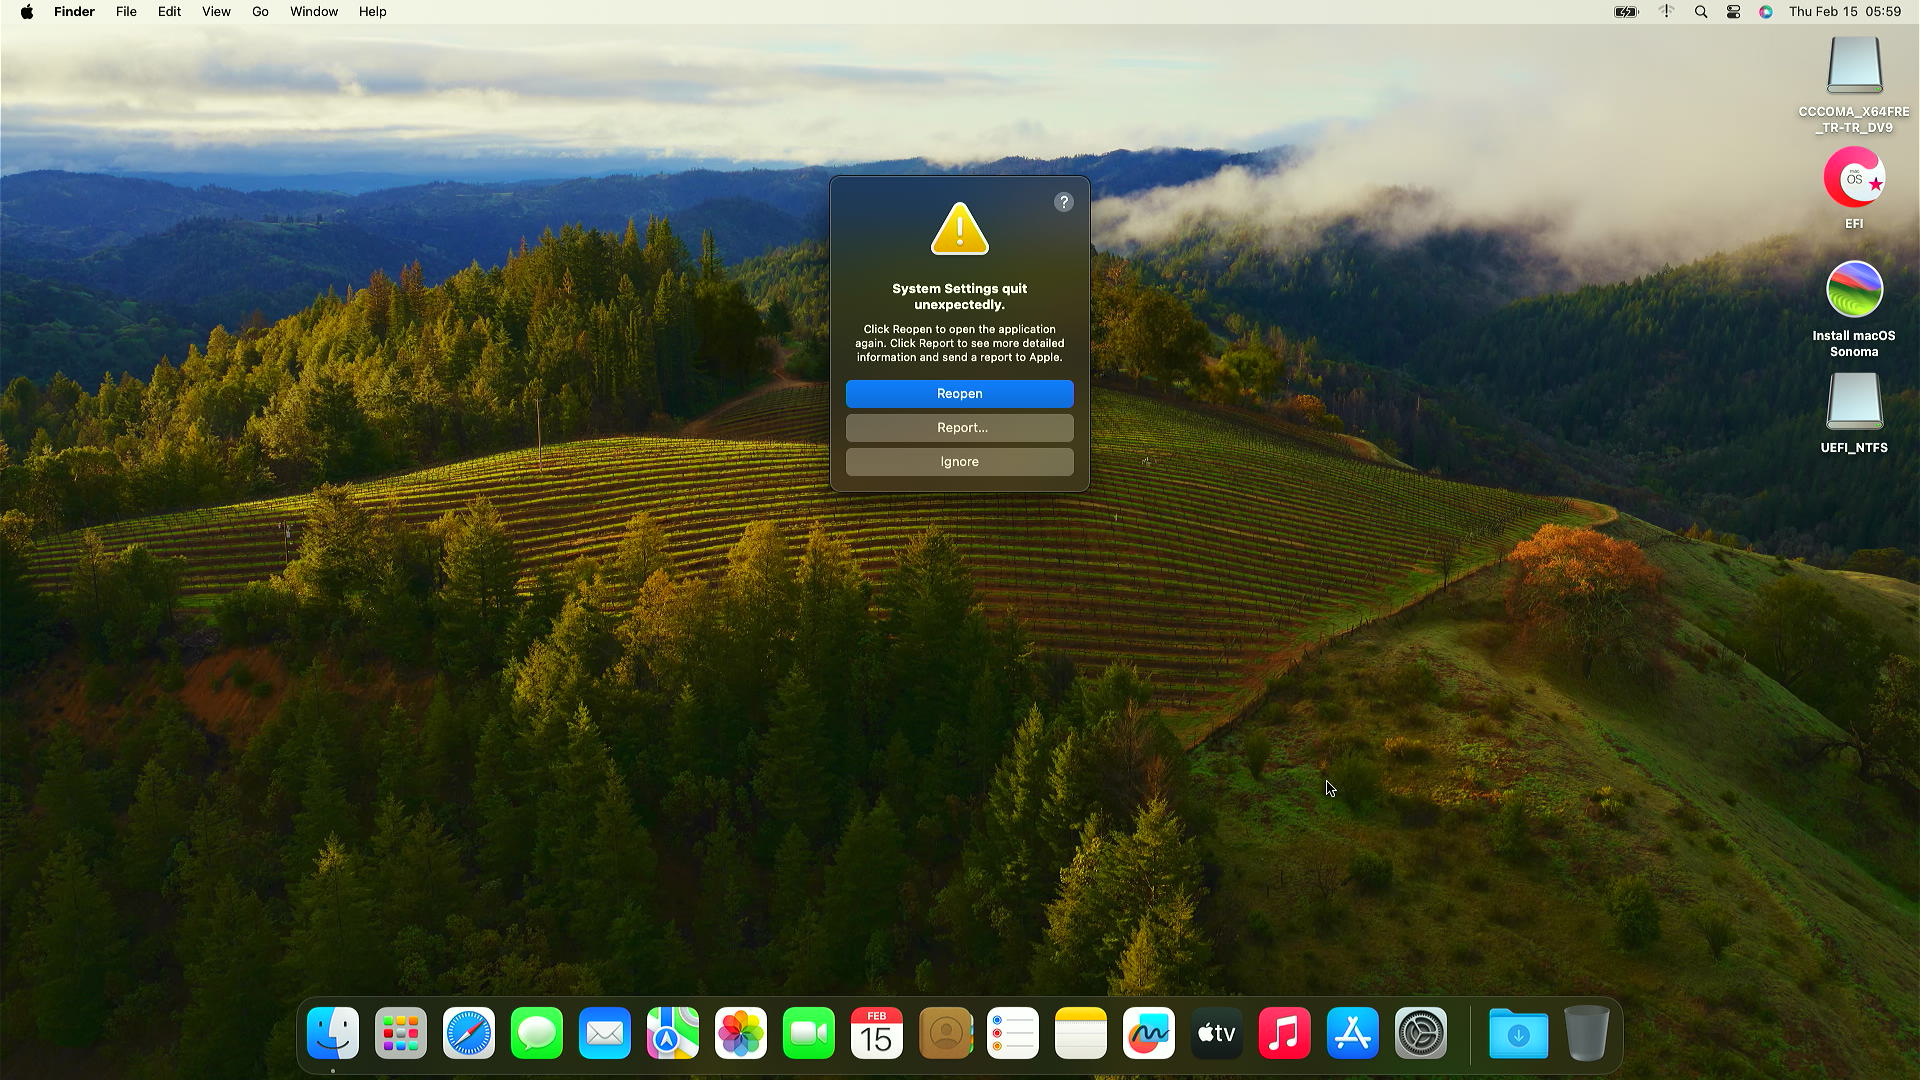
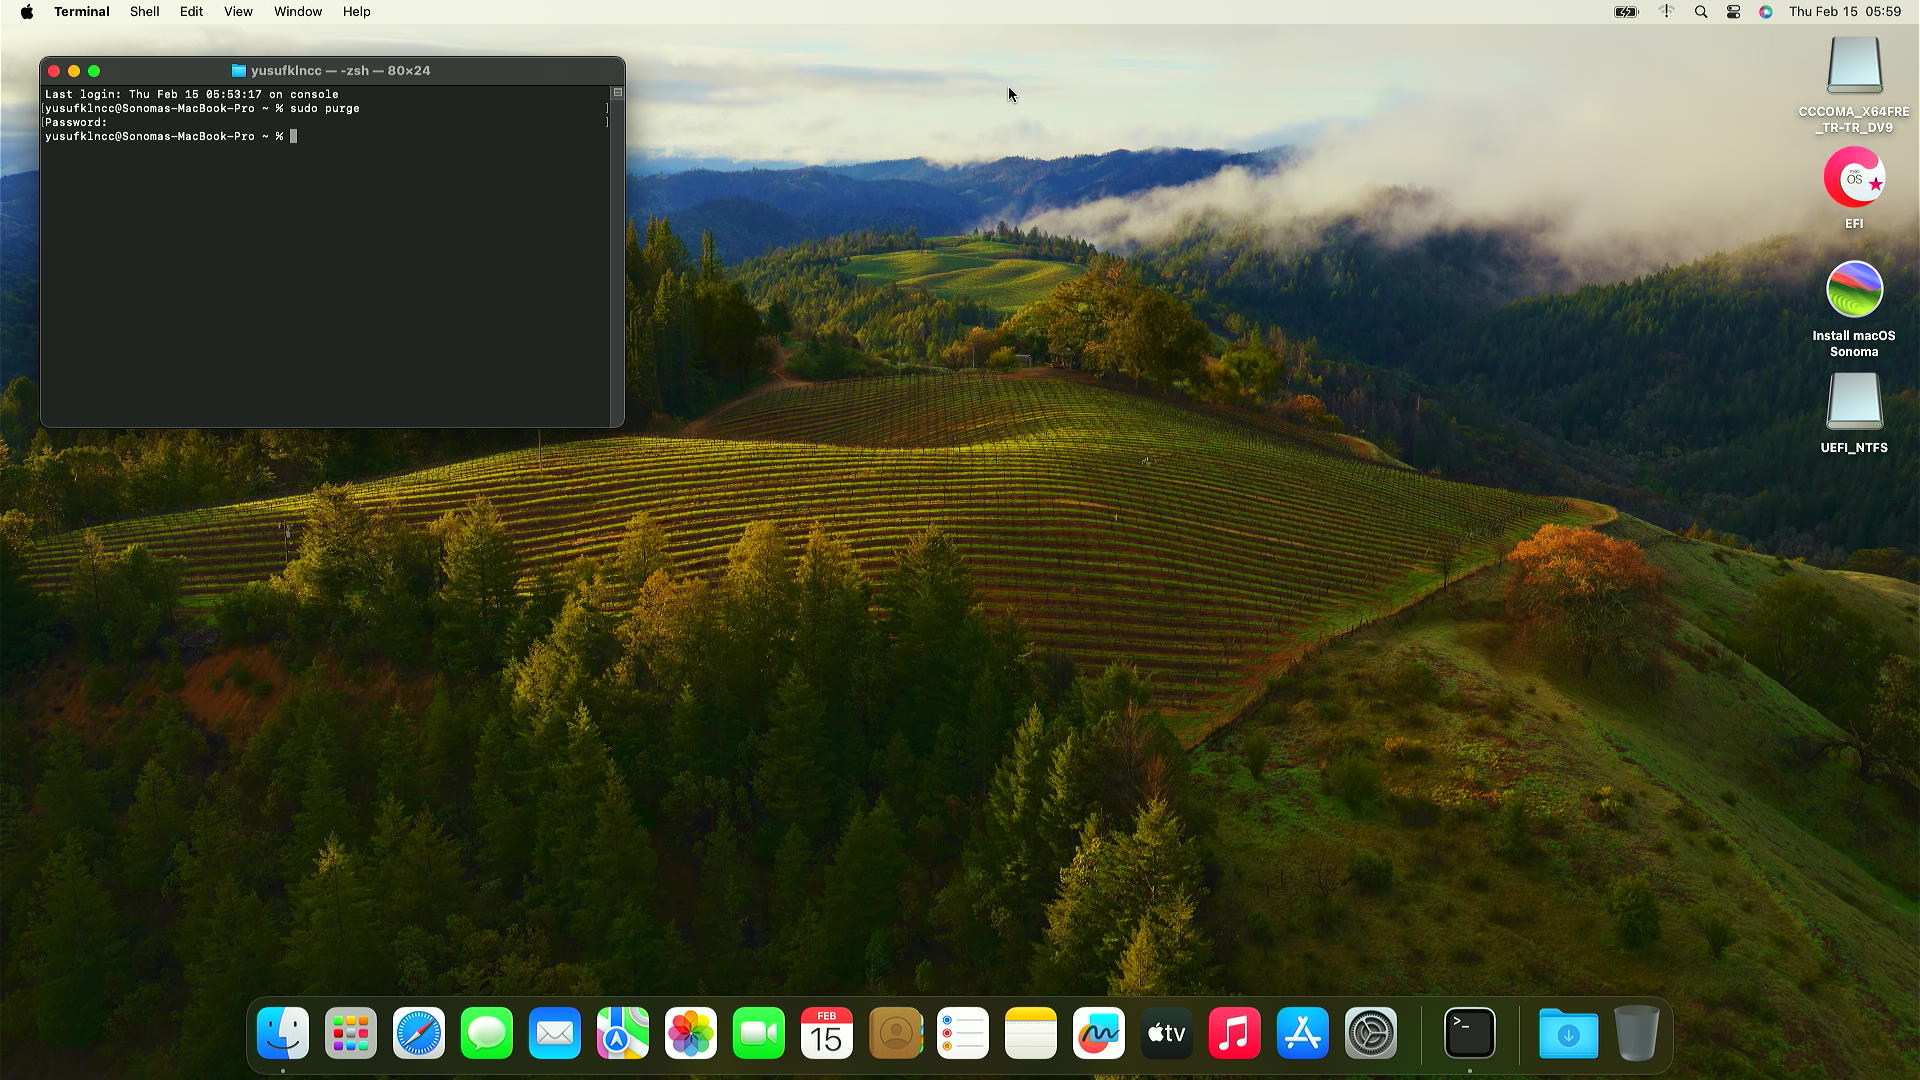
If you are experiencing crashes when opening System Settings and About This Mac. Open the Terminal application and run sudo purge command.
-


- Open config file with
Text Edit.- Search
HideAuxiliaryand changefalsevalue totrue. - Search
SecureBootModeland changeDisabledvalue toDefault. (Big Sur+)- If you have patched your system with
OCLP, do not do this step.
- If you have patched your system with
- Search
boot-argsand delete-vargument.
- Search
- Now we have to set our serial numbers and ROM value.
- Download GenSMBIOS and open .command file. If program asks
Download Pythondownload it. After that select option 3. -

- Now list 5 SMBIOS first.
MacBookPro14,1(Compatible SMBIOS with your hardware)- If your hardware compatible SMBIOS doesn't support installed macOS version, add
-no_compat_checktoboot-args.
- If your hardware compatible SMBIOS doesn't support installed macOS version, add
-

- Select and copy first Serial.
-

- Go check serial number. Your serial should be like this. If not, try second serial.
-

- Search MacBookPro15,1 and replace
Type > SystemProductName, Serial > SystemSerialNumber, Board Serial > MLB and SmUUID > SystemUUIDvalues. Now we will set our ROM value. - Go
System Setting > Netwotk > Ethernet > Details > Hardware. If our MAC adress is54:1A:AF:43:70:CAremove:characters =541AAF4370CA. Convert it to Base64. - Now we have
VBqvQ3DK. Replace this with ROM value and save config file. - Restart computer and press
Spacekey on OpenCore menu. Then enterResetNVRAM. After that BIOS settings may change. Check it and boot macOS. - Now you can login iCloud, iMessage or other apple services and you can use macOS.
- Download GenSMBIOS and open .command file. If program asks


- It can be installed on original Mac devices.
- If you want to install it on a Mac computer, after writing the image to USB with balenaEtcher insert the USB into your Mac device and open the "Install macOS XXX" after entering the boot selector menu with the options key.
- 16GB or higher USB required.
- Compatible for laptop installation.
- Compatible for desktop installation.
- Compatible with UEFI and Legacy systems.
- You can install OSX next to your GPT Windows installed disk.
- It has SSE4,1 support.
- "Kurulum Sonrası - Post Installation" contains the most necessary programs after installation.
- Compatible for computers with Intel and AMD processors.

- It can be installed on original Mac devices.
- If you want to install it on a Mac computer, after writing the image to USB with balenaEtcher insert the USB into your Mac device and open the "Install macOS XXX" after entering the boot selector menu with the options key.
- 16GB or higher USB required.
- Compatible for laptop installation.
- Compatible for desktop installation.
- Compatible with UEFI and Legacy systems.
- You can install OSX next to your GPT Windows installed disk.
- It has SSE support.
- "Kurulum Sonrası - Post Installation" contains the most necessary programs after installation.
- Compatible for computers with Intel and AMD processors.

- It can be installed on original Mac devices.
- If you want to install it on a Mac computer, after writing the image to USB with balenaEtcher insert the USB into your Mac device and open the "Install macOS XXX" after entering the boot selector menu with the options key.
- 16GB or higher USB required.
- Compatible for laptop installation.
- Compatible for desktop installation.
- Compatible with UEFI and Legacy systems.
- You can install OSX next to your Windows installed disk.
- It has SSE support.
- "Kurulum Sonrası - Post Installation" contains the most necessary programs after installation.
- Compatible for computers with Intel and AMD processors.

- It can be installed on original Mac devices.
- If you want to install it on a Mac computer, after writing the image to USB with balenaEtcher insert the USB into your Mac device and open the "Install macOS XXX" after entering the boot selector menu with the options key.- 8GB or higher USB required.
- Compatible for laptop installation.
- Compatible for desktop installation.
- Compatible with UEFI and Legacy systems.
- You can install OSX next to your Windows installed disk.
- It has SSE support.
- "Kurulum Sonrası - Post Installation" contains the most necessary programs after installation.
- Compatible for computers with Intel and AMD processors.