Demo & Homepage • Quick Start Guide • Issues
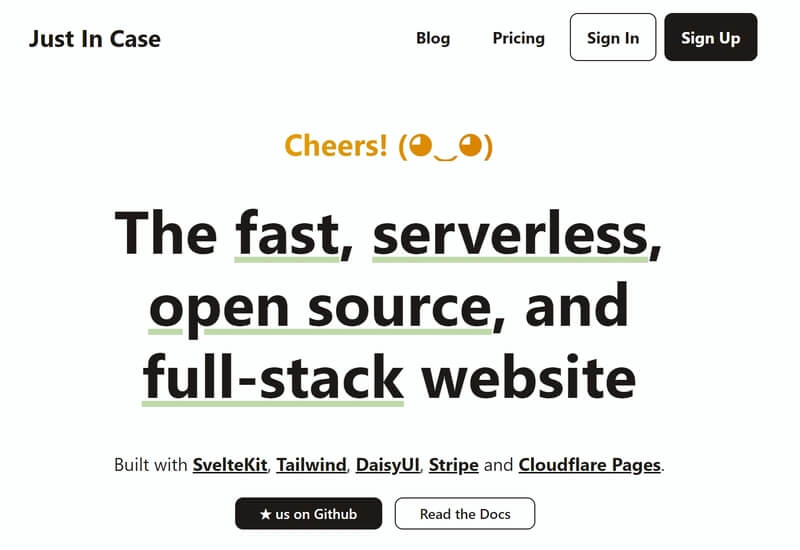
If you are looking for a SvelteKit template that perfectly integrates Cloudflare Pages & KV & D1 database & Workers & Queues & R2 storage & Turnstile CAPTCHA (One Platform for Everything), then you are in the right place. You can build a fully functional website with authentication, subscriptions, profile, blog, contact-us and more using this template. It's designed for SaaS, membership, or subscription-based services.
- Web Framework: SvelteKit
- CSS / Styling
- Framework: TailwindCSS
- Component library: DaisyUI
- Hosting Stack (Everything in Cloudflare)
- Host: Cloudflare Pages
- Database: Cloudflare D1
- KV: Cloudflare KV
- Storage: Cloudflare R2
- Queue: Cloudflare Queues
- Compute: Cloudflare Workers
- CAPTCHA: Cloudflare Turnstile
- Payments
- Stripe Checkout
- Stripe Portal
- Stripe Webhooks
- Email
- Resend Email API
You are highly recommended to explore all the features using the fully functional demo justincase.top.
-
Hosting: One Cloudflare platform for everything. Easy to manage, deploy, and scale. All services are integrated and work seamlessly.
-
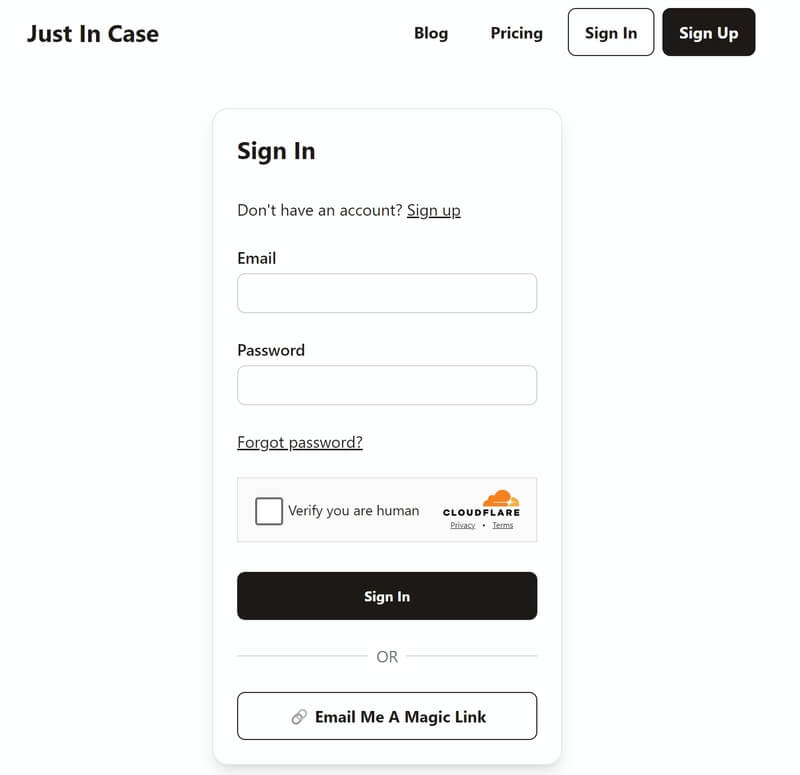
Authentication: Sign up, email verification, password sign in, magic-link sign in, forgot password, change password, delete account, and more.
-
Fast: Cloudflare global CDN and KV cache bring the amazing speed and performance, SveteKit also brings the fast loading and smooth interaction.
-
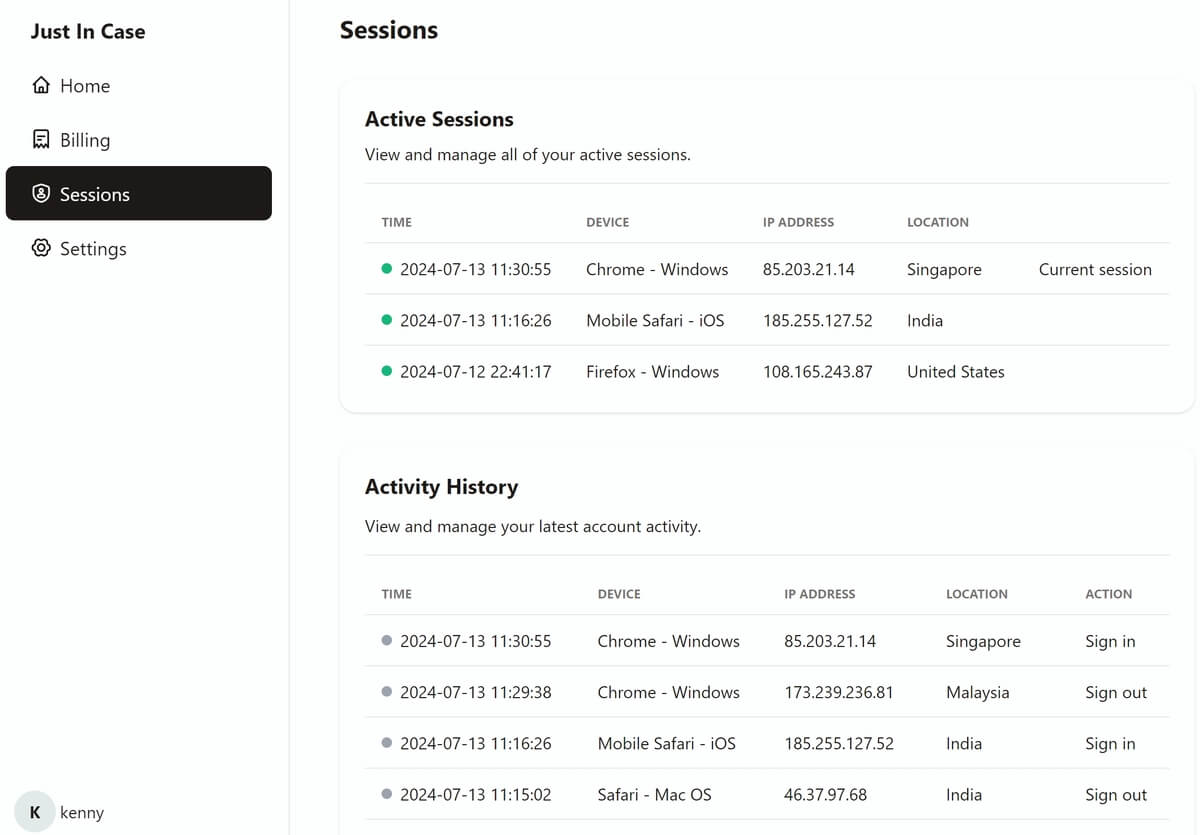
Security: Session Management, rate limiting, error logging, CSRF protection, Turnstile CAPTCHA, security related notification, and more.
-
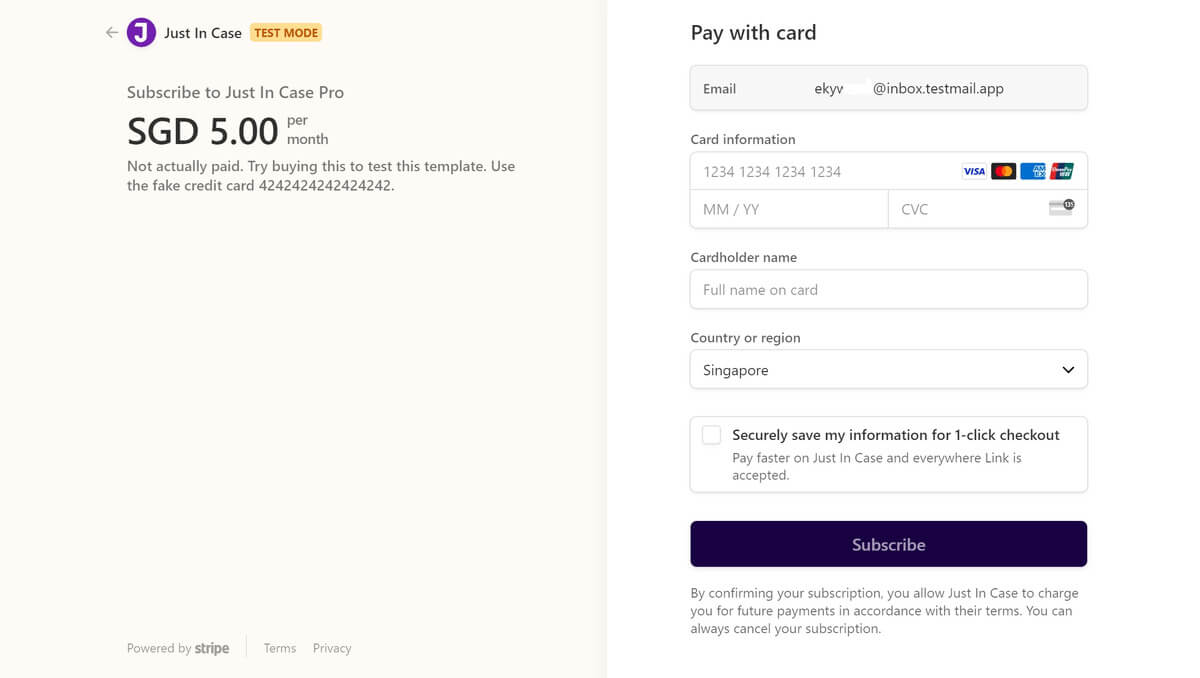
Payments: Stripe Checkout, Stripe Portal, Stripe Webhooks, subscription management, pricing, and more.
-
SEO Friendly: Server-Side Rendering, SEO metadata, Blog and RSS feed.
-
Highly Customizable: Less dependencies used, easy to modify, and extend. No auth library used, DIY for better control.
-
Responsive: Design for both desktop and mobile, responsive layout, and components.
Zero-Cost is achievable for using this template. Here are all the services used in the demo website:
-
Cloudflare: Pages, Workers, D1, KV, R2, Turnstile are free to use. Cloudflare Queues requires the Workers Paid plan($5/month) to use, but you can avoid using it by disabling the error logging feature, so that you can achieve Zero-Cost. It's recommended to subscribe to the Workers Paid plan for higher quota and better performance, totally worth it.
-
Resend Email API: Free plan can support up to 3000 emails per month (100 emails per day) and one custom domain which is enough for small websites. You may consider upgrading to Pro plan if you need more. And you can also replace it with other email services, it's very easy to modify the code.
-
Stripe: Free to use, only charge when you make money. You can use the test mode for development and testing.
-
Lark (optional): Error notification can be sent to Lark group chat and notify the team members. You can avoid using it by disabling the error logging feature. The starter free plan can support up 50 team members, which is enough for small companies.
To get started, create your own copy of the project for development. There are two options:
- Fork this repository to your GitHub if you want to contribute some or all of your work back to this public open source project. It will keep the full commit history, and be easier to create PRs back to this project. Contributions and issues are always welcome.
- Clone or download the repository to your machine if you want to keep your work private.
Run the following commands locally in the terminal:
# assume the project folder (sveltekit-cloudflare-template) is ready in your machine
$ cd sveltekit-cloudflare-template
# install dependencies (assume you have Node.js installed)
$ npm install
# all the dependencies will be installed including wrangler CLI
Then, prepare and create the necessary services:
-
Create Resend email service and get the API key (for
RESEND_API_KEY), refer to Setup Resend Email API section. -
Create Stripe account and get the API key (for
PRIVATE_STRIPE_API_KEY), refer to Setup Stripe Billing section. -
Prepare a local Cloudflare D1 database and tables:
# read all comments explained in example-wrangler.toml file before proceeding
# create a new D1 database named example_db using wrangler CLI
$ npx wrangler d1 create example_db
# create all the necessary tables in the local example_db database
$ npx wrangler d1 execute example_db --local --file=./db_schema/schema.sql
Next, prepare the environment variables and configuration files:
# create an env file from the example
$ cp example.dev.vars .dev.vars
# manually change the values in the .dev.vars file
# JWT secret should be at least 32 characters long and randomly generated
# LARK_BOT_URL and STRIPE_WH_SECRET can be empty or anything for development
# APP_ENV, TURNSTILE_SECRET_KEY and NODE_VERSION can be kept as they are

# create a wrangler.toml file from the example
$ cp example.wrangler.toml wrangler.toml

# change configurations in /src/config.js
# you need to change WEBSITE_NAME, APP_DOMAIN, WEBSITE_DESCRIPTION variables
Finally, there are two methods to run the project locally:
# Method 1 (recommended and sufficient):
# start the development server powered by Vite
$ npm run dev -- --host
# access it at http://localhost:5173 in local machine
# or access it at http://<machine-ip>:5173 in local network
# "dev = true" in this method (import { dev } from "$app/environment";)
# local ENV, KV, D1 will be used
# it's good to use this method for development in most cases

# Method 2:
# build the project
$ npm run build
# .svelte-kit/cloudflare/ will be generated after the build
# start the pages dev server powered by wrangler
$ npx wrangler pages dev --ip 0.0.0.0 --port 8787 --live-reload .\.svelte-kit\cloudflare\
# access the website at http://localhost:8787 or http://<machine-ip>:8787
# "dev = false" in this method (import { dev } from "$app/environment";)
# local ENV, KV, D1 will be used
For the local development, error logging feature is not available, because you can see all the logs in the terminal. Error logging feature is only available in the production environment, it requires Cloudflare Queues, R2 Storage and Lark Bot Webhook services.
To deploy the website live, follow the below steps to do the necessary setup.
-
Create a Cloudflare account and add (or buy) a domain(eg,
justincase.top) in Cloudflare. Free plan is ok, but Worker Paid plan ($5/month) is required for error logging feature (optional, can be disabled). -
Create two new Cloudflare KV namespace named
login_session_cacheandrate_limitvia Cloudflare dashboard or wrangler CLI. -
Setup D1 database
- Create a new Cloudflare D1 database named
example_dbvia Cloudflare dashboard or wrangler CLI. - Create all the tables in
example_dbdatabase. You can use the/db_schema/schema.sqlfile to create the tables. It's recommended to do it in Wrangler CLI, as it's more convenient and efficient. Here is the command (execute it in the project root directory):npx wrangler d1 execute example_db --remote --file=./db_schema/schema.sql.
- Create a new Cloudflare D1 database named
-
Setup Queues (optional)
- Create a new Cloudflare R2 bucket named
error-bucketvia Cloudflare dashboard, it's used for storing error logs. - Create a new Cloudflare Queue named
error-queuevia Cloudflare dashboard, it's used for queuing error logs processing. - Create a Cloudflare Worker (consumer worker) to consume the error logs from the queue. You can use the Worker project in the
/workers/error_loggerdirectory. Just execute the commandnpx wrangler deployin the/workers/error_loggerdirectory to deploy the worker. All the necessary bindings are done in the/workers/error_logger/wrangler.tomlfile, no need to bind them in the Cloudflare dashboard again.
- Create a new Cloudflare R2 bucket named
-
Setup Turnstile CAPTCHA
- Add the website (eg,
justincase.top) to Turnstile in the Cloudflare dashboard. You can use the default settings, or customize it as you like. - Get the site key and secret key, change the site key (ok to public) in
get_turnstile_sitekey()function of/src/config.jsfile, and add the secret key (keep it secure) as an environment variableTURNSTILE_SECRET_KEYin Cloudflare dashboard for production.
- Add the website (eg,
-
Create a Resend account, free plan is good.
-
Add your domain (eg,
justincase.top) in the Resend dashboard and set the required DNS records in the Cloudflare dashboard. Here I use the subdomainmail.justincase.topfor email sending. -
Create an API key in the Resend dashboard, and add it as an environment variable
RESEND_API_KEYin (.dev.varsfile locally, and Cloudflare dashboard for production).
The Lark bot webhook is for error log notification feature. This is optional, you can disable error logging by setting ENABLE_ERROR_LOGGING to false in /src/config.js file. You can also replace it with other services easily, such as Slack, Discord, etc. But I have to say Lark is wonderful.
-
Create a Lark account, free plan is good.
-
Create a group chat in Lark and add the Lark bot to the group chat.
-
Get the webhook URL in the Lark bot settings, and add it as an environment variable
LARK_BOT_URLin Cloudflare dashboard for production. Keep the webhook URL secure.
-
Create a Stripe account.
-
Create a product and price Tiers
- Create your products and their prices in the dashboard or with the Stripe CLI.
- This template works best if you define each tier as a separate product (eg,
Just In Case Free,Just In Case Pro,Just In Case Enterprise). Include a monthly and annual price for each product if you want to support multiple billing periods. - You do not need to create a free plan in Stripe. The free plan is managed within the app.
- Add pricing descriptions in dashboard for different prices to help you identify the product in the code better (eg,
Pro Monthly Subscription,Pro Yearly Subscription,Enterprise Monthly Subscription,Enterprise Yearly Subscription). You can do it in this way:Product catalog > Edit product (you want to add description for) > (find pricing option) Edit price > Advanced > Price description.
-
Setup your Stripe API key
- Get your Secret API key, and add it as an environment variable
PRIVATE_STRIPE_API_KEYin (.dev.varsfile locally, and Cloudflare dashboard for production). Be sure to use test keys for development, and keep your production keys secret and secure.
- Get your Secret API key, and add it as an environment variable
-
Setup your Stripe Webhook
- Add your Stripe webhook endpoint. Here I use
https://justincase.top/api/stripe-webhooksfor the webhook endpoint as an example. You can use your own domain and path. Select the events you want to listen to, here I useinvoice.paidevent to trigger the webhook, so the subscription status in database will be updated immediately after the renewal payment is successful, check the related code in/src/routes/(admin)/api/stripe-webhooks/+server.jsfile. - Once the endpoint is created, you can reveal the signing secret in the webhook page. Add the webhook signing secret as an environment variable
STRIPE_WH_SECRETin Cloudflare dashboard for production.
- Add your Stripe webhook endpoint. Here I use
-
Optional: theme your Stripe integration
- Customize your brand for Stripe Checkout and Portal pages. You can change the logo, colors, and more.
-
Update your pricing plan data to align to your stripe data
- See
/src/routes/(public)/pricing/pricing_plans.jsand fill in all fields for each plan.stripe_price_idandstripe_product_idshould only be omitted on a single “free” plan. Multiple free plans are not supported. - The product in Stripe can contain several prices for the same product (annual, monthly, etc). The
stripe_price_idyou choose to put in this json will be the default we use for the checkout experience. However, if you have more prices configured for a product configured, the user can switch between them in the management portal. - Set the
default_plan_idto the plan the user will see as their “current plan” after signup, but before subscribing to a paid plan (typically “free”). It should align to the plan with nostripe_price_id. - if you want an item highlighted on pricing page, specify that plan id in
/src/routes/(public)/pricing/+page.svelte
- See
-
Update your portal configuration
- Open stripe portal config and make the following changes
- Disallow editing email under customer information
- Optional: setup a custom domain (not free, $10/month) so Stripe pages use your own domain , recommended for real production use.
- Open stripe portal config and make the following changes
-
Repeat steps in production environment.
This template is designed to be deployed on Cloudflare Pages, not on Vercel, Netlify, or other platforms.
Follow Cloudflare's documentation and SvelteKit's documentation to deploy it in a few clicks. Be sure to select “SvelteKit” as framework, and the rest of the defaults will work.
When prompted: add environment variables for your production environment, you have got the values from the previous steps.
APP_ENV = production
NODE_VERSION = 20
TURNSTILE_SECRET_KEY = ...      # secret key for Turnstile CAPTCHA
RESEND_API_KEY = ...            # Resend email API key
PRIVATE_STRIPE_API_KEY = ...    # Stripe API secret key
STRIPE_WH_SECRET =...           # Stripe webhook signing secret
LARK_BOT_URL = ...              # Lark bot webhook URL, NOT required if error logging is disabled
VERIFY_EMAIL_JWT_SECRET = ...   # JWT secret for email verification
LOGIN_JWT_SECRET = ...          # JWT secret for login auth
MAGIC_LINK_JWT_SECRET = ...     # JWT secret for magic link login
RESET_PWD_JWT_SECRET = ...      # JWT secret for reset password
ONSITE_API_JWT_SECRET = ...     # JWT secret for onsite API auth
You should generate an at least 32 characters long random string for each JWT secret and keep them secure.
Once first deployment is done, the website is still not fully functional. You need to bind the Cloudflare KV, D1, Queues services to the website in the Cloudflare dashboard. You can do it in this way: Pages > your website > Settings > Functions > KV namespace bindings / D1 database bindings / Queue Producers bindings > Add binding.
KV namespace bindings:
  LOGIN_SESSION_CACHE -> login_session_cache
  RATE_LIMIT -> rate_limit
D1 database bindings:
  DB -> example_db
Queue Producers bindings (required if you want to use error logging feature):
  ERROR_QUEUE -> error-queue
After binding the services, you need the retry deployment to make everything reload. Now the website should be fully functional and live. The website will update automatically when you push new code to the main branch in GitHub.
Optional: enable Cloudflare Analytics for usage metrics.
After the steps above, you’ll have a working version like the demo page. However, it’s not branded, and doesn’t have your content. The following checklist helps you customize the template to make a website for your company.
- Describe your site with a name, description and base URL in in
/src/config.js:. These values are used for SEO. - Content
- Add actual content for homepage to make it specific to your product or service.
- Add actual content for your blog (or delete the blog)
- Update all fields in
/src/routes/(public)/blog/posts.js, and replace the post pages under/src/routes/(public)/blog/poststo align to the urls fromposts.js. - Alternatively remove the blog by removing the
/src/routes/(public)/blogdirectory, and remove any links to the blog in the header and footer. You can always bring it back later.
- Update all fields in
- Add any pages you want on top of our boiler plate (about, privacy, etc). Be sure to add links to them in the header, mobile menu header, and footer as appropriate (
/src/routes/(public)/+layout.svelte).
- Update SEO content
- Update title and meta description tags for every public page. We include generic ones using your site name (
/src/config.js), but the more specific these are the better. - This done automatically for blog posts from
posts.jsmetadata.
- Update title and meta description tags for every public page. We include generic ones using your site name (
- Style
- Create a new DaisyUI Theme matching your brand or use one of the built in themes from DaisyUI (see
tailwind.config.js) - Update the homepage layout
/src/routes/(public)/+layout.svelte: customize design, delete unwanted pages from header and footer - Style: make it your own look and feel.
- Update the favicon and other logo files in the
/static/directory.
- Create a new DaisyUI Theme matching your brand or use one of the built in themes from DaisyUI (see
- Functionality
- Add actual functionality for your service.
- Replace the dashboard with real content (
/src/routes/(admin)/dashboard/(menu)/+page.svelte). - Add necessary domentation pages for your service.
Homescreen Icons are from Solar Broken Line Icons and Solar Linear Icons via CC Attribution License.
Part of the UI and documentation for this project is originally from CMSaasStarter, which I have modified and enhanced with new features. While CMSaasStarter uses services from Supabase, I have replaced them with Cloudflare services and implemented different logic. If you prefer to use Supabase, you can check out the original project, which is also a great choice.

